Motorola AURA Quick Start Guide - Page 23
Apply Photo to Contact, Camera Settings - wallpaper
 |
View all Motorola AURA manuals
Add to My Manuals
Save this manual to your list of manuals |
Page 23 highlights
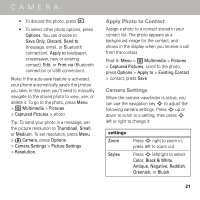
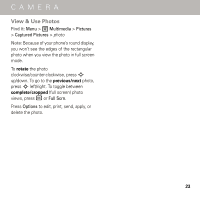
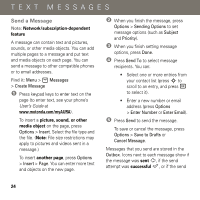
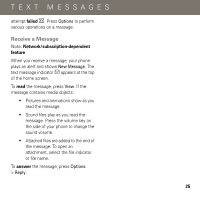
CAMERA • To discard the photo, press |. • To select other photo options, press Options. You can choose to Save Only, Discard, Send to (message, email, or Bluetooth connection), Apply to (wallpaper, screensaver, new or existing contact), Edit, or Print via (Bluetooth connection or USB connection). Note: If the auto-save feature is activated, your phone automatically saves the photos you take. In this case, you'll need to manually navigate to the stored photo to view, use, or delete it. To go to the photo, press Menu > 2 Multimedia > Pictures > Captured Pictures > photo. Tip: To send your photo in a message, set the picture resolution to Thumbnail, Small, or Medium. To set resolution, press Menu > 3 Camera, press Options > Camera Settings > Picture Settings > Resolution. Apply Photo to Contact Assign a photo to a contact stored in your contact list. The photo appears as a background image for the contact, and shows in the display when you receive a call from the contact. Find it: Menu > 2 Multimedia > Pictures > Captured Pictures, scroll to the photo, press Options > Apply to > Existing Contact > contact, press Save Camera Settings When the camera viewfinder is active, you can use the navigation key S to adjust the following camera settings. Press S up or down to scroll to a setting, then press S left or right to change it: settings Zoom Styles Press S right to zoom in, press left to zoom out. Press S left/right to select Color, Black & White, Antique, Negative, Reddish, Greenish, or Bluish. 21
-
 1
1 -
2
-
3
-
4
-
5
-
6
-
7
-
8
-
9
-
10
-
11
-
12
-
13
-
14
-
15
-
16
-
17
-
 18
18 -
 19
19 -
 20
20 -
 21
21 -
 22
22 -
 23
23 -
 24
24 -
 25
25 -
 26
26 -
 27
27 -
 28
28 -
29
-
30
-
31
-
32
-
33
-
34
-
35
-
36
-
37
-
38
-
39
-
40
 |
 |