Netgear FSM7328PS FSM7328PS Hardware manual - Page 29
Gigabit Module Bay, Connecting a Console to the Switch
 |
UPC - 606449051810
View all Netgear FSM7328PS manuals
Add to My Manuals
Save this manual to your list of manuals |
Page 29 highlights
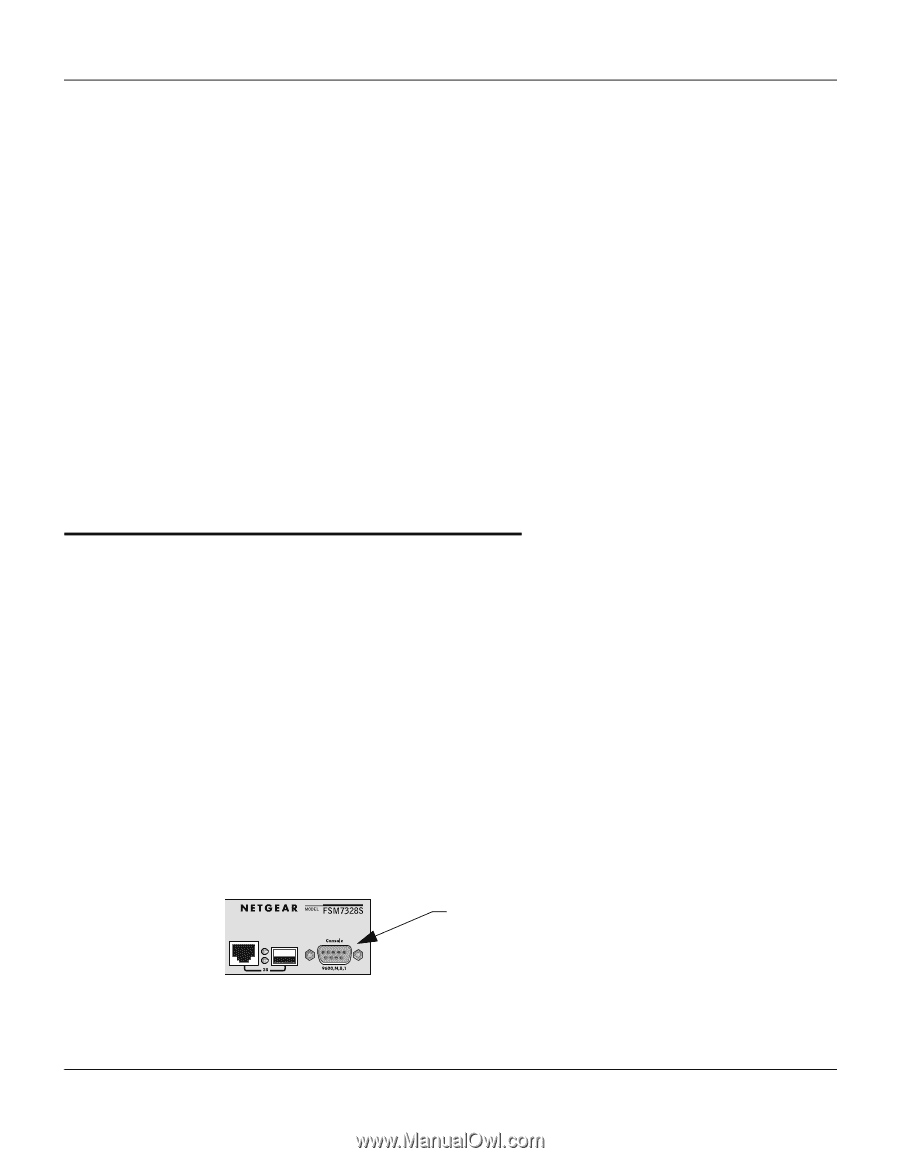
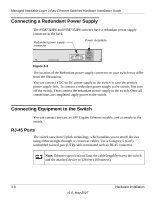
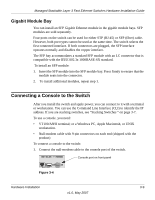
Managed Stackable Layer 3 Fast Ethernet Switches Hardware Installation Guide Gigabit Module Bay You can install an SFP Gigabit Ethernet module in the gigabit module bays. SFP modules are sold separately. Four ports on the switch can be used for either STP (RJ-45) or SFP (fiber) cable. However, both port types cannot be used at the same time. The switch selects the first connected interface. If both connectors are plugged, the SFP interface operates normally and disables the copper interface. The SFP bay accommodates a standard SFP module with an LC connector that is compatible with the IEEE 802.3z 1000BASE-SX standard. To install an SFP module: 1. Insert the SFP module into the SFP module bay. Press firmly to ensure that the module seats into the connector. 2. To install additional modules, repeat step 1. Connecting a Console to the Switch After you install the switch and apply power, you can connect to it with a terminal or workstation. You can use the Command Line Interface (CLI) to identify the IP address. If you are stacking switches, see "Stacking Switches " on page 3-7. To use a console ,you need: • VT100/ANSI terminal; or a Windows PC, Apple Macintosh, or UNIX workstation. • Null-modem cable with 9-pin connectors on each end (shipped with the product) To connect a console to the switch: 1. Connect the null-modem cable to the console port of the switch. Console port on front panel Figure 3-4 Hardware Installation 3-9 v1.0, May 2007
-
 1
1 -
2
-
3
-
4
-
5
-
6
-
7
-
8
-
9
-
10
-
11
-
12
-
13
-
14
-
15
-
16
-
17
-
18
-
19
-
20
-
21
-
22
-
23
-
 24
24 -
 25
25 -
 26
26 -
 27
27 -
 28
28 -
 29
29 -
 30
30 -
 31
31 -
 32
32 -
 33
33 -
 34
34 -
35
-
36
-
37
-
38
-
39
-
40
-
41
-
42
 |
 |