Nokia 6315i Nokia 6315i User Guide in English - Page 42
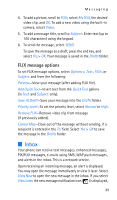
PIX message options, To Contacts, My PIX, Camera, Sound, Record New, Subject, Drafts, Options, Preview
 |
UPC - 758478027028
View all Nokia 6315i manuals
Add to My Manuals
Save this manual to your list of manuals |
Page 42 highlights
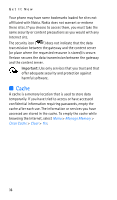
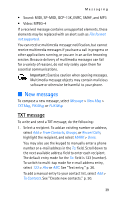
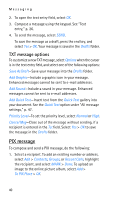
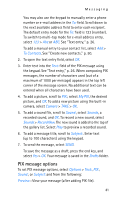
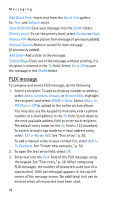
Messaging You may also use the keypad to manually enter a phone number or e-mail address in the To: field. Scroll down to the next available address field to enter each recipient. The default entry mode for the To: field is 123 (number). To switch to multi-tap mode for e-mail address entry, select 123 > Abc or ABC. See "Text entry," p. 26. To add a manual entry to your contact list, select Add > To Contacts. See "Create new contacts," p. 50. 2. To open the text entry field, select OK. 3. Enter text into the Text: field of the PIX message using the keypad. See "Text entry," p. 26. When composing PIX messages, the number of characters used (out of a maximum of 1000 per message) appears in the top left corner of the message screen. No additional text can be entered when all characters have been used. 4. To add a picture, scroll to PIX:, select My PIX, the desired picture, and OK. To add a new picture using the built-in camera, select Camera > TAKE > OK. 5. To add a sound file, scroll to Sound:, select Sounds, a recorded sound, and OK. To record a new sound, select Sounds > Record New. The new sound is added to the top of the gallery list. Select Play to preview a recorded sound. 6. To add a message title, scroll to Subject:. Enter text (up to 100 characters) using the keypad. 7. To send the message, select SEND. To save the message as a draft, press the end key, and select Yes > OK. Your message is saved in the Drafts folder. PIX message options To set PIX message options, select Options > Text:, PIX:, Sound:, or Subject: and from the following: Preview-View your message (after adding PIX file). 41
-
 1
1 -
2
-
3
-
4
-
5
-
6
-
7
-
8
-
9
-
10
-
11
-
12
-
13
-
14
-
15
-
16
-
17
-
18
-
19
-
20
-
21
-
22
-
23
-
24
-
25
-
26
-
27
-
28
-
29
-
30
-
31
-
32
-
33
-
34
-
35
-
36
-
 37
37 -
 38
38 -
 39
39 -
 40
40 -
 41
41 -
 42
42 -
 43
43 -
 44
44 -
 45
45 -
 46
46 -
 47
47 -
48
-
49
-
50
-
51
-
52
-
53
-
54
-
55
-
56
-
57
-
58
-
59
-
60
-
61
-
62
-
63
-
64
-
65
-
66
-
67
-
68
-
69
-
70
-
71
-
72
-
73
-
74
-
75
-
76
-
77
-
78
-
79
-
80
-
81
-
82
-
83
-
84
-
85
-
86
-
87
-
88
-
89
-
90
-
91
-
92
-
93
-
94
-
95
-
96
-
97
 |
 |