NordicTrack Cxt 1200 Elliptical Uk Manual - Page 15
How To Use Personal Trainer
 |
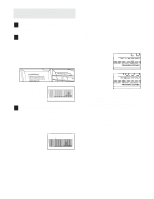
View all NordicTrack Cxt 1200 Elliptical manuals
Add to My Manuals
Save this manual to your list of manuals |
Page 15 highlights
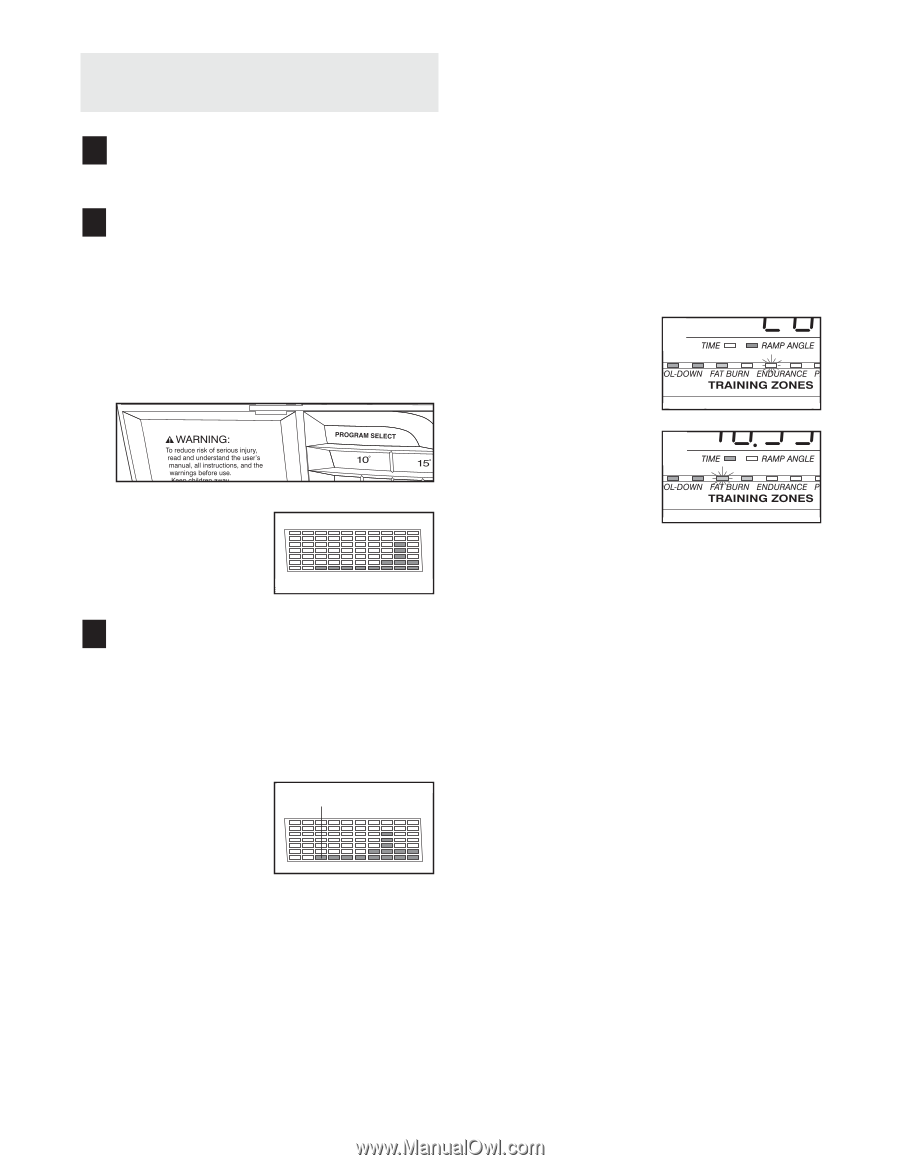
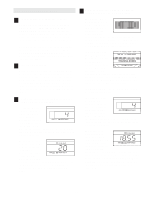
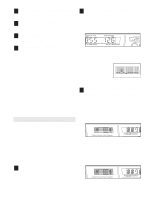
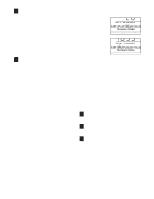
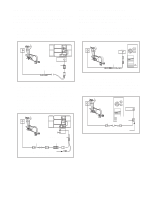
HOW TO USE PERSONAL TRAINER PROGRAMS 1 Begin pedalling to activate the console. See step 1 on page 13. 2 Select one of the six personal trainer programs. When the power is turned on, the manual mode will be selected. To select a personal trainer program, repeatedly press the Program Select button until the name of the desired program (40 Min. Interval, Pyramid, Twin Peak, Double Hill, Fat Cruncher, or Canyon Country) appears in the main display. The matrix will show the first eight resistance settings of the program you have selected. 3 Begin pedalling to start the program. Each program is divided into several time segments of different lengths. One resistance setting and one pace setting are programmed for each segment. (The same resistance setting and/or pace setting may be programmed for two or more consecutive segments.) The resistance setting for the first seg- Current Segment ment will be shown in the flashing Current Segment column of the matrix. (The pace settings are not shown in the matrix.) The resis- tance settings for the next several segments will be shown in the columns to the right. When only three seconds remain in the first segment of the program, both the Current Segment column and the column to the right will flash, a series of tones will sound, and all resistance settings will move one column to the left. The resistance setting for the second segment will then be shown in the flashing Current Segment column, and the resistance of the pedals will automatically change if a different resistance setting is programmed for the second segment. As you exercise, the Training Zone bar will help you to keep your pedalling pace near the pace setting for the current segment. The lit indicators in the bar will show your actual pace. If an indicator to the a right of the lit indica- tors is flashing (see drawing a), increase your pace. If an indi- cator to the left of any lit indicator is b flashing (see drawing b), decrease your pace. When no indi- cator is flashing, your pace matches the pace setting for the current segment. Important: The pace settings are intended only to pro- vide motivation. Your actual pace may be slower than the pace settings. Make sure to exercise at a pace that is comfortable for you. The program will continue in this way until the main display shows that no time remains in the program. Note: During the program, you can override the resistance setting for the current segment, if desired, by pressing the Resistance buttons. However, when the next segment begins, the resistance will automatically change if a different resistance setting is programmed for the next segment. If you stop pedalling for several seconds, a tone will sound and the program will pause. To restart the program, simply resume pedalling. 15
-
 1
1 -
2
-
3
-
4
-
5
-
6
-
7
-
8
-
9
-
 10
10 -
 11
11 -
 12
12 -
 13
13 -
 14
14 -
 15
15 -
 16
16 -
 17
17 -
 18
18 -
 19
19 -
 20
20 -
21
-
22
-
23
-
24
-
25
-
26
-
27
-
28
-
29
-
30
-
31
-
32
 |
 |