Panasonic PT-LB90NTEA User Manual - Page 41
Projector Setup Menu, Status, No Signal Shut-off, Initial Start Up, Installation, High Altitude Mode
 |
View all Panasonic PT-LB90NTEA manuals
Add to My Manuals
Save this manual to your list of manuals |
Page 41 highlights
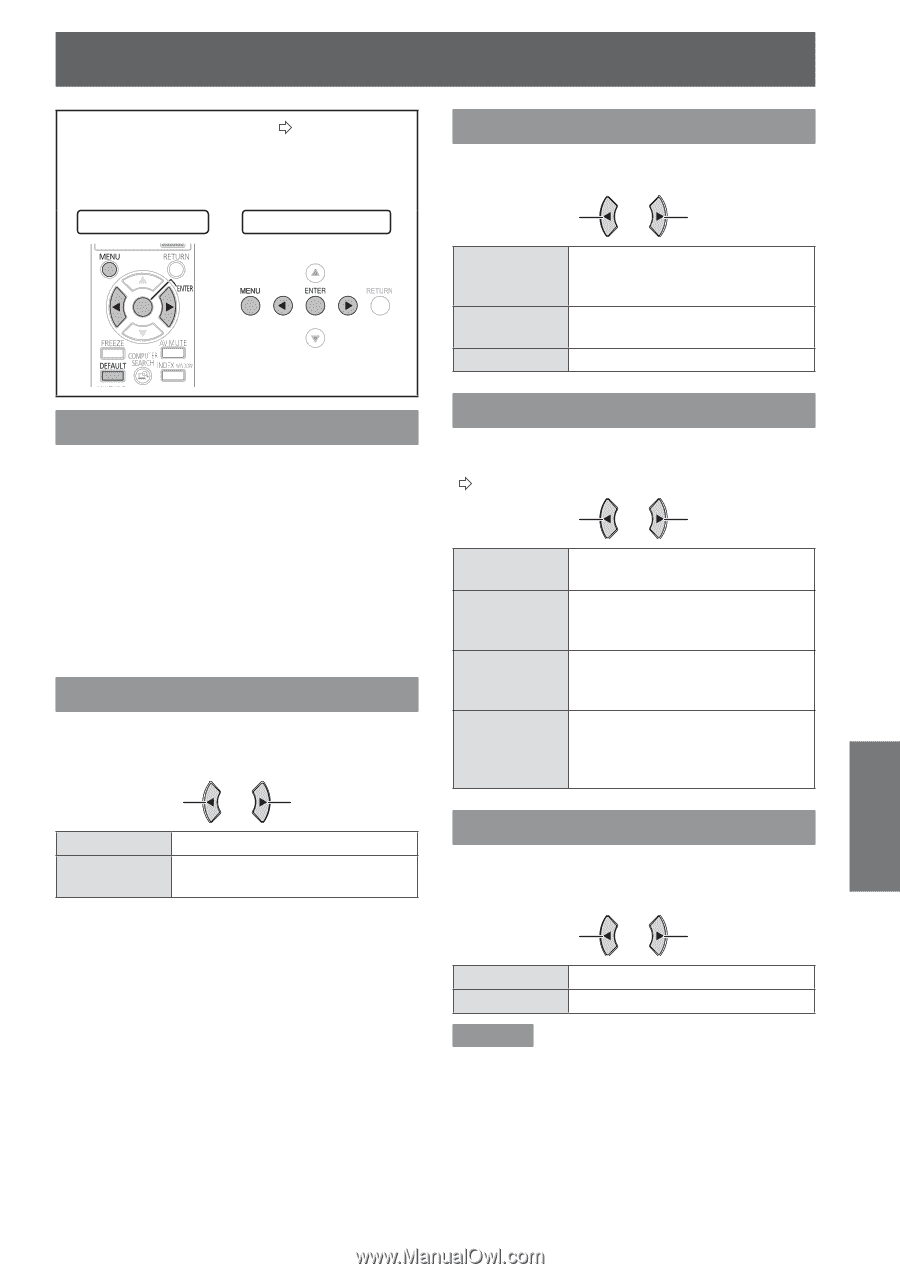
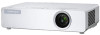
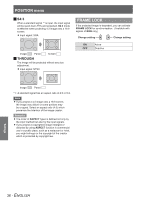
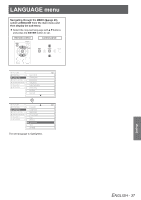
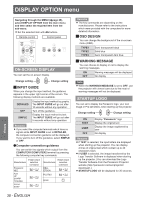
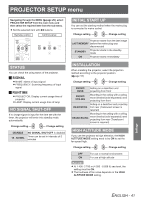
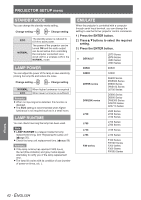
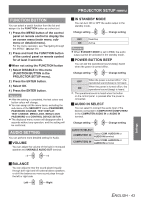
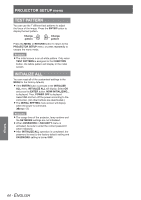
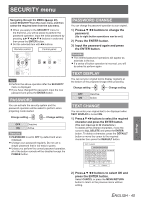
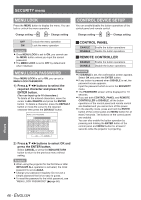
PROJECTOR SETUP menPuROJECTOR SETUP menu Navigating through the MENU (Æpage 29), select PROJECTOR SETUP from the main menu and then select the required item from the sub-menu. zzSet the selected item with◄►buttons. Remote control Control panel STATUS You can check the using status of the projector. JJSIGNAL zzNAME: Name of input signal zzFREQUENCY: Scanning frequency of input signal JJRUNTIME zzPROJECTOR: Display current usage time of projector zzLAMP: Display current usage time of lamp NO SIGNAL SHUT-OFF If no image signal is input for the time set with the timer, the projector will enter into standby mode automatically. Change setting Change setting DISABLE 15 - 60 MIN. NO SIGNAL SHUT-OFF is disabled Timer can be set in intervals of 5 minutes INITIAL START UP You can set the starting method when the mains plug is connected to mains socket. Change setting Change setting Projector starts from the last image LAST MEMORY before the mains plug was disconnected STANDBY Projector starts in the standby mode ON Projector starts immediately INSTALLATION When installing the projector, select the projection method according to the projector position. (Æpage 18) Change setting Change setting FRONT/ DESK Setting on a desk/floor and projecting from front FRONT/ CEILING Mounting in the ceiling with a ceiling mount bracket (sold separately) and projecting from front Setting on a desk/floor and projecting REAR/DESK from rear (Translucent screen is required) Mounting in the ceiling with a ceiling REAR/CEILING mount bracket (sold separately) and projecting from rear (Translucent screen is required) HIGH ALTITUDE MODE If you use the projector at high elevation, the HIGH ALTITUDE MODE setting need to be ON to set the fan speed high. Change setting Change setting OFF ON For use in normal environment For use at high altitude Remarks zzAt 1 400 -2 700 m (4 593 - 8 858 ft) sea level, the setting must be ON. zzThe loudness of fan noise depends on the HIGH ALTITUDE MODE setting. Settings ENGLISH - 41
-
 1
1 -
2
-
3
-
4
-
5
-
6
-
7
-
8
-
9
-
10
-
11
-
12
-
13
-
14
-
15
-
16
-
17
-
18
-
19
-
20
-
21
-
22
-
23
-
24
-
25
-
26
-
27
-
28
-
29
-
30
-
31
-
32
-
33
-
34
-
35
-
 36
36 -
 37
37 -
 38
38 -
 39
39 -
 40
40 -
 41
41 -
 42
42 -
 43
43 -
 44
44 -
 45
45 -
 46
46 -
47
-
48
-
49
-
50
-
51
-
52
-
53
-
54
-
55
-
56
-
57
-
58
-
59
-
60
 |
 |