Pentax K100D User Manual - Page 155
Selecting the Preview Method, Displaying the Optical Preview
 |
UPC - 027075121393
View all Pentax K100D manuals
Add to My Manuals
Save this manual to your list of manuals |
Page 155 highlights
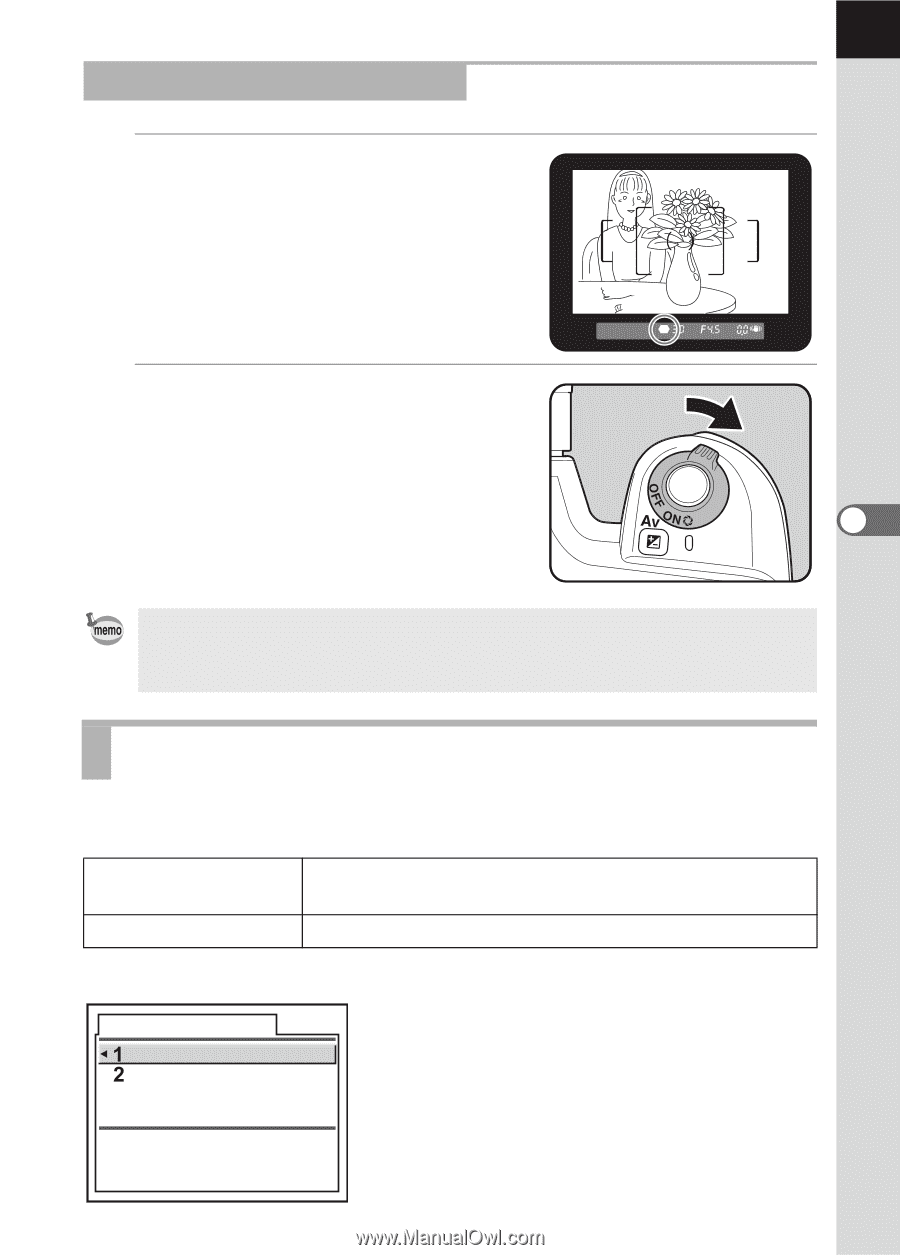
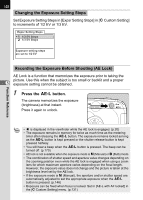
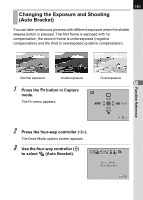
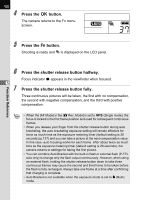
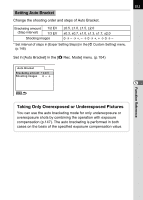
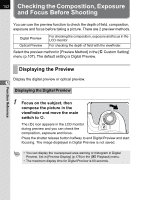
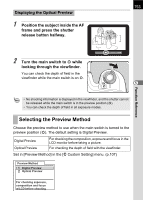
153 Displaying the Optical Preview 1 Position the subject inside the AF frame and press the shutter release button halfway. Function Reference 2 Turn the main switch to | while looking through the viewfinder. You can check the depth of field in the viewfinder while the main switch is on |. 5 • No shooting information is displayed in the viewfinder, and the shutter cannot be released while the main switch is in the preview position (|). • You can check the depth of field in all exposure modes. Selecting the Preview Method Choose the preview method to use when the main switch is turned to the preview position (|). The default setting is Digital Preview. Digital Preview For checking the composition, exposure and focus in the LCD monitor before taking a picture. Optical Preview For checking the depth of field with the viewfinder. Set in [Preview Method] in the [A Custom Setting] menu. (p.107) Preview Method Digital Preview Optical Preview For checking exposure, composition and focus w/LCD before shooting
-
 1
1 -
2
-
3
-
4
-
5
-
6
-
7
-
8
-
9
-
10
-
11
-
12
-
13
-
14
-
15
-
16
-
17
-
18
-
19
-
20
-
21
-
22
-
23
-
24
-
25
-
26
-
27
-
28
-
29
-
30
-
31
-
32
-
33
-
34
-
35
-
36
-
37
-
38
-
39
-
40
-
41
-
42
-
43
-
44
-
45
-
46
-
47
-
48
-
49
-
50
-
51
-
52
-
53
-
54
-
55
-
56
-
57
-
58
-
59
-
60
-
61
-
62
-
63
-
64
-
65
-
66
-
67
-
68
-
69
-
70
-
71
-
72
-
73
-
74
-
75
-
76
-
77
-
78
-
79
-
80
-
81
-
82
-
83
-
84
-
85
-
86
-
87
-
88
-
89
-
90
-
91
-
92
-
93
-
94
-
95
-
96
-
97
-
98
-
99
-
100
-
101
-
102
-
103
-
104
-
105
-
106
-
107
-
108
-
109
-
110
-
111
-
112
-
113
-
114
-
115
-
116
-
117
-
118
-
119
-
120
-
121
-
122
-
123
-
124
-
125
-
126
-
127
-
128
-
129
-
130
-
131
-
132
-
133
-
134
-
135
-
136
-
137
-
138
-
139
-
140
-
141
-
142
-
143
-
144
-
145
-
146
-
147
-
148
-
149
-
 150
150 -
 151
151 -
 152
152 -
 153
153 -
 154
154 -
 155
155 -
 156
156 -
 157
157 -
 158
158 -
 159
159 -
 160
160 -
161
-
162
-
163
-
164
-
165
-
166
-
167
-
168
-
169
-
170
-
171
-
172
-
173
-
174
-
175
-
176
-
177
-
178
-
179
-
180
-
181
-
182
-
183
-
184
-
185
-
186
-
187
-
188
-
189
-
190
-
191
-
192
-
193
-
194
-
195
-
196
-
197
-
198
-
199
-
200
-
201
-
202
-
203
-
204
-
205
-
206
-
207
-
208
-
209
-
210
-
211
-
212
-
213
-
214
-
215
-
216
-
217
-
218
-
219
-
220
 |
 |