RCA RD2840 User Guide - Page 17
Create Pre-defined Playlists and Transferring them to the Jukebox - manual
 |
UPC - 044319300963
View all RCA RD2840 manuals
Add to My Manuals
Save this manual to your list of manuals |
Page 17 highlights
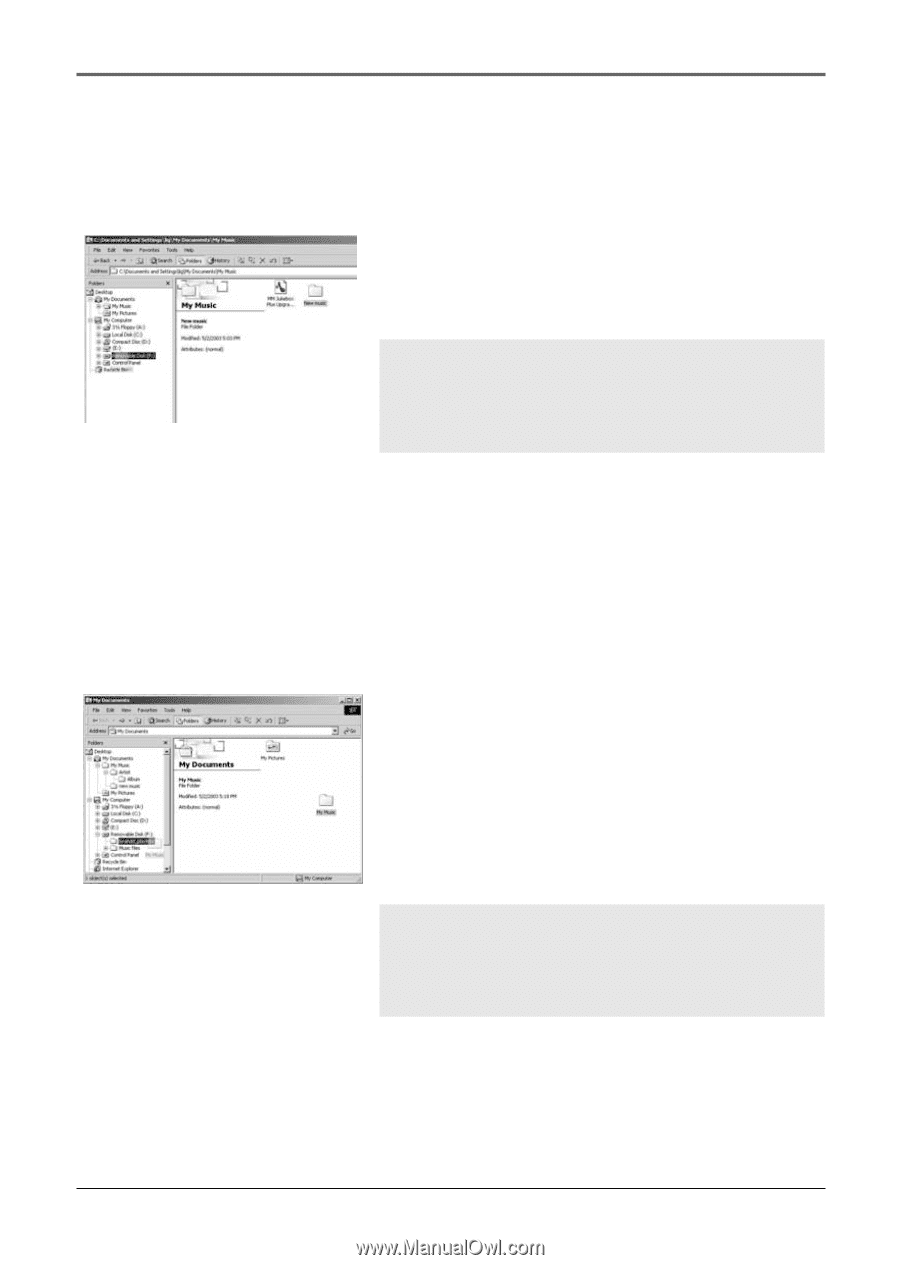
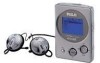
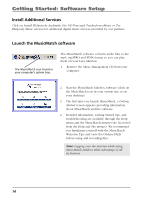
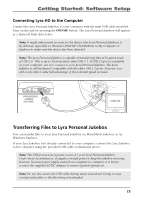
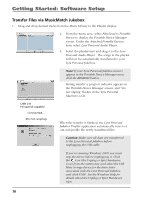
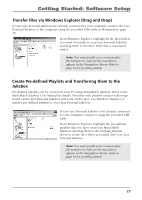
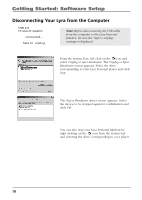
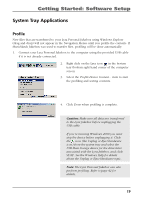
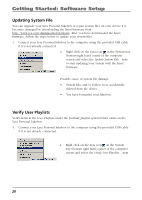
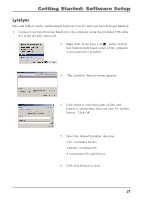
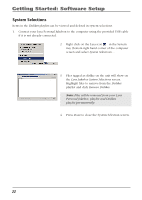
Getting Started: Software Setup Transfer Files via Windows Explorer (Drag and Drop) If your Lyra Personal Jukebox isn't already connected to your computer, connect the Lyra Personal Jukebox to the computer using the provided USB cable as illustrated on page 15. From Windows Explorer, highlight all the files/folders you want to transfer to your Lyra Personal Jukebox and drag them to the drive letter that is associated with it. Note: You must profile your contents after file transfer in order for the new files to appear in the Navigation Menus. Refer to page 19 for profiling details. Create Pre-defined Playlists and Transferring them to the Jukebox Pre-defined playlists can be created on your PC using MusicMatch Jukebox. Refer to the MusicMatch Jukebox User Manual for details. Note that only playlists created with songs stored on the Lyra Personal Jukebox will work on the Lyra. Use Windows Explorer to transfer pre-defined playlists to your Lyra Personal Jukebox. If your Lyra Personal Jukebox isn't already connected to your computer, connect it using the provided USB cable. From Windows Explorer, highlight the pre-defined playlists that you have created in MusicMatch Jukebox and drag them to the lyrahdd_playlists directory in the drive letter associated with your Lyra Personal Jukebox. Note: You must profile your contents after file transfer in order for the new files to appear in the Navigation Menus. Refer to page 19 for profiling details. 17
-
 1
1 -
2
-
3
-
4
-
5
-
6
-
7
-
8
-
9
-
10
-
11
-
 12
12 -
 13
13 -
 14
14 -
 15
15 -
 16
16 -
 17
17 -
 18
18 -
 19
19 -
 20
20 -
 21
21 -
 22
22 -
23
-
24
-
25
-
26
-
27
-
28
-
29
-
30
-
31
-
32
-
33
-
34
-
35
-
36
-
37
-
38
-
39
-
40
-
41
-
42
-
43
-
44
-
45
-
46
-
47
-
48
-
49
-
50
-
51
-
52
-
53
-
54
 |
 |