Samsung SCH-R600 User Manual (user Manual) (ver.f9) (English) - Page 77
Fun Frames, Options, Shot Mode icon, Resolution icon, X 1200, X 960, X 480, X 240, X 144, Picture ID
 |
View all Samsung SCH-R600 manuals
Add to My Manuals
Save this manual to your list of manuals |
Page 77 highlights
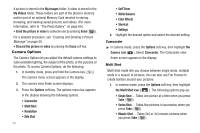
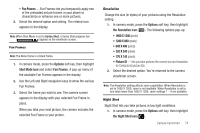
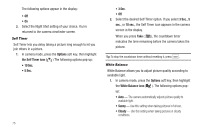
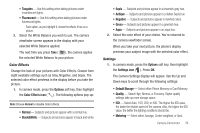
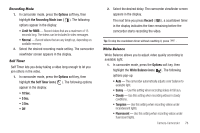
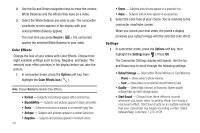
• Fun Frames - Fun Frames lets you temporarily apply one of the preloaded picture frames in your phone to characterize or enhance one or more pictures. 2. Select the desired option and setting. The related icon appears in the display. Note: When Shot Mode is set to Series Shot, a Series Shot progress bar ( ) appears in the viewfinder screen. Fun Frames Note: The None frame is a blank frame. 1. In camera mode, press the Options soft key, then highlight Shot Mode icon and select Fun Frames. A pop-up menu of the available Fun Frames appears in the display. 2. Use the Left and Right navigation keys to show the various Fun Frames. 3. Select the frame you wish to use. The camera screen appears in the display with your selected Fun Frame in place. When you take your next picture, the camera includes the selected Fun Frame in your picture. Resolution Change the size (in bytes) of your pictures using the Resolution setting. 1. In camera mode, press the Options soft key, then highlight the Resolution icon ( ). The following options pop-up: • 1600 X 1200 (pixels) • 1280 X 960 (pixels) • 640 X 480 (pixels) • 320 X 240 (pixels) • 176 X 144 (pixels) • Picture ID - lets you take pictures the correct size and resolution for Contacts list picture IDs. 2. Select the desired option. You're returned to the camera viewfinder screen. Note: The Resolution setting affects zoom capabilities. When Resolution is set to 1600 X 1200, zoom is not available. When Resolution is set to any value lower than 1600 X 1200, zoom settings 1 - 9 are available. Night Shot Night Shot lets you take pictures in low light conditions. 1. In camera mode, press the Options soft key, then highlight the Night Shot icon ( ). Camera-Camcorder 74
-
 1
1 -
2
-
3
-
4
-
5
-
6
-
7
-
8
-
9
-
10
-
11
-
12
-
13
-
14
-
15
-
16
-
17
-
18
-
19
-
20
-
21
-
22
-
23
-
24
-
25
-
26
-
27
-
28
-
29
-
30
-
31
-
32
-
33
-
34
-
35
-
36
-
37
-
38
-
39
-
40
-
41
-
42
-
43
-
44
-
45
-
46
-
47
-
48
-
49
-
50
-
51
-
52
-
53
-
54
-
55
-
56
-
57
-
58
-
59
-
60
-
61
-
62
-
63
-
64
-
65
-
66
-
67
-
68
-
69
-
70
-
71
-
 72
72 -
 73
73 -
 74
74 -
 75
75 -
 76
76 -
 77
77 -
 78
78 -
 79
79 -
 80
80 -
 81
81 -
 82
82 -
83
-
84
-
85
-
86
-
87
-
88
-
89
-
90
-
91
-
92
-
93
-
94
-
95
-
96
-
97
-
98
-
99
-
100
-
101
-
102
-
103
-
104
-
105
-
106
-
107
-
108
-
109
-
110
-
111
-
112
-
113
-
114
-
115
-
116
-
117
-
118
-
119
-
120
-
121
-
122
-
123
-
124
-
125
-
126
-
127
-
128
-
129
-
130
-
131
-
132
-
133
-
134
-
135
-
136
-
137
-
138
-
139
-
140
-
141
-
142
-
143
-
144
-
145
-
146
-
147
-
148
-
149
-
150
-
151
-
152
-
153
-
154
-
155
-
156
-
157
-
158
-
159
-
160
-
161
-
162
-
163
-
164
-
165
-
166
 |
 |
