Sony CAV-M1000ES Setup Software Operating Instructions - Page 3
CAV-M1000ES, Setup.exe, CAV-M1000ES Setup - software
 |
View all Sony CAV-M1000ES manuals
Add to My Manuals
Save this manual to your list of manuals |
Page 3 highlights
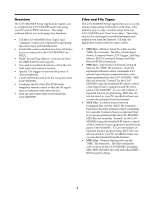
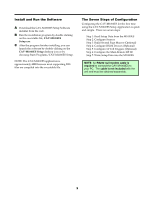
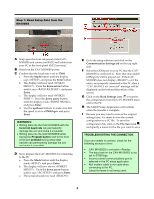
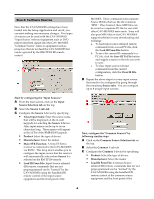
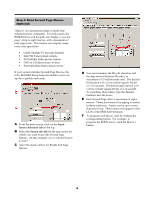
! Download the CAV-M1000ES Setup Software installer from the web. " Run the installation program by double clicking on the executable file, CAV-M1000ES Setup.exe. # After the program finishes installing, you can launch the software by double-clicking on the CAV-M1000ES Setup desktop icon or by choosing Start/Programs/CAV-M1000ES Setup. NOTE: The CAV-M1000ES application is approximately 4MB because most supporting DLL files are compiled into the executable file. # Configuring the CAV-M1000ES for the first time using the CAV-M1000ES Setup Application is quick and simple. There are seven steps: Step 1: Read Setup Data from the M1000ES Step 2: Configure Sources Step 3: Build Second Page Macros (Optional) Step 4: Configure RS232 Devices (Optional) Step 5: Configure 12 Volt Triggers (Optional) Step 6: Configure the Main Remote RF ID Step 7: Write Setup Data into the M1000ES NOTE: An RS232 null modem cable is required to connect the CAV-M1000ES to your PC. The cable is not included with the unit and must be obtained separately.
-
 1
1 -
 2
2 -
 3
3 -
 4
4 -
 5
5 -
 6
6 -
 7
7 -
 8
8 -
 9
9 -
10
-
11
-
12
-
13
-
14
-
15
-
16
-
17
-
18
 |
 |