Sony CPD-M151 Operating Instructions (primary manual) - Page 12
Automatically Adjusting the Picture, Eliminating Flickering or Blurring Manually - monitor
 |
View all Sony CPD-M151 manuals
Add to My Manuals
Save this manual to your list of manuals |
Page 12 highlights
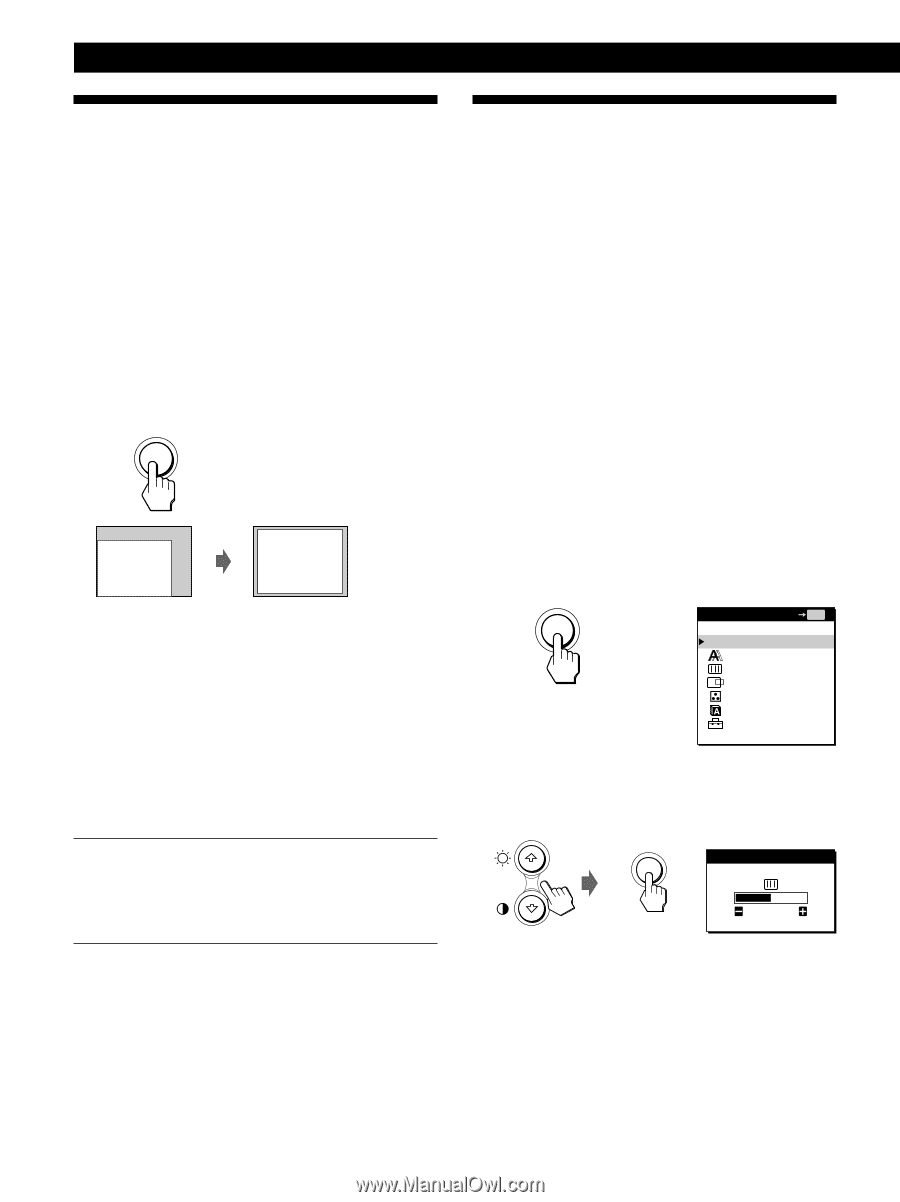
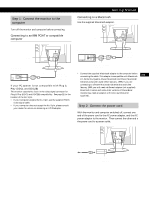
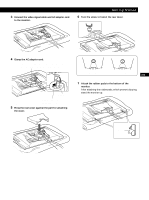
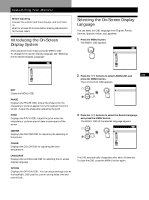
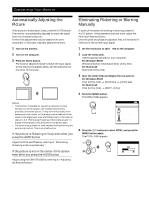
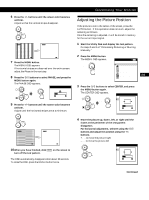
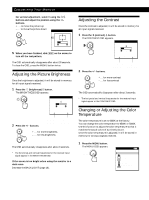
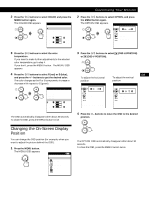
Customizing Your Monitor Automatically Adjusting the Picture If the picture is flickering or fuzzy, press the AUTO button. The monitor is automatically adjusted to match the signal from the connected computer. Further fine adjustments may be needed with some computers. In this case, manually adjust the monitor. 1 Turn on the monitor. 2 Turn on the computer. 3 Press the AUTO button. The monitor adjusts the pitch to match the input signal so that the picture appears sharp, and fits the picture to the center of the screen. AUTO Notes • This function is intended for use with a computer running Windows or similar graphic user interface software that provides a full-screen picture. It may not work properly if the background color is dark or if the input picture does not fill the screen to the edges (such as an MS-DOS prompt). In this case, do steps 1 to 3 of "Eliminating Flickering or Blurring Manually" to display the test pattern, then press the AUTO button again. • The screen may go blank for a few seconds while performing the auto-sizing function. This is not a malfunction. If the picture is flickering or fuzzy even after you press the AUTO button Adjust the Pitch and Phase by referring to "Eliminating Flickering or Blurring Manually." If the picture is not in the center of the screen even after you press the AUTO button Adjust using the CENTER OSD by referring to "Adjusting the Picture Position." Eliminating Flickering or Blurring Manually If a part of the screen is flickering or blurring, press the AUTO button. If this operation does not work, adjust the Pitch and Phase as follows. Once the pitch and phase are adjusted, they will be stored in memory for the current input signal. 1 Set the resolution to 1024 × 768 on the computer. 2 Load the Utility Disk. Use the appropriate disk for your computer. For Windows 95/98 Windows Monitor Information Disk/Utility Disk For Macintosh Macintosh Utility Disk 3 Start the Utility Disk and display the test pattern. For Windows 95/98 Click [Utility Disk] n [Windows] n [Utility.exe]. For Macintosh Click [Utility Disk] n [SONY-Utility]. 4 Press the MENU button. The MENU OSD appears. MENU MENU OK MENU EXIT PHASE PITCH CENTER COLOR LANGUAGE OPTION 5 Press the ˘/≥ buttons to select PITCH, and press the MENU button again. The PITCH OSD appears. MENU PITCH 0 12
-
 1
1 -
2
-
3
-
4
-
5
-
6
-
 7
7 -
 8
8 -
 9
9 -
 10
10 -
 11
11 -
 12
12 -
 13
13 -
 14
14 -
 15
15 -
 16
16 -
 17
17 -
18
-
19
-
20
-
21
-
22
-
23
-
24
-
25
-
26
-
27
-
28
-
29
-
30
-
31
-
32
-
33
-
34
-
35
-
36
-
37
-
38
-
39
-
40
-
41
-
42
-
43
-
44
-
45
-
46
-
47
-
48
-
49
-
50
-
51
-
52
-
53
-
54
-
55
-
56
-
57
-
58
-
59
-
60
-
61
-
62
-
63
-
64
-
65
-
66
-
67
-
68
-
69
-
70
-
71
-
72
-
73
-
74
-
75
-
76
-
77
-
78
-
79
-
80
-
81
-
82
-
83
-
84
-
85
-
86
-
87
-
88
-
89
-
90
-
91
-
92
-
93
-
94
-
95
-
96
-
97
-
98
-
99
-
100
-
101
-
102
-
103
-
104
 |
 |