Sony CPD-M151 Operating Instructions (primary manual) - Page 6
Setup - lcd
 |
View all Sony CPD-M151 manuals
Add to My Manuals
Save this manual to your list of manuals |
Page 6 highlights
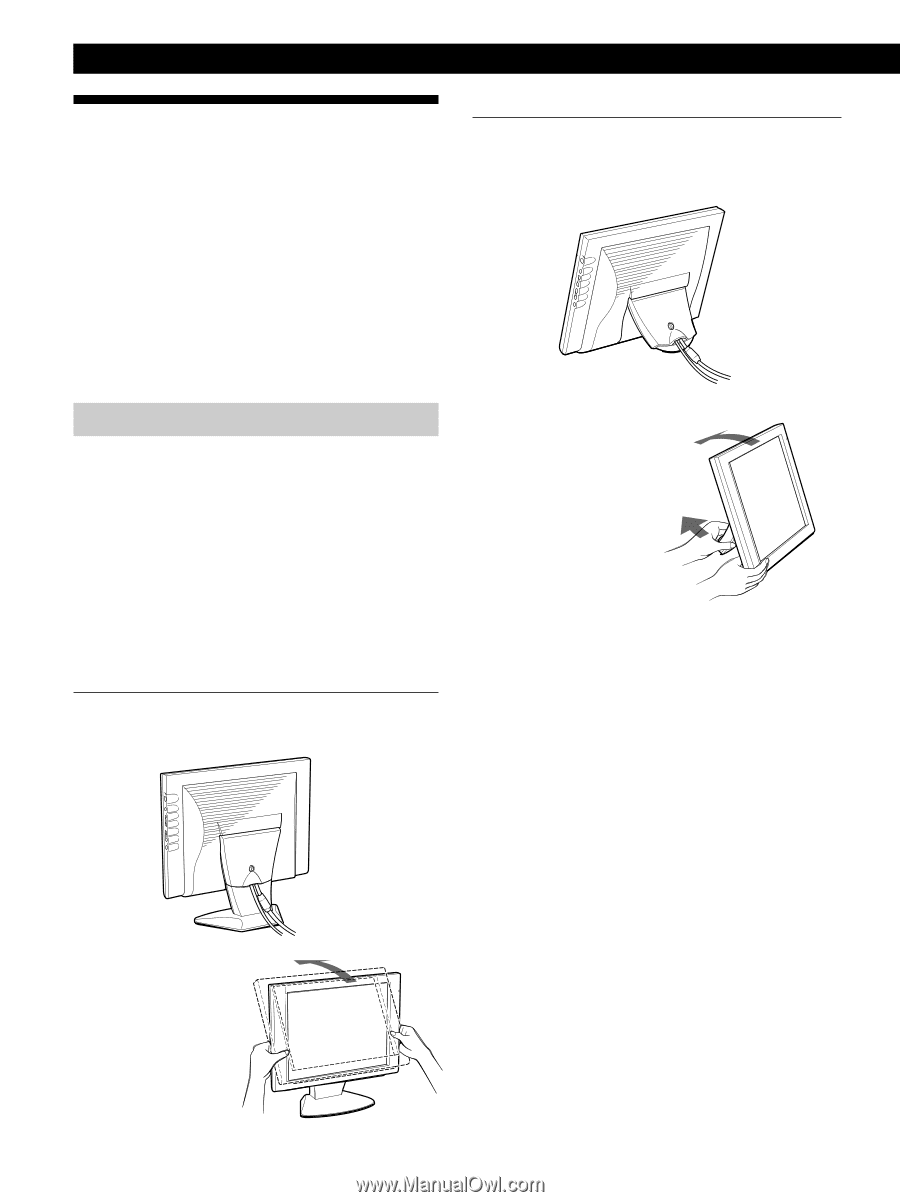
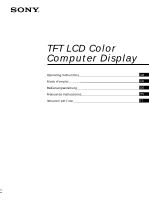
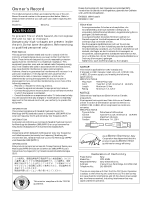
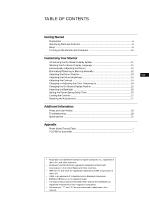
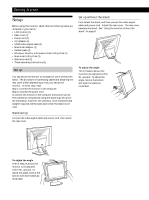
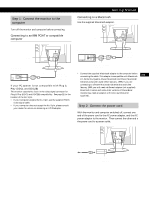
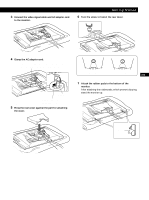
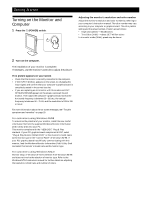
Getting Started Setup Before using this monitor, check that the following items are included in your carton: • LCD monitor (1) • Rear cover (1) • Power cord (1) • AC adapter (1) • HD15 video signal cable (1) • Macintosh adapter (1) • Rubber pads (2) • Windows Monitor Information Disk/Utility Disk (1) • Macintosh Utility Disk (1) • Warranty card (1) • These operating instructions (1) Set up You can set up the monitor on its stand or use it without the stand. The procedure of connecting cables and attaching the rear cover differs depending on how you set up the monitor. In either case, read: Step 1: Connect the monitor to the computer Step 2: Connect the power cord to connect the monitor to the computer and power source. The connection is explained using the stand-type set up for the illustration; however, the connector to be connected and adapter required are the same even when the stand is not used. Stand set up Connect the video signal cable and power cord, then attach the rear cover. Set up without the stand First detach the stand, and then connect the video signal cable and power cord. Attach the rear cover. The rear cover becomes the stand. See "Using the monitor without the stand" on page 8. To adjust the angle The tilt feature allows the 25° monitorto be adjusted within 25° upward. To adjust the angle, hold at the bottom and open the stand as illustrated. 65° To adjust the angle The tilt feature allows the monitor to be adjusted within 65° upward. To adjust the angle, hold at the bottom with both hands as illustrated. 6
-
 1
1 -
 2
2 -
 3
3 -
 4
4 -
 5
5 -
 6
6 -
 7
7 -
 8
8 -
 9
9 -
 10
10 -
 11
11 -
 12
12 -
13
-
14
-
15
-
16
-
17
-
18
-
19
-
20
-
21
-
22
-
23
-
24
-
25
-
26
-
27
-
28
-
29
-
30
-
31
-
32
-
33
-
34
-
35
-
36
-
37
-
38
-
39
-
40
-
41
-
42
-
43
-
44
-
45
-
46
-
47
-
48
-
49
-
50
-
51
-
52
-
53
-
54
-
55
-
56
-
57
-
58
-
59
-
60
-
61
-
62
-
63
-
64
-
65
-
66
-
67
-
68
-
69
-
70
-
71
-
72
-
73
-
74
-
75
-
76
-
77
-
78
-
79
-
80
-
81
-
82
-
83
-
84
-
85
-
86
-
87
-
88
-
89
-
90
-
91
-
92
-
93
-
94
-
95
-
96
-
97
-
98
-
99
-
100
-
101
-
102
-
103
-
104
 |
 |