Sony FWD-42PV1 Operating Instructions - Page 26

Selecting Image Quality, Adjusting the Picture - no sound

Page 26 highlights

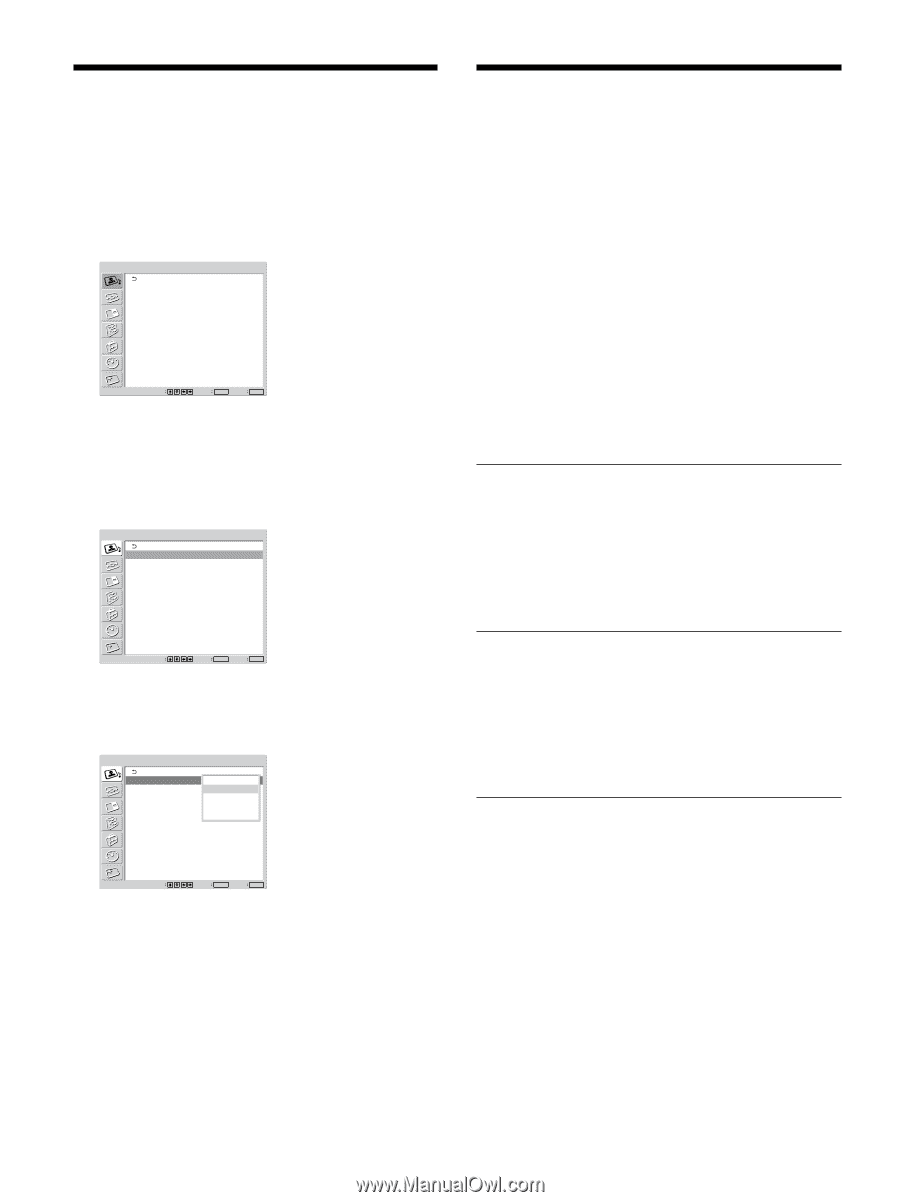
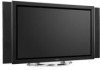
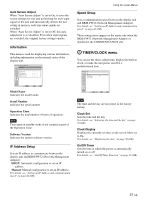
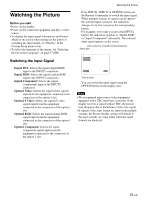
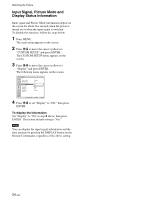
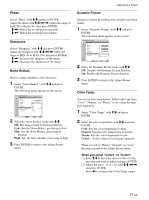
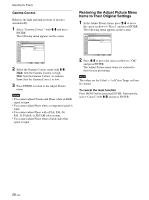
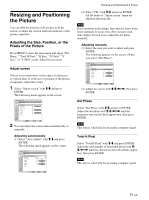
Selecting Image Quality / Adjusting the Picture Selecting Image Quality You can set an image quality suitable for the type of picture or the brightness of the location where the unit is installed. 1 Press MENU. The main menu appears on the screen. PICTURE/SOUND CONTROL Picture Mode: Adjust Picture Adjust Sound Standard Select Set ENTER Exit MENU 2 Press M/m to move the cursor (yellow) to "PICTURE/SOUND CONTROL" and press ENTER. The PICTURE/SOUND CONTROL menu appears on the screen. PICTURE/SOUND CONTROL Picture Mode: Adjust Picture Adjust Sound Standard Select Set ENTER Exit MENU 3 Press M/m to move the cursor (yellow) to "Picture Mode" and press ENTER. The following menu appears on the screen. PICTURE/SOUND CONTROL Picture Mode: Adjust Picture Adjust Sound Vivid Standard User1 User2 User3 Select Set ENTER Exit MENU 4 Select the Picture Mode with M/m. Vivid: Pictures get intense sharpness with image contour and contrast maximized. Standard: Pictures look real with moderate contrast and image contour. User1-3: You can set the image quality to suit your taste using the Adjust Picture menu. 5 Press ENTER to return to the PICTURE/SOUND CONTROL menu. Adjusting the Picture While watching the picture, you can adjust contrast, brightness, chroma, phase, and so on, to suit your taste. The adjustments can be carried out for each input signal separately. You can also store the adjusted levels in memory. Set the Picture Mode to any of "User1" to "User3." Adjusting the Contrast, Brightness, Chroma, and Phase, etc. Press MENU to show the main menu and adjust "Contrast," "Brightness," "Chroma," "Phase," "Sharpness," "Noise Reduct.," "Dynamic Picture," "Color Temp." or "Gamma Correct." on the Adjust Picture menu. Contrast Select "Contrast" with M/m and press ENTER. Adjust the contrast with M/m/

  • 1
  • 2
  • 3
  • 4
  • 5
  • 6
  • 7
  • 8
  • 9
  • 10
  • 11
  • 12
  • 13
  • 14
  • 15
  • 16
  • 17
  • 18
  • 19
  • 20
  • 21
  • 22
  • 23
  • 24
  • 25
  • 26
  • 27
  • 28
  • 29
  • 30
  • 31
  • 32
  • 33
  • 34
  • 35
  • 36
  • 37
  • 38
  • 39
  • 40
  • 41
  • 42
  • 43
  • 44
  • 45
  • 46
  • 47

26
(GB)
Selecting Image Quality
You can set an image quality suitable for the type of
picture or the brightness of the location where the unit
is installed.
1
Press MENU.
The main menu appears on the screen.
PICTURE/SOUND CONTROL
Picture Mode:
Adjust Picture
Adjust Sound
Standard
Set
ENTER
Exit
MENU
Select
2
Press
M
/
m
to move the cursor (yellow) to
“PICTURE/SOUND CONTROL” and press
ENTER.
The PICTURE/SOUND CONTROL menu
appears on the screen.
PICTURE/SOUND CONTROL
Picture Mode:
Adjust Picture
Adjust Sound
Standard
Set
ENTER
Exit
MENU
Select
3
Press
M
/
m
to move the cursor (yellow) to “Picture
Mode” and press ENTER.
The following menu appears on the screen.
PICTURE/SOUND CONTROL
Picture Mode:
Adjust Picture
Adjust Sound
Set
ENTER
Exit
MENU
Select
Vivid
Standard
User1
User2
User3
4
Select the Picture Mode with
M
/
m
.
Vivid:
Pictures get intense sharpness with image
contour and contrast maximized.
Standard:
Pictures look real with moderate
contrast and image contour.
User1-3:
You can set the image quality to suit
your taste using the Adjust Picture menu.
5
Press ENTER to return to the PICTURE/SOUND
CONTROL menu.
Adjusting the Picture
While watching the picture, you can adjust contrast,
brightness, chroma, phase, and so on, to suit your
taste. The adjustments can be carried out for each
input signal separately. You can also store the
adjusted levels in memory.
Set the Picture Mode to any of “User1” to “User3.”
Adjusting the Contrast, Brightness,
Chroma, and Phase, etc.
Press MENU to show the main menu and adjust
“Contrast,” “Brightness,” “Chroma,” “Phase,”
“Sharpness,” “Noise Reduct.,” “Dynamic Picture,”
“Color Temp.” or “Gamma Correct.” on the Adjust
Picture menu.
Contrast
Select “Contrast” with
M
/
m
and press ENTER.
Adjust the contrast with
M
/
m
/
<
/
,
within the range
of MIN (0) to MAX (100), then press ENTER.
M
/
,
:
to increase picture contrast
m
/
<
:
to decrease picture contrast
Brightness
Select “Brightness” with
M
/
m
and press ENTER.
Adjust the brightness with
M
/
m
/
<
/
,
within the
range of MIN (0) to MAX (100), then press ENTER.
M
/
,
:
to make the picture brighter
m
/
<
:
to make the picture darker
Chroma
Select “Chroma” with
M
/
m
and press ENTER.
Adjust the chroma with
M
/
m
/
<
/
,
within the range
of MIN (0) to MAX (100), then press ENTER.
M
/
,
:
Increases color intensity.
m
/
<
:
Decreases color intensity.
Selecting Image Quality / Adjusting the Picture