Sony FWD-42PV1 Operating Instructions - Page 35
Setting up the Multi, Display
 |
View all Sony FWD-42PV1 manuals
Add to My Manuals
Save this manual to your list of manuals |
Page 35 highlights
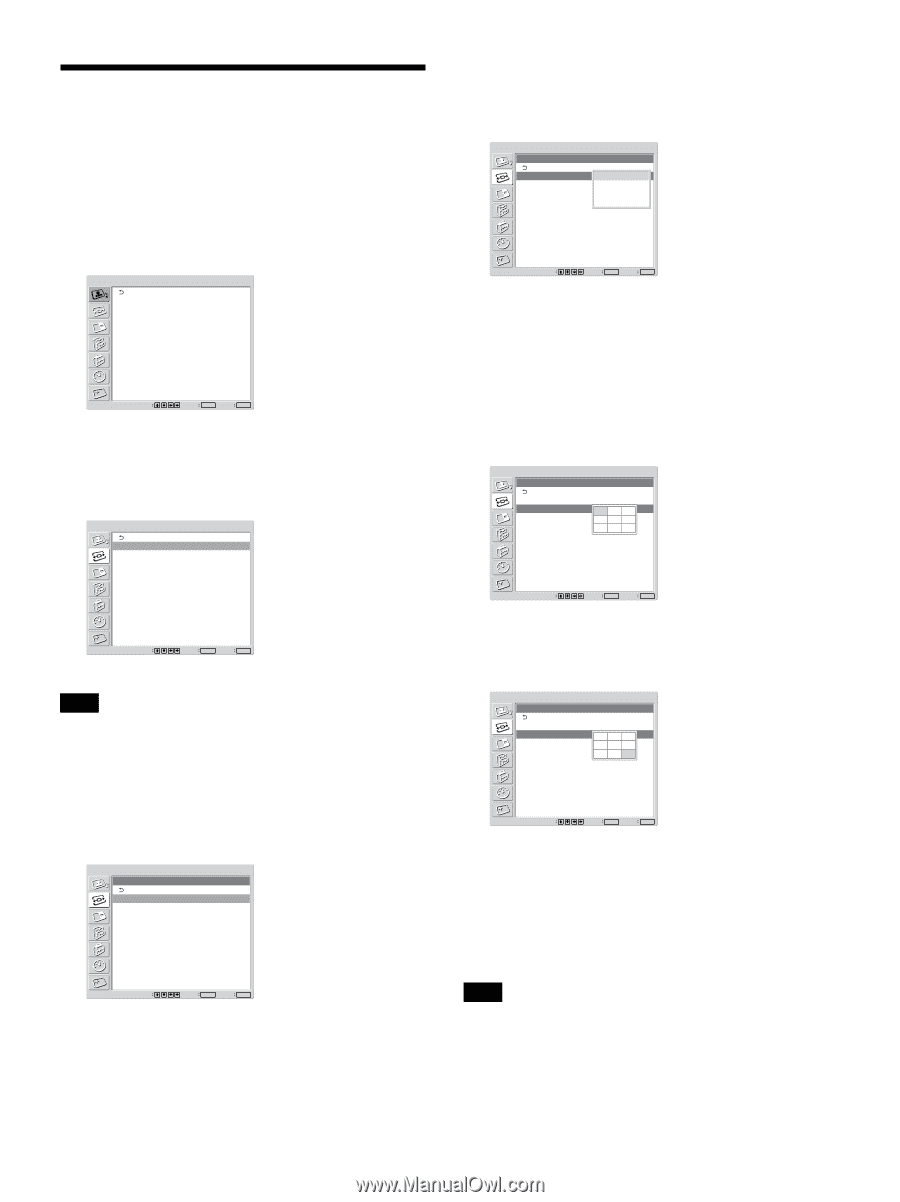
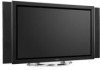
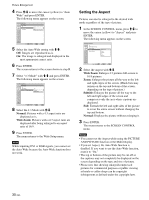
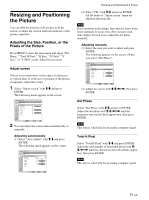
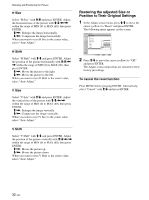
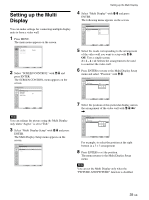
Setting up the Multi Display You can make settings for connecting multiple display units to form a video wall. 1 Press MENU. The main menu appears on the screen. PICTURE/SOUND CONTROL Picture Mode: Adjust Picture Adjust Sound Standard Select Set ENTER Exit MENU 2 Select "SCREEN CONTROL" with M/m and press ENTER. The SCREEN CONTROL menu appears on the screen. SCREEN CONTROL Multi Display Setup Wide Setup Wide Mode: Full Adjust Screen Select Set ENTER Exit MENU Note You can enlarge the picture using the Multi Display only when "Aspect" is set to"Full." 3 Select "Multi Display Setup" with M/m and press ENTER. The Multi Display Setup menu appears on the screen. SCREEN CONTROL Multi Display Setup Multi Display: Off Position Select Set ENTER Exit MENU Setting up the Multi Display 4 Select "Multi Display" with M/m and press ENTER. The following menu appears on the screen. SCREEN CONTROL Multi Display Setup Multi Display: Off Position 2x2 3x3 4x4 Select Set ENTER Exit MENU 5 Select the mode corresponding to the arrangement of the video wall you want to setup with M/m. Off: Uses a single screen. 2 × 2 - 4 × 4: Selects the arrangement to be used to construct the video wall. 6 Press ENTER to return to the Multi Display Setup menu and select "Position" with M/m. SCREEN CONTROL Multi Display Setup Multi Display: 3x3 Position Select Set ENTER Exit MENU 7 Select the position of this particular display unit in the arrangement of the video wall with M/m/
-
 1
1 -
2
-
3
-
4
-
5
-
6
-
7
-
8
-
9
-
10
-
11
-
12
-
13
-
14
-
15
-
16
-
17
-
18
-
19
-
20
-
21
-
22
-
23
-
24
-
25
-
26
-
27
-
28
-
29
-
 30
30 -
 31
31 -
 32
32 -
 33
33 -
 34
34 -
 35
35 -
 36
36 -
 37
37 -
 38
38 -
 39
39 -
 40
40 -
41
-
42
-
43
-
44
-
45
-
46
-
47
 |
 |