TRENDnet TEW-601PC User Guide - Page 38
Uninstalling The Wireless Client Utility Upgrading The Wireless Client Utility - driver
 |
UPC - 710931502831
View all TRENDnet TEW-601PC manuals
Add to My Manuals
Save this manual to your list of manuals |
Page 38 highlights
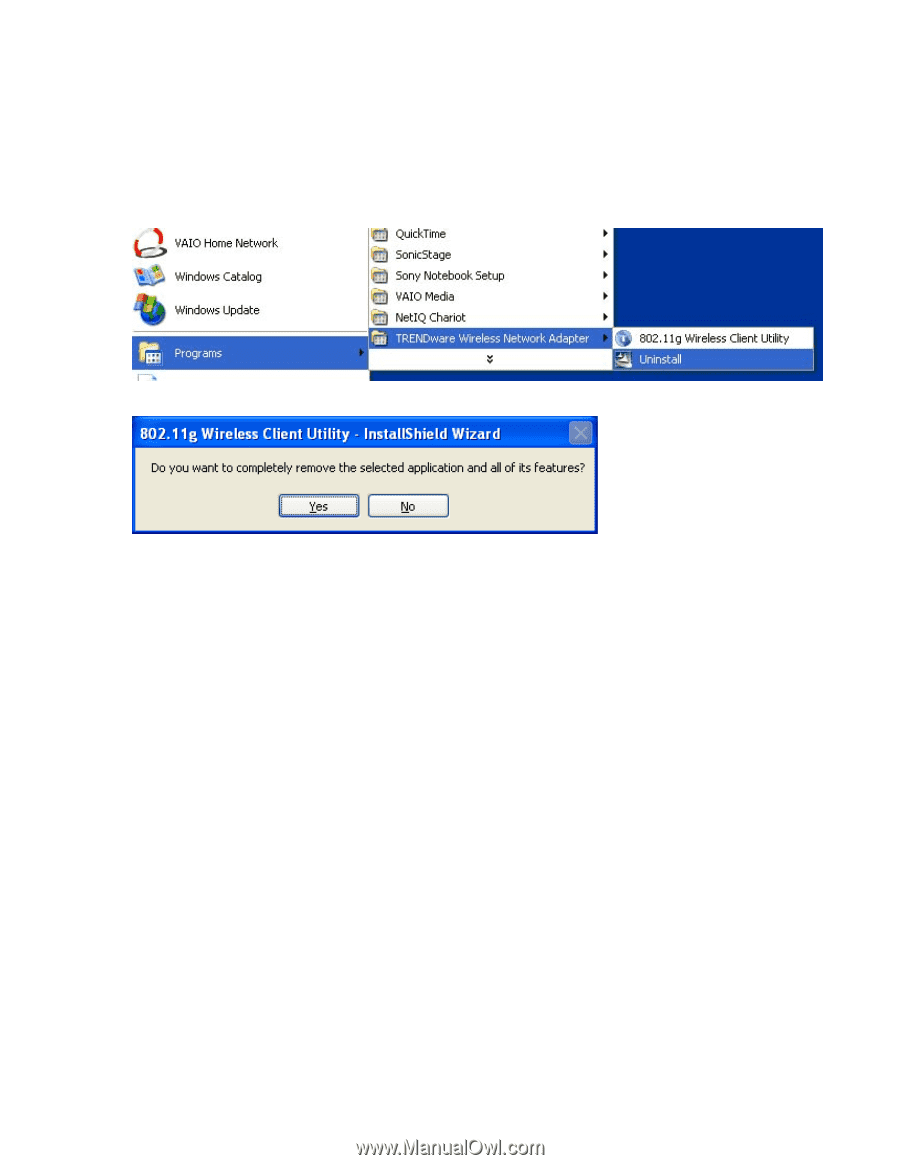
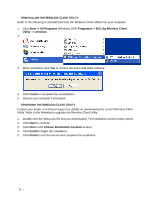
UNINSTALLING THE WIRELESS CLIENT UTILITY Refer to the following to uninstall (remove) the Wireless Client Utility from your computer. 1. Click Start -> All Programs (Windows 2000 Programs) -> 802.11g Wireless Client Utility -> Uninstall. 2. 3. When prompted, click Yes to remove the driver and utility software. 4. Click Finish to complete the uninstallation. 5. Reboot your computer if prompted. UPGRADING THE WIRELESS CLIENT UTILITY Contact your dealer or technical support for details on downloading the current Wireless Client Utility. Refer to the following to upgrade the Wireless Client Utility. 1. Double-click the Setup.exe file that you downloaded. The installation wizard screen opens. 2. Click Next to continue. 3. Click Next in the Choose Destination Location screen. 4. Click Install to begin the installation. 5. Click Finish to exit the wizard and complete the installation. 32 --
-
 1
1 -
2
-
3
-
4
-
5
-
6
-
7
-
8
-
9
-
10
-
11
-
12
-
13
-
14
-
15
-
16
-
17
-
18
-
19
-
20
-
21
-
22
-
23
-
24
-
25
-
26
-
27
-
28
-
29
-
30
-
31
-
32
-
 33
33 -
 34
34 -
 35
35 -
 36
36 -
 37
37 -
 38
38 -
 39
39 -
 40
40 -
 41
41 -
 42
42 -
 43
43
 |
 |