ViewSonic PJ452 User Guide - Page 34
IMAGE menu
 |
UPC - 766907174311
View all ViewSonic PJ452 manuals
Add to My Manuals
Save this manual to your list of manuals |
Page 34 highlights
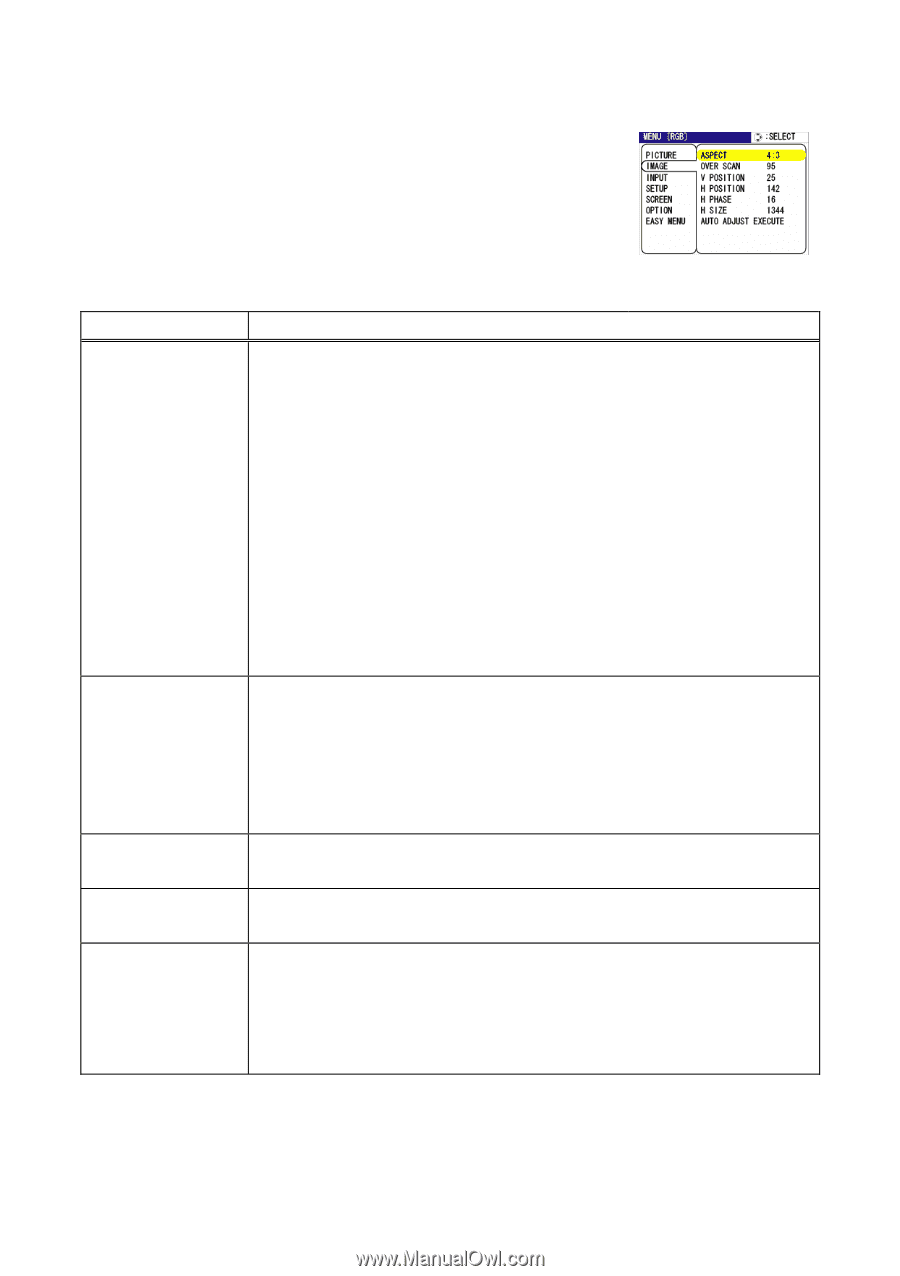
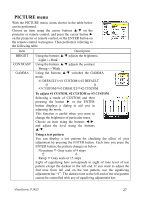
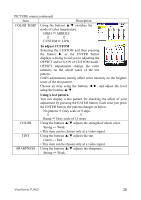
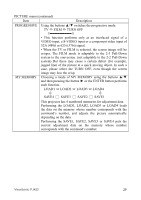
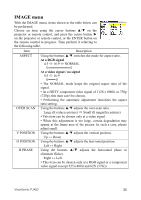
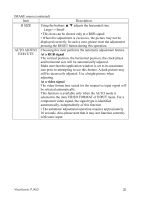
IMAGE menu With the IMAGE menu, items shown in the table below can be performed. Choose an item using the cursor buttons ▲/▼ on the projector or remote control, and press the cursor button ► on the projector or remote control, or the ENTER button on the remote control to progress. Then perform it referring to the following table. Item Description ASPECT OVER SCAN Using the buttons ▲/▼ switches the mode for aspect ratio. At a RGB signal 4:3 16:9 NORMAL At a video signal / no signal 4:3 16:9 ═══ • The NORMAL mode keeps the original aspect ratio of the signal. • At a HDTV component video signal of 1125i (1080i) or 750p (720p), this item can't be chosen. • Performing the automatic adjustment initializes the aspect ratio setting. Using the buttons ▲/▼ adjusts the over-scan ratio. Large (It reduces picture) Small (It magnifies picture) • This item can be chosen only at a video signal. • When this adjustment is too large, certain degradation may appear at the frame area of the picture. In such a case, please adjust small. V POSITION H POSITION H PHASE Using the buttons ▲/▼ adjusts the vertical position. Up ↔ Down Using the buttons ▲/▼ adjusts the horizontal position. Left ↔ Right Using the buttons ▲/▼ adjusts the horizontal phase to eliminate flicker. Right ↔ Left • This item can be chosen only at a RGB signal or a component video signal (except 525i (480i) and 625i (576i)). ViewSonic PJ452 30
-
 1
1 -
2
-
3
-
4
-
5
-
6
-
7
-
8
-
9
-
10
-
11
-
12
-
13
-
14
-
15
-
16
-
17
-
18
-
19
-
20
-
21
-
22
-
23
-
24
-
25
-
26
-
27
-
28
-
 29
29 -
 30
30 -
 31
31 -
 32
32 -
 33
33 -
 34
34 -
 35
35 -
 36
36 -
 37
37 -
 38
38 -
 39
39 -
40
-
41
-
42
-
43
-
44
-
45
-
46
-
47
-
48
-
49
-
50
-
51
-
52
-
53
-
54
-
55
-
56
-
57
-
58
-
59
-
60
 |
 |