ViewSonic PJ452 Service Manual - Page 20
Warning - lcd projector
 |
UPC - 766907174311
View all ViewSonic PJ452 manuals
Add to My Manuals
Save this manual to your list of manuals |
Page 20 highlights
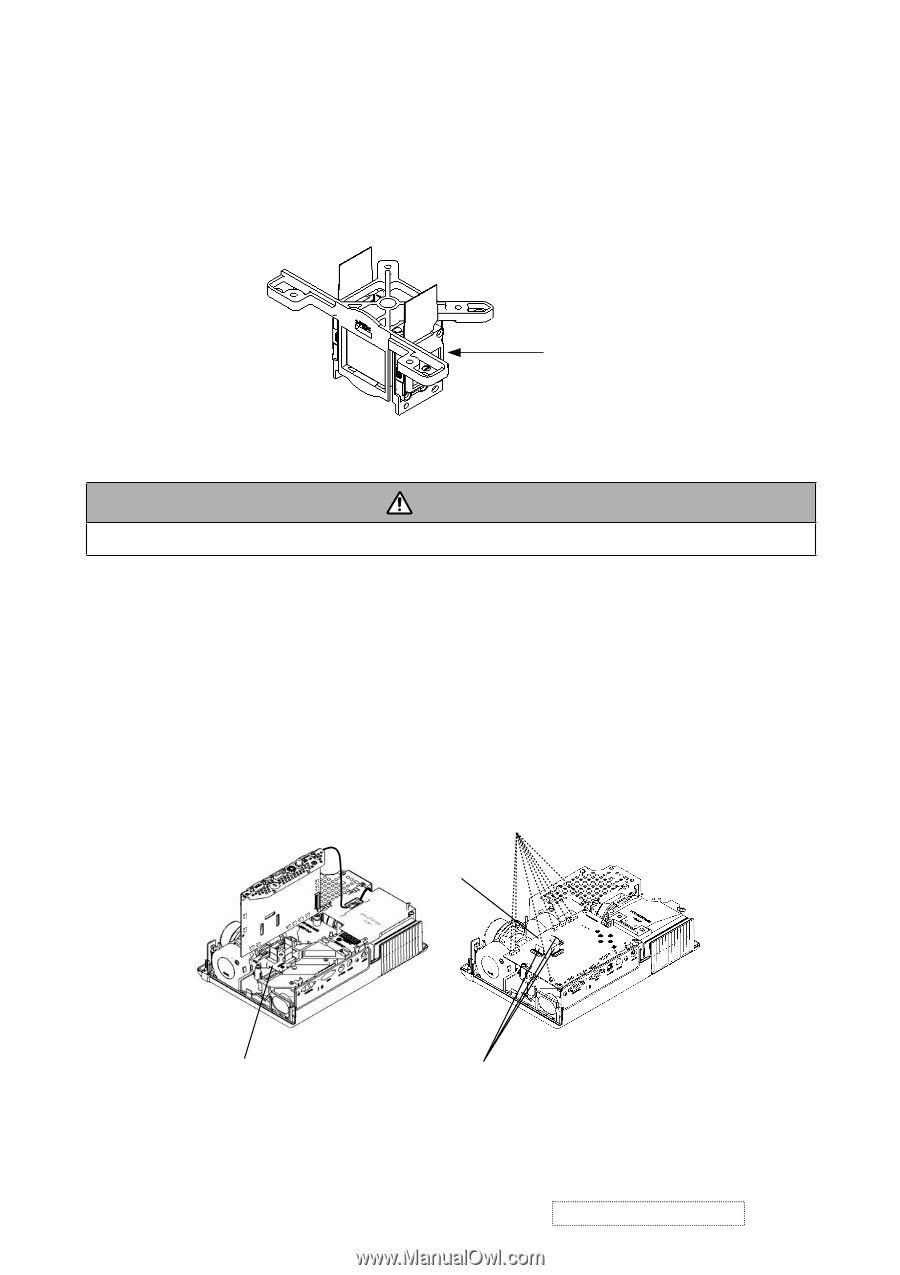
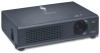
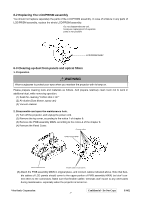
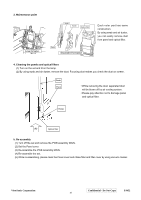
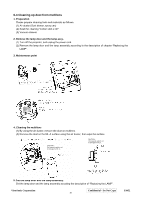
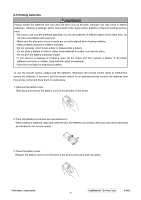
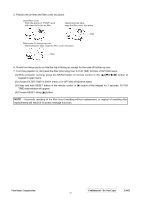
6-2 Replacing The LCD/PRISM assembly You should not replace separately the parts of the LCD/PRISM assembly. In case of a failure in any parts of LCD/PRISM assembly, replace the whole LCD/PRISM assembly. Do not disassemble the unit becaouse replacement of separate parts is not possible. LCD/PRISM ASSY 6-3 Cleaning up dust from panels and optical filters 1. Preparation WARNING Wear sunglasses to protect your eyes when you maintain the projector with its lamp on. Please prepare cleaning tools and materials as follows. And prepare relatively clean room not to work in additional dust, while removing operation. (1) Swab for cleaning "Cotton stick L147" (2) Air duster (Dust blower, spray can) (3) Vacuum cleaner 2. Disassemble and open the maintenance hole. (1) Turn off the projector, and unplug the power cord. (2) Remove the top cover, according to the notice 1 of chapter 8. (3) Remove the PWB assembly MAIN, according to the notice-2 of the chapter 8. (4) Remove the Panel Cover. Connect cables PWB assembly MAIN Remove Panel Cover Flexible cables of LCD panels (5) Attach the PWB assembly MAIN in original place, and connect cables indicated above. Note that flexible cables of LCD panels should come to the upper portion of PWB assembly MAIN, but don't connect them to the connectors. Make sure that flexible cables' terminals don't touch to any other parts during maintenance, especially when the projector is turned on. ViewSonic Corporation Confidential - Do Not Copy PJ452 17
-
 1
1 -
2
-
3
-
4
-
5
-
6
-
7
-
8
-
9
-
10
-
11
-
12
-
13
-
14
-
 15
15 -
 16
16 -
 17
17 -
 18
18 -
 19
19 -
 20
20 -
 21
21 -
 22
22 -
 23
23 -
 24
24 -
 25
25 -
26
-
27
-
28
-
29
-
30
-
31
-
32
-
33
-
34
-
35
-
36
-
37
-
38
-
39
-
40
-
41
-
42
-
43
-
44
-
45
-
46
-
47
-
48
-
49
-
50
-
51
-
52
-
53
-
54
-
55
-
56
-
57
-
58
-
59
-
60
-
61
-
62
-
63
-
64
-
65
-
66
-
67
-
68
-
69
-
70
 |
 |