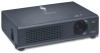
ViewSonic PJ452 Service Manual - Page 22
Cleaning up dust from multilens - replacement lamp
 |
UPC - 766907174311
View all ViewSonic PJ452 manuals
Add to My Manuals
Save this manual to your list of manuals |
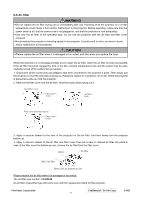
Page 22 highlights
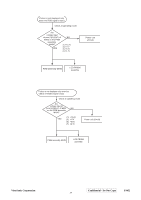
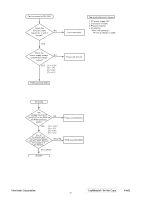
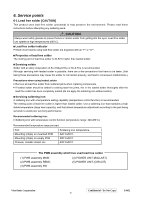
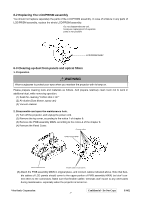
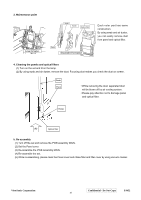
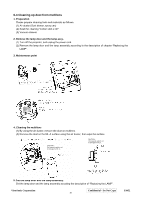
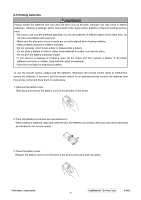
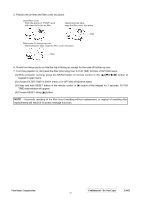
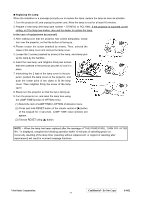
6-4 Cleaning up dust from multilens 1. Preparation Please prepare cleaning tools and materials as follows. (1) Air duster (Dust blower, spray can) (2) Swab for cleaning "Cotton stick L147" (3) Vacuum cleaner 2. Remove the lamp door and the lamp assy. (1) Turn off the projector, and unplug the power cord. (2) Remove the lamp door and the lamp assembly according to the description of chapter "Replacing the LAMP". 3. Maintenance point 4. Cleaning the multilens (1) By using the air duster, remove the dust on multilens. (2) Remove the dust on the ML-A surface using the air duster, then wipe the surface. CAUTION : Use special caution not to damage the ML-A. CAUTION : Use special caution not to damage the ML-A. 5. Set the lamp door and the lamp assembly. Set the lamp door and the lamp assembly accoding the description of "Replacing the LAMP". ViewSonic Corporation Confidential - Do Not Copy 19 PJ452
-
 1
1 -
2
-
3
-
4
-
5
-
6
-
7
-
8
-
9
-
10
-
11
-
12
-
13
-
14
-
15
-
16
-
 17
17 -
 18
18 -
 19
19 -
 20
20 -
 21
21 -
 22
22 -
 23
23 -
 24
24 -
 25
25 -
 26
26 -
 27
27 -
28
-
29
-
30
-
31
-
32
-
33
-
34
-
35
-
36
-
37
-
38
-
39
-
40
-
41
-
42
-
43
-
44
-
45
-
46
-
47
-
48
-
49
-
50
-
51
-
52
-
53
-
54
-
55
-
56
-
57
-
58
-
59
-
60
-
61
-
62
-
63
-
64
-
65
-
66
-
67
-
68
-
69
-
70
 |
 |
