ViewSonic PJ452 Service Manual - Page 9
Ghost adjustment, 2 Convergence adjustment, E-POS adjustment, vertical bars adjustment
 |
UPC - 766907174311
View all ViewSonic PJ452 manuals
Add to My Manuals
Save this manual to your list of manuals |
Page 9 highlights
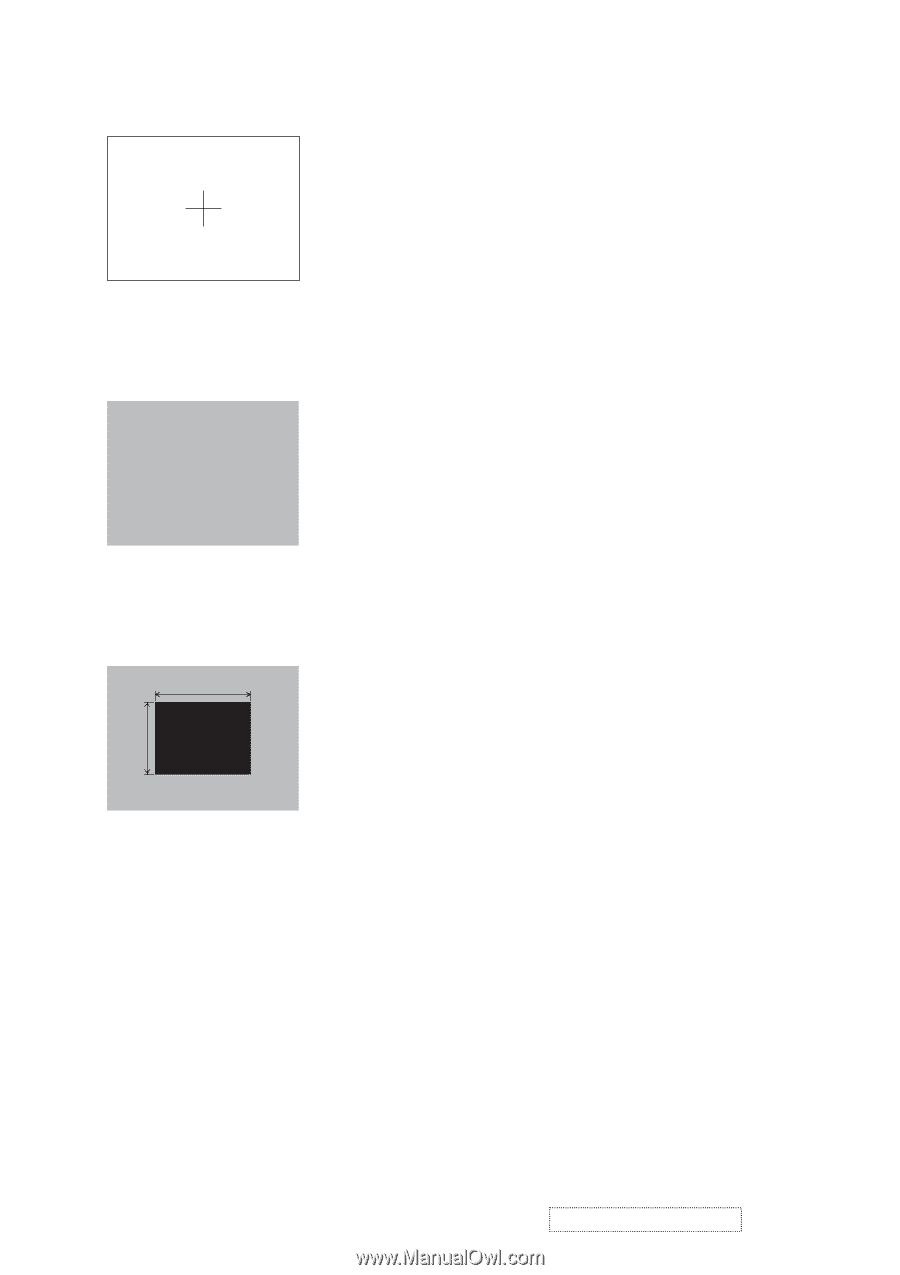
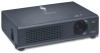
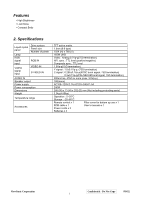
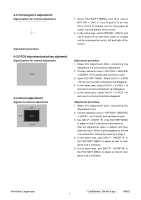
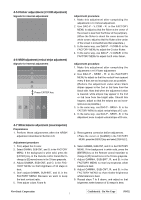
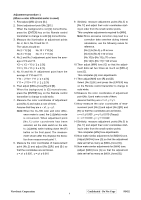
4-2 Convergence adjustment Signal pattern for internal adjustment Adjustment procedure 4-3 E-POS adjustment(vertical bars adjustment) Signal pattern for internal adjustment 112/255 4-4 Ghost adjustment Signals for internal adjustment 30% 30% 0/255 112/255 1. Open FACTORY MENU and then select OPTION > CNV-V. Use R and/or B so that three colors of images can be converged at center, top and bottom of the screen. 2. In the same way, select OPTION > CNV-H and use R and/or B so that three colors of images can be converged at center, left and right of the screen. Adjustment procedure 1. Make this adjustment after completing the adjustment 4-2 Convergence adjustment. 2. Choose Advance menu > OPTION > SERVICE > GHOST > R,G and B, and set them to zero. 3. Open FACTORY MENU. Select DAC-P > E-POS > R and use it so that vertical bars can disappear. 4. In the same way, select DAC-P > E-POS > G and use it so that vertical bars can disappear. 5. In the same way, select DAC-P > E-POS > B and use it so that vertical bars disappear. Adjustment procedure 1. Make this adjustment after completing the adjustment in 4-3. 2. Choose Advance menu > OPTION > SERVICE > GHOST > R,G and B, and set them to zero. 3. Use DAC-P - GHOST - R: in the FACTORY MENU to adjust so that R color ghost is at a minimum. (Set the adjustment value to default, and then raise the value. When a ghost appears to the left of a vertical line, reduce the value by 4 steps.) 4. In the same way, use DAC-P - GHOST-G: in the FACTORY MENU to adjust so that G color ghost is at a minimum. 5. In the same way, use DAC-P - GHOST-B: in the FACTORY MENU to adjust so that B color ghost is at a minimum. ViewSonic Corporation Confidential - Do Not Copy PJ452 6
-
 1
1 -
2
-
3
-
 4
4 -
 5
5 -
 6
6 -
 7
7 -
 8
8 -
 9
9 -
 10
10 -
 11
11 -
 12
12 -
 13
13 -
 14
14 -
15
-
16
-
17
-
18
-
19
-
20
-
21
-
22
-
23
-
24
-
25
-
26
-
27
-
28
-
29
-
30
-
31
-
32
-
33
-
34
-
35
-
36
-
37
-
38
-
39
-
40
-
41
-
42
-
43
-
44
-
45
-
46
-
47
-
48
-
49
-
50
-
51
-
52
-
53
-
54
-
55
-
56
-
57
-
58
-
59
-
60
-
61
-
62
-
63
-
64
-
65
-
66
-
67
-
68
-
69
-
70
 |
 |