Vivitar V15 V15 - Page 14
Resolution Modification
 |
View all Vivitar V15 manuals
Add to My Manuals
Save this manual to your list of manuals |
Page 14 highlights
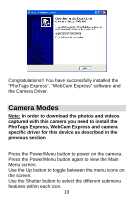
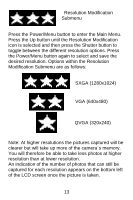
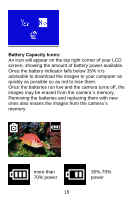
Resolution Modification Submenu Press the Power/Menu button to enter the Main Menu. Press the Up button until the Resolution Modification icon is selected and then press the Shutter button to toggle between the different resolution options. Press the Power/Menu button again to select and save the desired resolution. Options within the Resolution Modification Submenu are as follows: SXGA (1280x1024) VGA (640x480) QVGA (320x240) Note: At higher resolutions the pictures captured will be clearer but will take up more of the camera`s memory. You will therefore be able to take less photos at higher resolution than at lower resolution. An indication of the number of photos that can still be captured for each resolution appears on the bottom left of the LCD screen once the picture is taken. 13
-
 1
1 -
2
-
3
-
4
-
5
-
6
-
7
-
8
-
 9
9 -
 10
10 -
 11
11 -
 12
12 -
 13
13 -
 14
14 -
 15
15 -
 16
16 -
 17
17 -
 18
18 -
 19
19 -
20
-
21
-
22
-
23
-
24
-
25
-
26
-
27
-
28
-
29
-
30
-
31
-
32
-
33
-
34
-
35
-
36
-
37
-
38
-
39
-
40
-
41
 |
 |
