Adobe 65010248 Migration Guide - Page 25
Transparency in Gradients
 |
UPC - 883919156484
View all Adobe 65010248 manuals
Add to My Manuals
Save this manual to your list of manuals |
Page 25 highlights
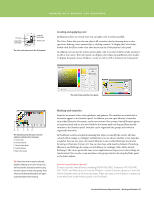
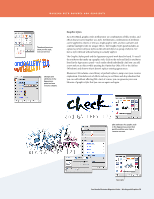
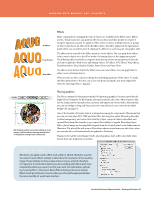
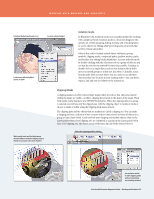
WORKING WITH BRUSHES AND GRADIENTS Transparency in Gradients In Illustrator, you apply gradient fills to objects using the Gradient tool that features on-object controls for easy editing. When you click the Gradient tool, the default gradient or last-applied gradient will be immediately applied to your selected object. You can then edit the gradient and see results as you work, right on your object. Gradients can also be added and edited using the Gradient panel. You can save gradients to the Swatches panel for quick application to other objects and you can adjust the transparency of any color in your gradients. You will find that Illustrator gradients are smoother than those you create in FreeHand (without visible linear or radial steps) and output exactly as you have created them. Gradients are defined by a series of stops in the gradient slider (a minimum of two). A stop is the point at which a gradient changes from one color to the next, and is identified by a square below the gradient slider. Gradient controls on your object provide instant visual feedback. Add and edit color stops, adjust the location and angle of a gradient, and even change the shape of an ellipitical gradient-all right on the object. The Gradient panel has an opacity slider you can use with any gradient stop to create transparent colors. Opacity is indicated by a checkerboard pattern in the gradient bar. You can also set the angle of your gradient with a slider and define the dimension of a radial gradient to get an ellipse. Transparency in gradients enables quick and easy experimentation with blending and mixing colors among layered objects. FreeHandtoIllustratorMigrationGuide-WorkingwithGraphics 25


