Bernina 730 Manual - Page 21
Cleaning, Oiling
 |
View all Bernina 730 manuals
Add to My Manuals
Save this manual to your list of manuals |
Page 21 highlights
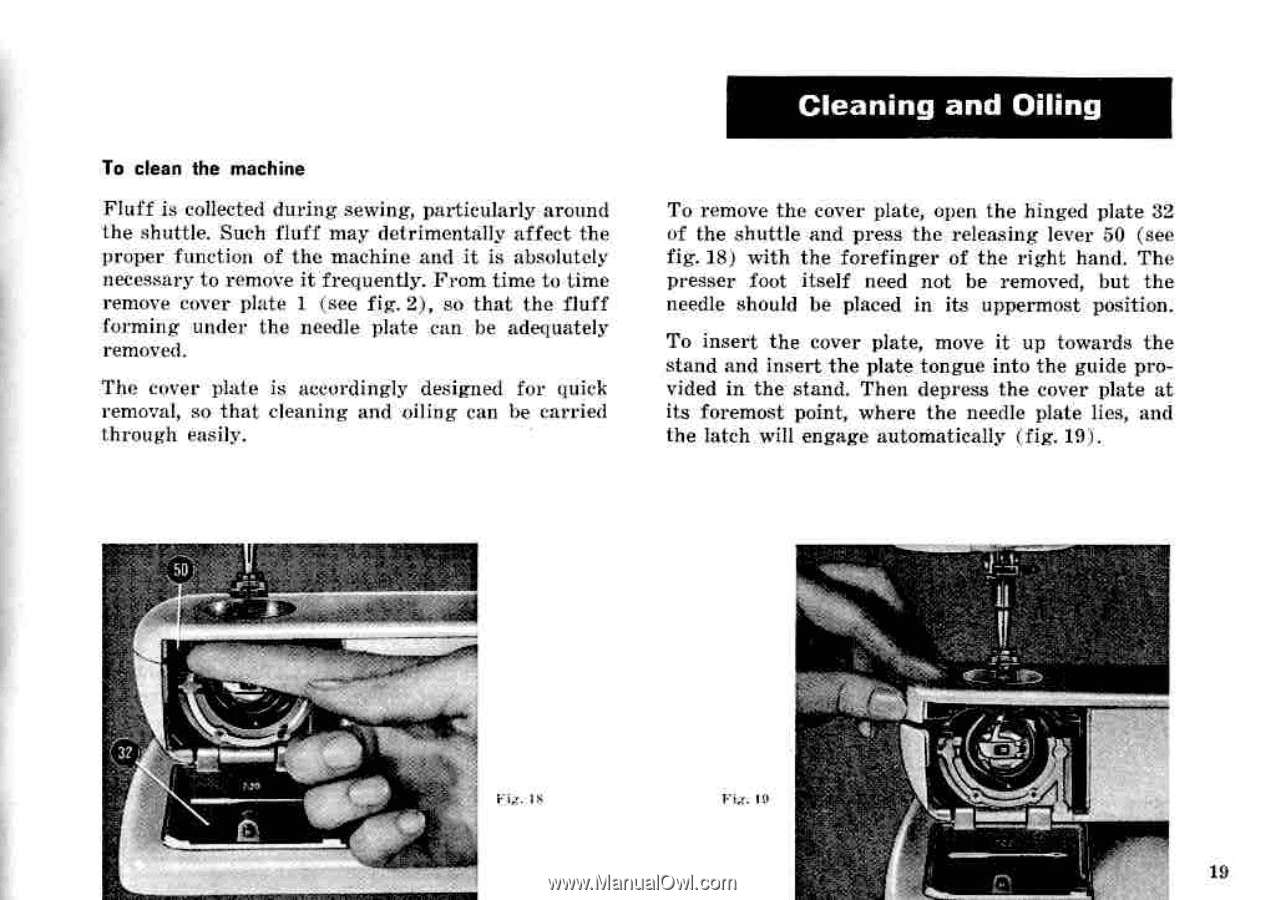
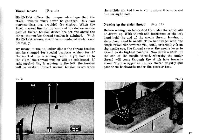
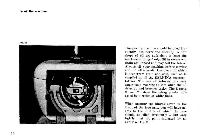
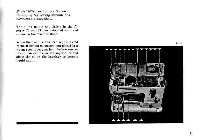
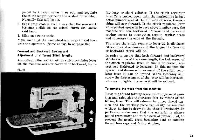
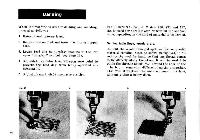
To clean the machine Fluff is collected during sewing, particularly around the shuttle. Such fluff may detrimentally affect the proper function of the machine and it is absolutely necessary to remove it frequently. From time to time remove cover plate 1 (see fig. 2), •so that the fluff forming under the needle plate can be Adequately removed. The cover plate is accordingly designed for quick removal, so that cleaning and oiling can be carried through easily. Cleaning and Oiling To remove the cover plate, open the hinged plate 32 of the shuttle and press the releasing lever 50 (see fig. 18) with the forefinger of the right hand. The presser foot itself need not be removed, but the needle should be placed in its uppermost pOsition. To insert the cover plate, move it up towards the stand and insert the plate tongue into the guide provided in the stand. Then depress the cover plate at its foremost point, where the needle plate lies, and the latch will engage automatically (fig. 19). a, S • Fix. 2: 19
-
 1
1 -
2
-
3
-
4
-
5
-
6
-
7
-
8
-
9
-
10
-
11
-
12
-
13
-
14
-
15
-
 16
16 -
 17
17 -
 18
18 -
 19
19 -
 20
20 -
 21
21 -
 22
22 -
 23
23 -
 24
24 -
 25
25 -
 26
26 -
27
-
28
-
29
-
30
-
31
-
32
-
33
-
34
-
35
-
36
-
37
-
38
-
39
-
40
-
41
-
42
-
43
-
44
-
45
-
46
-
47
-
48
-
49
-
50
-
51
-
52
-
53
-
54
-
55
-
56
-
57
-
58
-
59
-
60
-
61
-
62
-
63
-
64
-
65
-
66
-
67
-
68
-
69
-
70
-
71
-
72
-
73
-
74
-
75
-
76
-
77
-
78
-
79
-
80
-
81
-
82
-
83
-
84
 |
 |