Bernina 730 Manual - Page 34
Zigzag
 |
View all Bernina 730 manuals
Add to My Manuals
Save this manual to your list of manuals |
Page 34 highlights
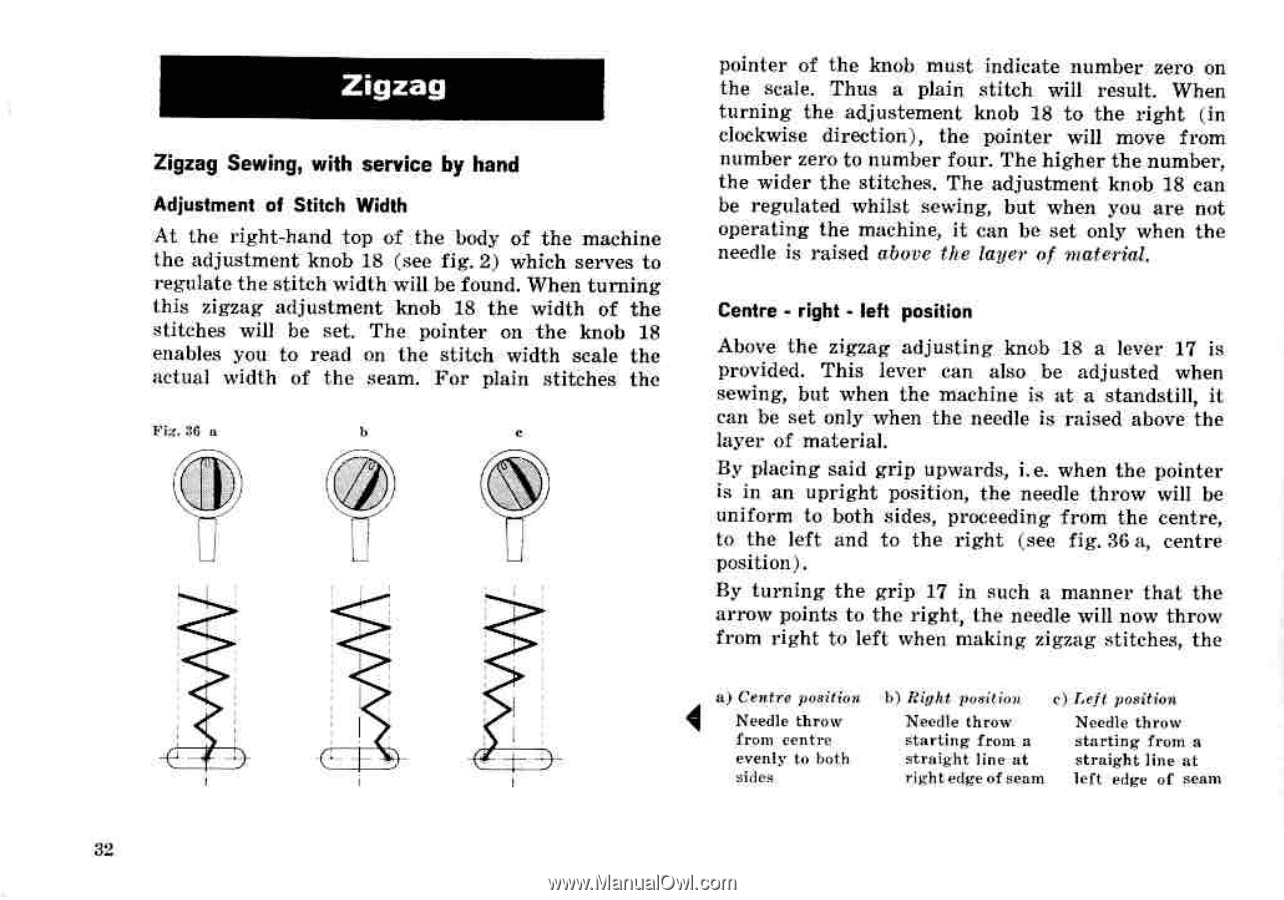
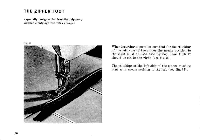
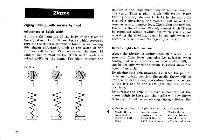
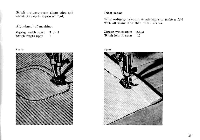
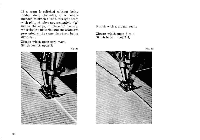
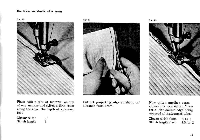
Zigzag Zigzag Sewing, with service by hand Adjustment of Stitch Width At the right-hand top of the body of the machine the adjustment knob 18 (see fig. 2) which serves to regulate the stitch width will be found. When turning this zigzag adjustment knob 18 the width of the stitches will be set. The pointer on the knob 18 enables you to read on the stitch width scale the actual width of the seam. For plain stitches the pointer of the knob must indicate number zero on the scale. Thus a plain stitch will result. When turning the adjustement knob 18 to the right (in clockwise direction), the pointer will move from number zero to number four. The higher the number, the wider the stitches. The adjustment knob 18 can be regulated whilst sewing, but when you are not operating the machine, it can be set only when the needle is raised above the layer of material. Centre - right - left position Above the zigzag adjusting knob 18 a lever 17 is provided. This lever can also be adjusted when sewing, but when the machine is at a standstill, it can be set only when the needle is raised above the layer of material. By placing said grip upwards, i.e. when the pointer is in an upright position, the needle throw will be uniform to both sides, proceeding from the centre, to the left and to the right (see fig. 36 a, centre position). By turning the grip 17 in such a manner that the arrow points to the right, the needle will now throw from right to left when making zigzag stitches, the a) Centro position Needle throw from centre evenly to both sides 1.) Right position c) left position Needle throw starting from a straight line at right edge of seam Needle throw starting from a straight line at left edge of seam 32
-
 1
1 -
2
-
3
-
4
-
5
-
6
-
7
-
8
-
9
-
10
-
11
-
12
-
13
-
14
-
15
-
16
-
17
-
18
-
19
-
20
-
21
-
22
-
23
-
24
-
25
-
26
-
27
-
28
-
 29
29 -
 30
30 -
 31
31 -
 32
32 -
 33
33 -
 34
34 -
 35
35 -
 36
36 -
 37
37 -
 38
38 -
 39
39 -
40
-
41
-
42
-
43
-
44
-
45
-
46
-
47
-
48
-
49
-
50
-
51
-
52
-
53
-
54
-
55
-
56
-
57
-
58
-
59
-
60
-
61
-
62
-
63
-
64
-
65
-
66
-
67
-
68
-
69
-
70
-
71
-
72
-
73
-
74
-
75
-
76
-
77
-
78
-
79
-
80
-
81
-
82
-
83
-
84
 |
 |