Bernina 730 Manual - Page 50
Sewing, Buttons
 |
View all Bernina 730 manuals
Add to My Manuals
Save this manual to your list of manuals |
Page 50 highlights
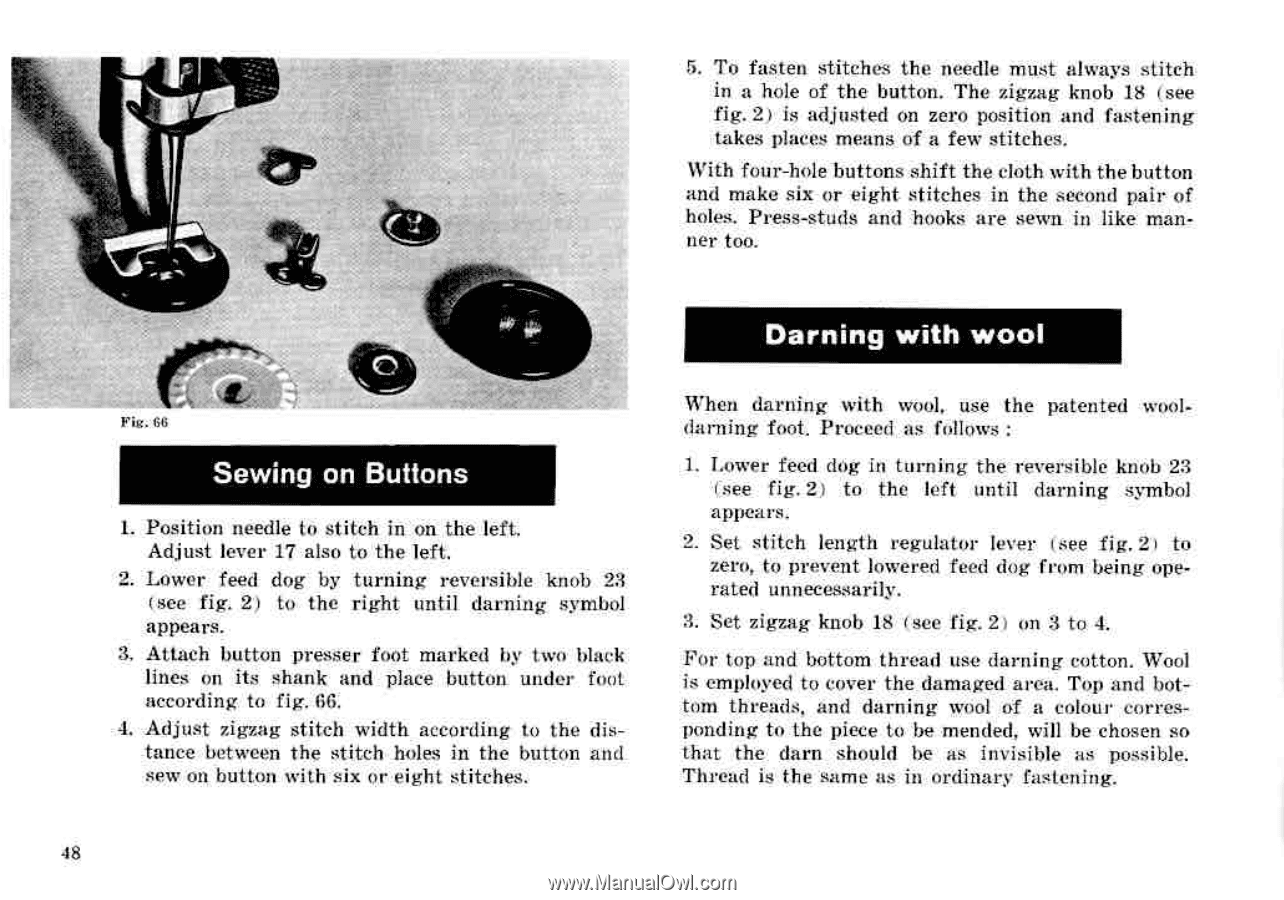
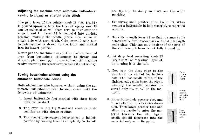
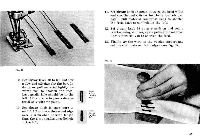
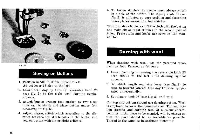
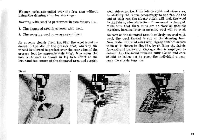
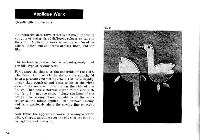
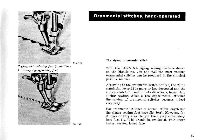
5. To fasten stitches the needle must always stitch in a hole of the button. The zigzag knob 18 (see fig. 2 ) is adjusted on zero position and fastening takes places means of a few stitches. With four-hole buttons shift the cloth with the button and make six or eight stitches in the second pair of holes. Press-studs and hooks are sewn in like manner too. ..:41.efr-PYS Fig. 66 Sewing on Buttons 1. Position needle to stitch in on the left. Adjust lever 17 also to the left 2. Lower feed dog by turning reversible knob 23 (see fig. 2) to the right until darning symbol appears. 3. Attach button presser foot marked by two black lines on its shank and place button under foot according to fig. 66. 4. Adjust zigzag stitch width according to the distance between the stitch holes in the button and sew on button with six or eight stitches. Darning with wool When darning with wool, use the patented wooldarning foot. Proceed as follows : 1. Lower feed dog in turning the reversible knob 23 (see fig. 2) to the left until darning symbol appears. 2. Set stitch length regulator lever I see fig. 2) to zero, to prevent lowered feed dog from being operated unnecessarily. 3. Set zigzag knob 18 (see fig. 2) on 3 to 4. For top and bottom thread use darning cotton. Wool is employed to cover the damaged area. Top and bottom threads, and darning wool of a colour corresponding to the piece to be mended, will be chosen so that the darn should be as invisible as possible. Thread is the same as in ordinary fastening. 48
-
 1
1 -
2
-
3
-
4
-
5
-
6
-
7
-
8
-
9
-
10
-
11
-
12
-
13
-
14
-
15
-
16
-
17
-
18
-
19
-
20
-
21
-
22
-
23
-
24
-
25
-
26
-
27
-
28
-
29
-
30
-
31
-
32
-
33
-
34
-
35
-
36
-
37
-
38
-
39
-
40
-
41
-
42
-
43
-
44
-
 45
45 -
 46
46 -
 47
47 -
 48
48 -
 49
49 -
 50
50 -
 51
51 -
 52
52 -
 53
53 -
 54
54 -
 55
55 -
56
-
57
-
58
-
59
-
60
-
61
-
62
-
63
-
64
-
65
-
66
-
67
-
68
-
69
-
70
-
71
-
72
-
73
-
74
-
75
-
76
-
77
-
78
-
79
-
80
-
81
-
82
-
83
-
84
 |
 |