Bose Lifestyle 48 Installation guide - Page 22
Open/Close, CD/DVD, above your ears - dvd system
 |
View all Bose Lifestyle 48 manuals
Add to My Manuals
Save this manual to your list of manuals |
Page 22 highlights
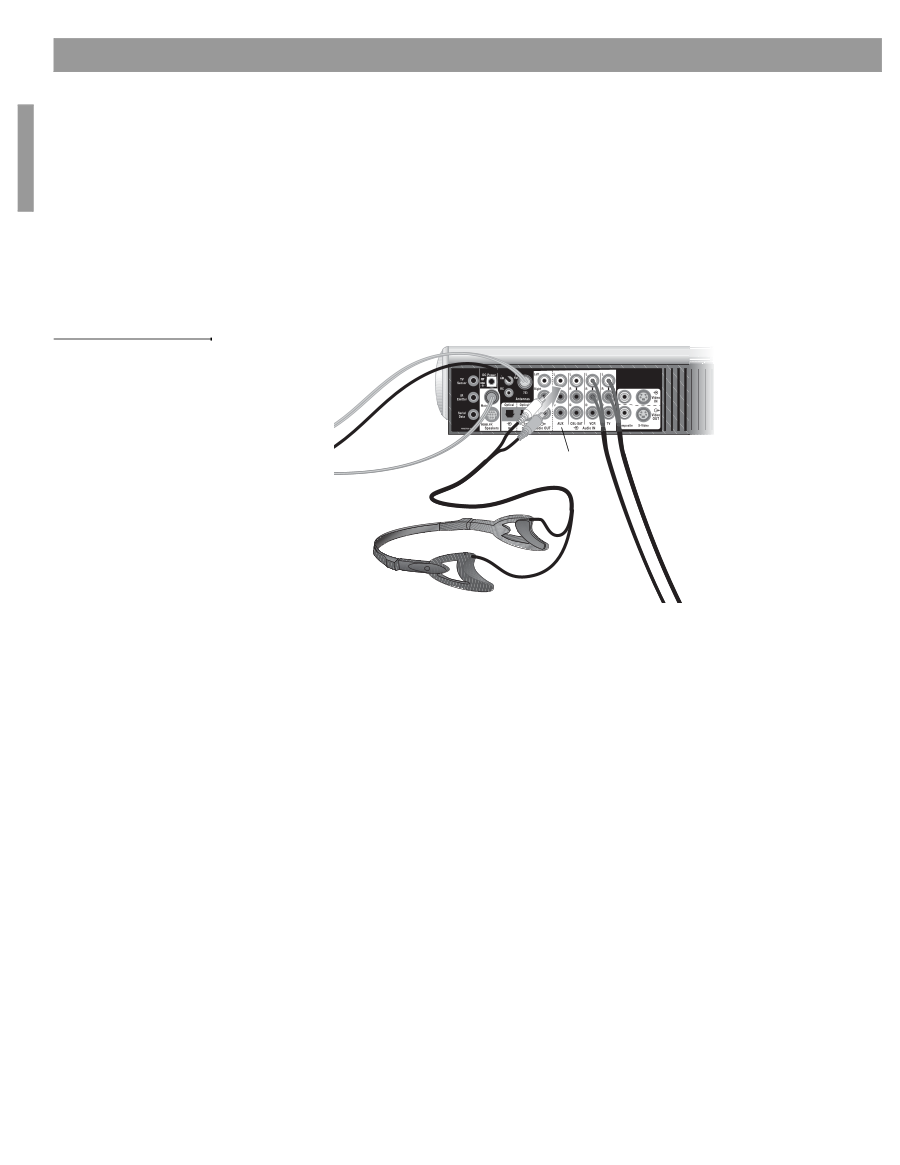
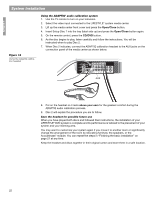
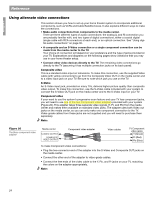
English System Installation Figure 18 Using the AdaptiQ calibration headset Using the ADAPTiQ® audio calibration system 1. Use the TV remote to turn on your television. 2. Select the video input connected to the LIFESTYLE® system media center. 3. Lift up the media center front cover and press the Open/Close button. 4. Insert Setup Disc 1 into the tray (label side up) and press the Open/Close button again. 5. On the remote control, press the CD/DVD button. 6. As the disc begins to play, listen carefully and follow the instructions. You will be instructed when to play Disc 2. 7. When Disc 2 indicates, connect the ADAPTiQ calibration headset to the AUX jacks on the connection panel of the media center as shown below. AUX 8. Put on the headset so it rests above your ears for the greatest comfort during the ADAPTiQ audio calibration process. 9. Disc 2 will explain the procedure you are to follow. Save the headset for possible future use When you have played both discs and followed their instructions, the installation of your LIFESTYLE® DVD system is complete and its performance is tailored to the placement of your system and your listening area. You may want to customize your system again if you move it to another room or significantly change the arrangement of the room by relocating furniture, the speakers, or the Acoustimass® module. You can repeat the steps in "Finishing the basic installation" on page 21 at any time. Keep the headset and discs together in their original carton and store them in a safe location. 22
-
 1
1 -
2
-
3
-
4
-
5
-
6
-
7
-
8
-
9
-
10
-
11
-
12
-
13
-
14
-
15
-
16
-
 17
17 -
 18
18 -
 19
19 -
 20
20 -
 21
21 -
 22
22 -
 23
23 -
 24
24 -
 25
25 -
 26
26 -
 27
27 -
28
-
29
-
30
-
31
-
32
-
33
-
34
-
35
-
36
 |
 |