Brother International MFC-J6710DW Software Users Manual - English - Page 39
Smart Portrait, Red-eye Reduction, Print Setting, Properties, Media Type, Print Quality, Print - printer drivers
 |
UPC - 012502626633
View all Brother International MFC-J6710DW manuals
Add to My Manuals
Save this manual to your list of manuals |
Page 39 highlights
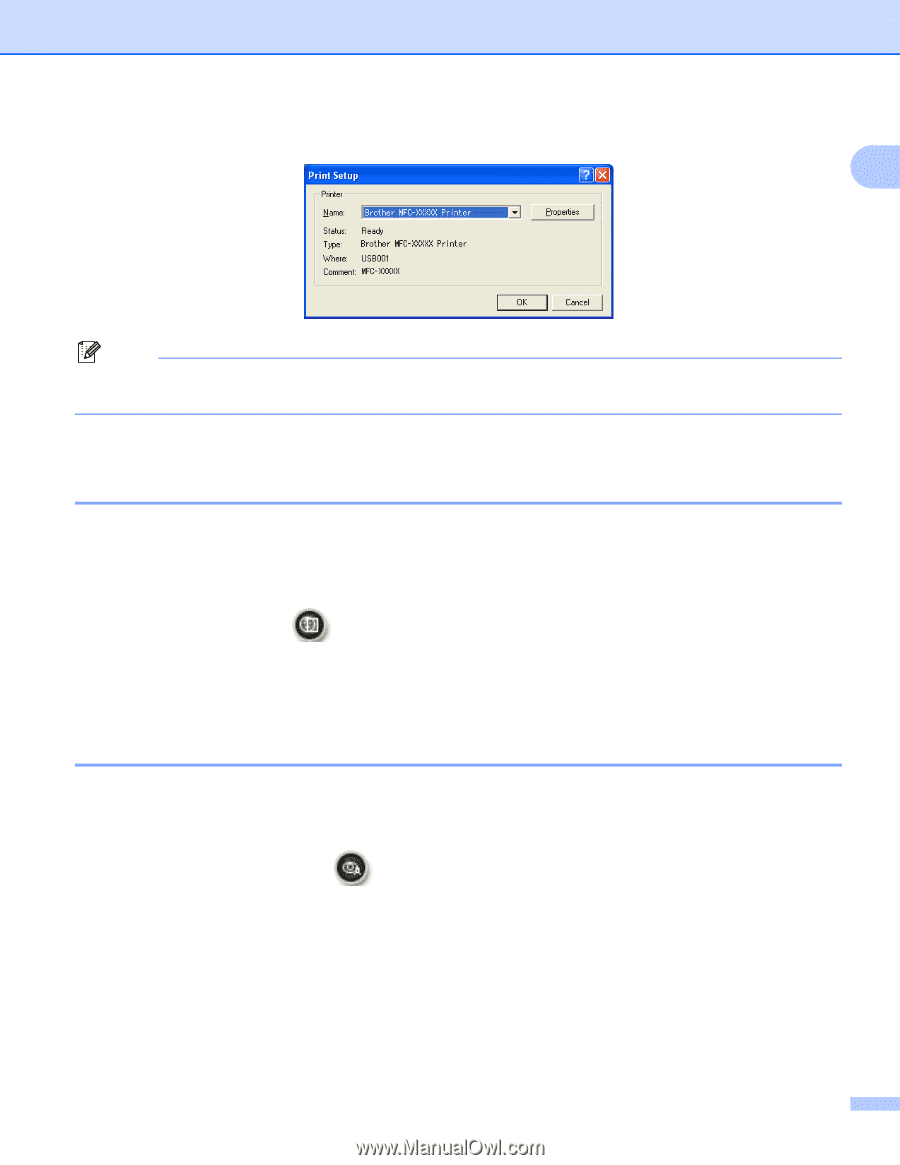
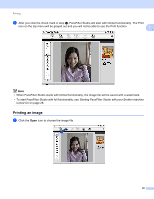
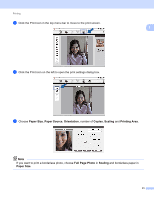
Printing e Click Print Setting and choose your Brother machine. Click OK. 1 Note If you want to use photo paper, click Properties and set the Media Type and Print Quality in the printer driver dialog. f Click Print in the Print settings dialog box and your photo will print. Smart Portrait 1 The Smart Portrait function detects faces in the photo and adjust the brightness of the skin tone automatically. a Open the image file. b Click the Smart Portrait icon to detect faces automatically. c You can modify the Brightness adjustment by dragging the slider. d Click OK. Red-eye Reduction 1 The Red Eye Reduction function lets you reduce red eyes in your photo. a Open the image file. b Click the Red Eye Reduction icon to reduce red eyes automatically. c Auto Red eye Detection finds all the red eyes in the image and marks them as dotted boxes. You can use the RedEye Threshold slider to adjust the color of the marked areas. d Click OK. 32
-
 1
1 -
2
-
3
-
4
-
5
-
6
-
7
-
8
-
9
-
10
-
11
-
12
-
13
-
14
-
15
-
16
-
17
-
18
-
19
-
20
-
21
-
22
-
23
-
24
-
25
-
26
-
27
-
28
-
29
-
30
-
31
-
32
-
33
-
 34
34 -
 35
35 -
 36
36 -
 37
37 -
 38
38 -
 39
39 -
 40
40 -
 41
41 -
 42
42 -
 43
43 -
 44
44 -
45
-
46
-
47
-
48
-
49
-
50
-
51
-
52
-
53
-
54
-
55
-
56
-
57
-
58
-
59
-
60
-
61
-
62
-
63
-
64
-
65
-
66
-
67
-
68
-
69
-
70
-
71
-
72
-
73
-
74
-
75
-
76
-
77
-
78
-
79
-
80
-
81
-
82
-
83
-
84
-
85
-
86
-
87
-
88
-
89
-
90
-
91
-
92
-
93
-
94
-
95
-
96
-
97
-
98
-
99
-
100
-
101
-
102
-
103
-
104
-
105
-
106
-
107
-
108
-
109
-
110
-
111
-
112
-
113
-
114
-
115
-
116
-
117
-
118
-
119
-
120
-
121
-
122
-
123
-
124
-
125
-
126
-
127
-
128
-
129
-
130
-
131
-
132
-
133
-
134
-
135
-
136
-
137
-
138
-
139
-
140
-
141
-
142
-
143
-
144
-
145
-
146
-
147
-
148
-
149
-
150
-
151
-
152
-
153
-
154
-
155
-
156
-
157
-
158
-
159
-
160
-
161
-
162
-
163
-
164
-
165
-
166
-
167
-
168
-
169
-
170
-
171
-
172
-
173
-
174
-
175
-
176
-
177
-
178
-
179
-
180
-
181
-
182
-
183
-
184
-
185
-
186
-
187
-
188
-
189
-
190
-
191
-
192
-
193
-
194
-
195
-
196
-
197
-
198
-
199
-
200
-
201
-
202
-
203
-
204
-
205
-
206
-
207
 |
 |