Canon PowerShot SD300 PowerShot SD300/200, DIGITAL IXUS 40/30 Camera User Guid - Page 81
Use the, button to select, Press the FUNC./SET button., Press the shutter button fully., Press
 |
View all Canon PowerShot SD300 manuals
Add to My Manuals
Save this manual to your list of manuals |
Page 81 highlights
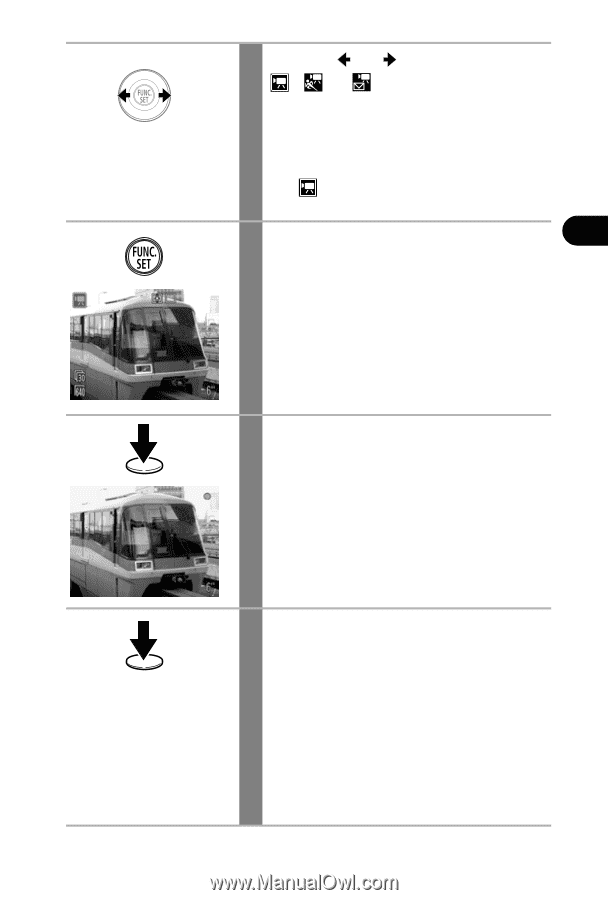
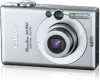
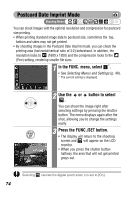
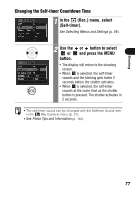
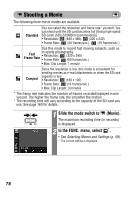
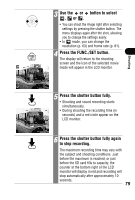
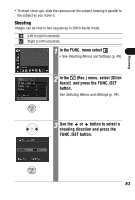
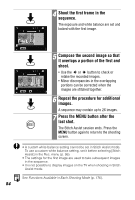
Shooting 3 Use the or button to select , or . • You can shoot the image right after selecting settings by pressing the shutter button. The menu displays again after the shot, allowing you to change the settings easily. • In mode, you can change the resolution (p. 63) and frame rate (p. 81). 4 Press the FUNC./SET button. The display will return to the shooting screen and the icon of the selected movie mode will appear in the LCD monitor. 5 Press the shutter button fully. • Shooting and sound recording starts simultaneously. • During shooting the recording time (in seconds) and a red circle appear on the LCD monitor. 6 Press the shutter button fully again to stop recording. The maximum recording time may vary with the subject and shooting conditions. Just before the maximum is reached, or just before the SD card fills to capacity, the counter at the bottom right of the LCD monitor will display in red and recording will stop automatically after approximately 10 seconds. 79
-
 1
1 -
2
-
3
-
4
-
5
-
6
-
7
-
8
-
9
-
10
-
11
-
12
-
13
-
14
-
15
-
16
-
17
-
18
-
19
-
20
-
21
-
22
-
23
-
24
-
25
-
26
-
27
-
28
-
29
-
30
-
31
-
32
-
33
-
34
-
35
-
36
-
37
-
38
-
39
-
40
-
41
-
42
-
43
-
44
-
45
-
46
-
47
-
48
-
49
-
50
-
51
-
52
-
53
-
54
-
55
-
56
-
57
-
58
-
59
-
60
-
61
-
62
-
63
-
64
-
65
-
66
-
67
-
68
-
69
-
70
-
71
-
72
-
73
-
74
-
75
-
 76
76 -
 77
77 -
 78
78 -
 79
79 -
 80
80 -
 81
81 -
 82
82 -
 83
83 -
 84
84 -
 85
85 -
 86
86 -
87
-
88
-
89
-
90
-
91
-
92
-
93
-
94
-
95
-
96
-
97
-
98
-
99
-
100
-
101
-
102
-
103
-
104
-
105
-
106
-
107
-
108
-
109
-
110
-
111
-
112
-
113
-
114
-
115
-
116
-
117
-
118
-
119
-
120
-
121
-
122
-
123
-
124
-
125
-
126
-
127
-
128
-
129
-
130
-
131
-
132
-
133
-
134
-
135
-
136
-
137
-
138
-
139
-
140
-
141
-
142
-
143
-
144
-
145
-
146
-
147
-
148
-
149
-
150
-
151
-
152
-
153
-
154
-
155
-
156
-
157
-
158
-
159
-
160
-
161
-
162
-
163
-
164
-
165
-
166
-
167
-
168
-
169
-
170
-
171
-
172
-
173
-
174
-
175
-
176
-
177
-
178
-
179
 |
 |