Canon imagePROGRAF iPF650 iPF650 655 750 755 Basic Guide Step1 - Page 34
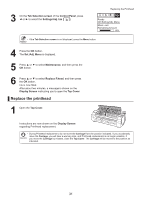
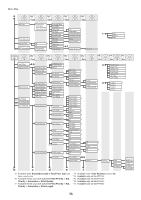
Carriage, Printhead Fixer Cover, Printhead Fixer Lever, Top Cover
 |
View all Canon imagePROGRAF iPF650 manuals
Add to My Manuals
Save this manual to your list of manuals |
Page 34 highlights
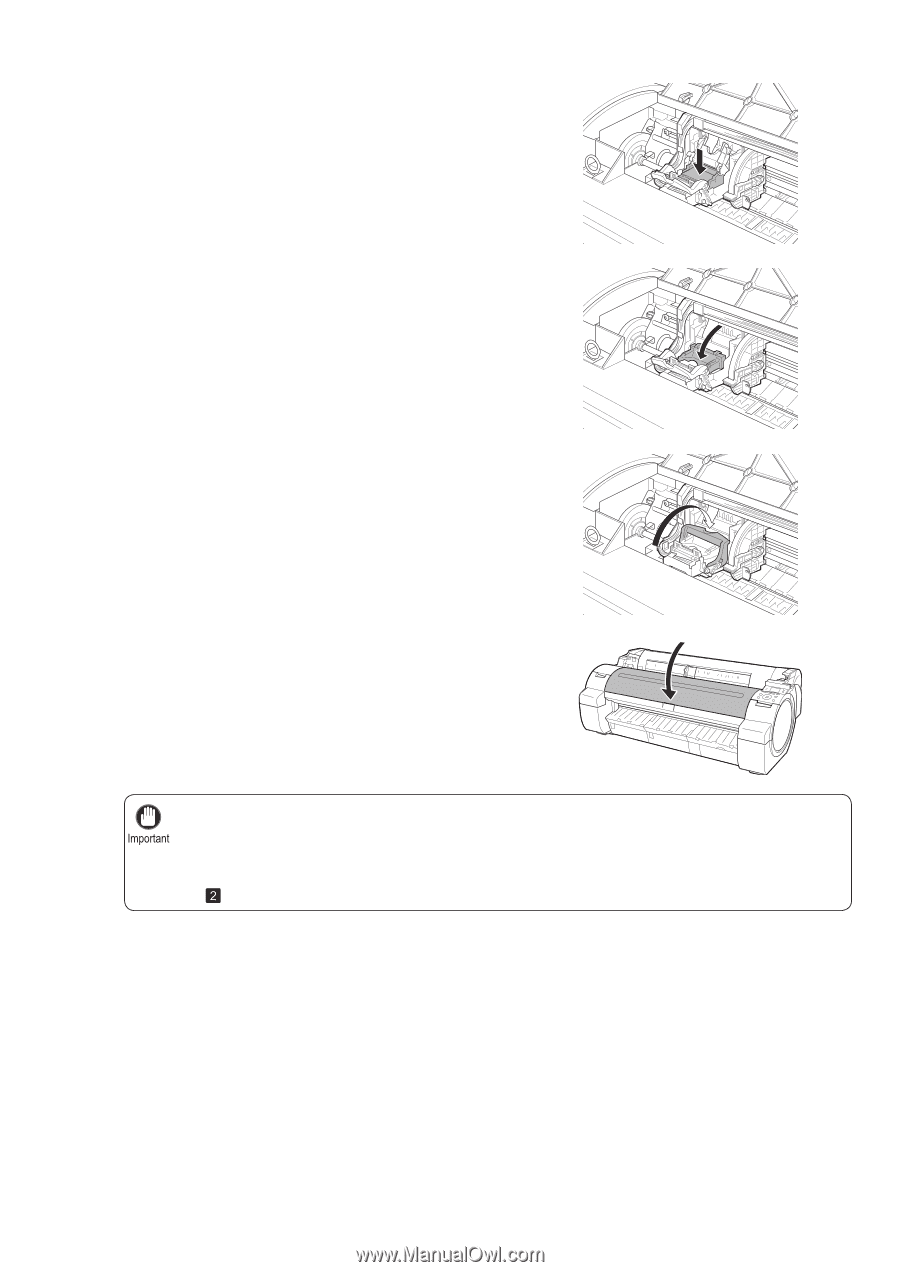
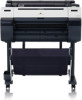
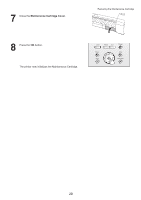
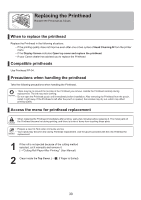
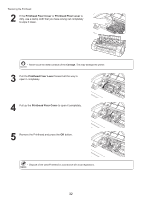
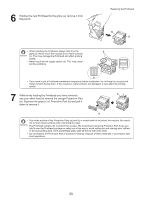
Replacing the Printhead 8 With the nozzles facing down and the metal contacts toward the back, insert the Printhead into the Carriage. Carefully push the printhead firmly into the Carriage, ensuring that the nozzles and metal contacts do not touch the carriage. 9 Pull the Printhead Fixer Cover down toward the front to lock the Printhead in place. 10 Push the Printhead Fixer Lever toward the back of the printer until it clicks. 11 Close the Top Cover. Ink now fills the system. It takes about six minutes for ink to fill the system. • Never remove an Ink Tank while the system is filling with ink. • After the Printhead has been replaced and filled with ink, Head Posi. Adj. (Auto(Advanced)) is performed if you have selected Rep.P.head Print > On in the Control Panel menu. In this case, follow the instructions displayed for Printhead adjustment. If Rep.P.head Print is Off, perform Head Posi. Adj. (Auto(Advanced)) yourself. (→ , If Vertical Lines are Warped or Colors are Misaligned) 34
-
 1
1 -
2
-
3
-
4
-
5
-
6
-
7
-
8
-
9
-
10
-
11
-
12
-
13
-
14
-
15
-
16
-
17
-
18
-
19
-
20
-
21
-
22
-
23
-
24
-
25
-
26
-
27
-
28
-
 29
29 -
 30
30 -
 31
31 -
 32
32 -
 33
33 -
 34
34 -
 35
35 -
 36
36 -
 37
37 -
 38
38 -
 39
39 -
40
 |
 |