D-Link DES-1210-52 Product Manual - Page 17
Smart Wizard, Web-based Management, SmartConsole Utility, Spanish, French, Italian - d link default ip
 |
UPC - 790069327827
View all D-Link DES-1210-52 manuals
Add to My Manuals
Save this manual to your list of manuals |
Page 17 highlights
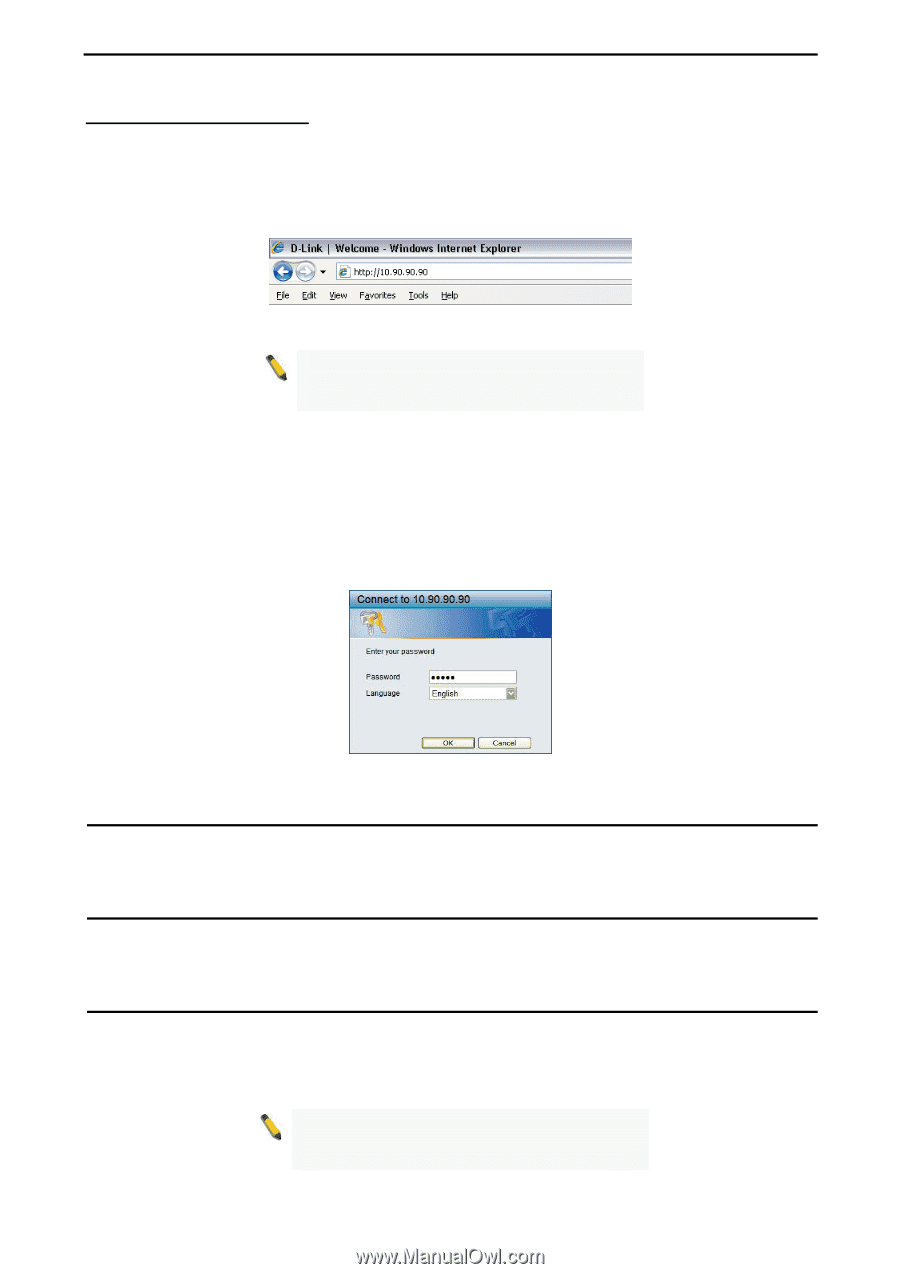
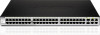
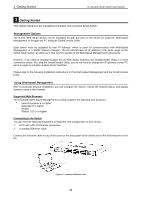
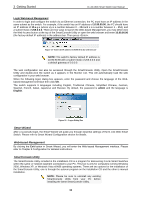
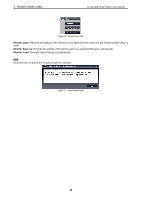
3 Getting Started D-Link Web Smart Switch User Manual Login Web-based Management In order to login and configure the switch via an Ethernet connection, the PC must have an IP address in the same subnet as the switch. For example, if the switch has an IP address of 10.90.90.90, the PC should have an IP address of 10.x.y.z (where x/y is a number between 0 ~ 254 and z is a number between 1 ~ 254), and a subnet mask of 255.0.0.0. There are two ways to launch the Web-based Management, you may either click the Web Access button at the top of the SmartConsole Utility or open the web browser and enter 10.90.90.90 (the factory-default IP address) in the address bar. Then press . Figure 15 -Enter the IP address 10.90.90.90 in the web browser NOTE: The switch's factory default IP address is 10.90.90.90 with a subnet mask of 255.0.0.0 and a default gateway of 0.0.0.0. The web configuration can also be accessed through the SmartConsole Utility. Open the SmartConsole Utility and double-click the switch as it appears in the Monitor List. This will automatically load the web configuration in your web browser. When the following logon dialog box appears, enter the password and choose the language of the Webbased Management interface then click OK. The switch supports 9 languages including English, Traditional Chinese, Simplified Chinese, German, Spanish, French, Italian, Japanese and Russian. By default, the password is admin and the language is English. Figure 16 - Logon Dialog Box Smart Wizard After a successful login, the Smart Wizard will guide you through essential settings of the D-Link Web Smart Switch. Please refer to Smart Wizard Configuration section for details. Web-based Management By clicking the Exit button in Smart Wizard, you will enter the Web-based Management interface. Please refer to Chapter 5 Configuration for detailed instructions. SmartConsole Utility The SmartConsole Utility included in the installation CD is a program for discovering D-Link Smart Switches within the same L2 network segment connected to your PC. This tool is only for computers running Windows 2000, Windows XP, or Windows Vista x64/86 operating systems. There are two options for the installation of the SmartConsole Utility; one is through the autorun program on the installation CD and the other is manual installation. NOTE: Please be sure to uninstall any existing SmartConsole Utility from your PC before installing the latest SmartConsole Utility. 11
-
 1
1 -
2
-
3
-
4
-
5
-
6
-
7
-
8
-
9
-
10
-
11
-
 12
12 -
 13
13 -
 14
14 -
 15
15 -
 16
16 -
 17
17 -
 18
18 -
 19
19 -
 20
20 -
 21
21 -
 22
22 -
23
-
24
-
25
-
26
-
27
-
28
-
29
-
30
-
31
-
32
-
33
-
34
-
35
-
36
-
37
-
38
-
39
-
40
-
41
-
42
-
43
-
44
-
45
-
46
-
47
-
48
-
49
-
50
-
51
-
52
-
53
-
54
-
55
-
56
-
57
-
58
-
59
-
60
-
61
-
62
-
63
-
64
-
65
-
66
-
67
-
68
-
69
-
70
-
71
-
72
-
73
-
74
-
75
-
76
-
77
-
78
-
79
-
80
-
81
-
82
-
83
-
84
-
85
 |
 |