Dell 966 User Guide - Page 66
Loading Banner Paper - guide
 |
View all Dell 966 manuals
Add to My Manuals
Save this manual to your list of manuals |
Page 66 highlights
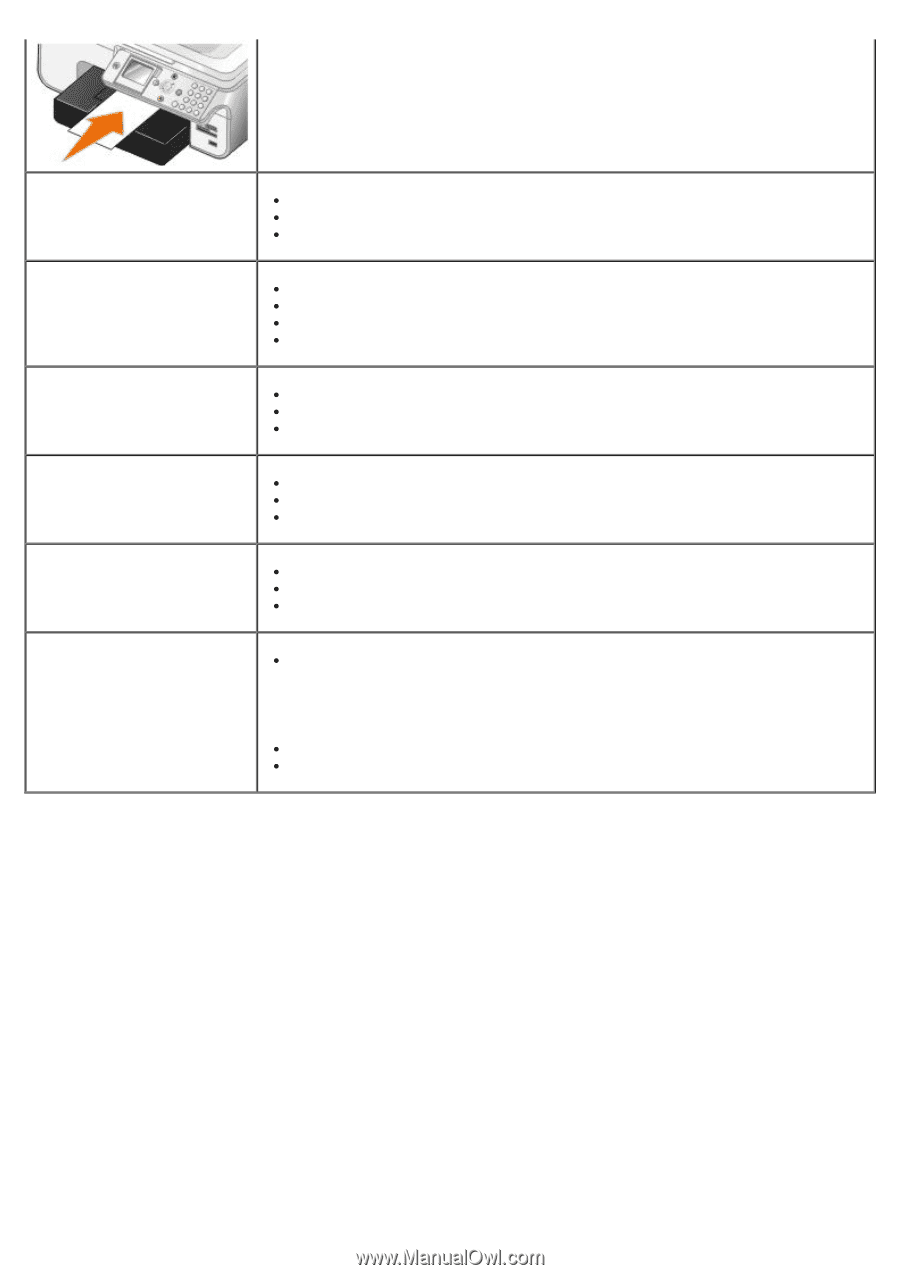
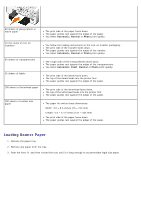
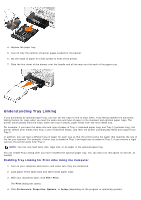
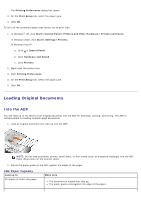
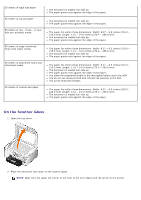
50 sheets of glossy/photo or matte paper 10 mm stack of iron-on transfers 50 sheets of transparencies 25 sheets of labels 150 sheets of letterhead paper 150 sheets of custom size paper The print side of the paper faces down. The paper guides rest against the edges of the paper. You select Automatic, Normal or Photo print quality. You follow the loading instructions on the iron-on transfer packaging. The print side of the transfer faces down. The paper guides rest against the edges of the transfer. You select Automatic, Normal or Photo print quality. The rough side of the transparencies faces down. The paper guides rest against the edges of the transparencies. You select Automatic, Draft, Normal or Photo print quality. The print side of the labels faces down. The top of the labels feeds into the printer first. The paper guides rest against the edges of the paper. The print side of the letterhead faces down. The top of the letterhead feeds into the printer first. The paper guides rest against the edges of the paper. The paper fits within these dimensions: Width: 3.0 - 8.5 inches (76 - 216 mm) Length: 5.0 - 17.0 inches (127 - 432 mm) The print side of the paper faces down. The paper guides rest against the edges of the paper. Loading Banner Paper 1. Remove the paper tray. 2. Remove any paper from the tray. 3. Push the lever in, and then extend the tray until it is long enough to accommodate legal size paper.
-
 1
1 -
2
-
3
-
4
-
5
-
6
-
7
-
8
-
9
-
10
-
11
-
12
-
13
-
14
-
15
-
16
-
17
-
18
-
19
-
20
-
21
-
22
-
23
-
24
-
25
-
26
-
27
-
28
-
29
-
30
-
31
-
32
-
33
-
34
-
35
-
36
-
37
-
38
-
39
-
40
-
41
-
42
-
43
-
44
-
45
-
46
-
47
-
48
-
49
-
50
-
51
-
52
-
53
-
54
-
55
-
56
-
57
-
58
-
59
-
60
-
 61
61 -
 62
62 -
 63
63 -
 64
64 -
 65
65 -
 66
66 -
 67
67 -
 68
68 -
 69
69 -
 70
70 -
 71
71 -
72
-
73
-
74
-
75
-
76
-
77
-
78
-
79
-
80
-
81
-
82
-
83
-
84
-
85
-
86
-
87
-
88
-
89
-
90
-
91
-
92
-
93
-
94
-
95
-
96
-
97
-
98
-
99
-
100
-
101
-
102
-
103
-
104
-
105
-
106
-
107
-
108
-
109
-
110
-
111
-
112
-
113
-
114
-
115
-
116
-
117
-
118
-
119
-
120
-
121
-
122
-
123
-
124
-
125
-
126
-
127
-
128
-
129
-
130
-
131
-
132
-
133
-
134
-
135
 |
 |