HP 8550dn HP Color LaserJet 8550, 8550N, 8550DN, 8550GN, 8550MFP Printer - Get - Page 13
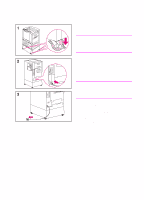
Close all doors and input trays.
 |
UPC - 088698946428
View all HP 8550dn manuals
Add to My Manuals
Save this manual to your list of manuals |
Page 13 highlights
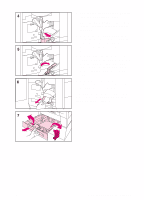
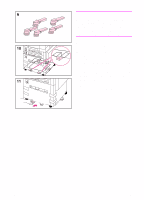
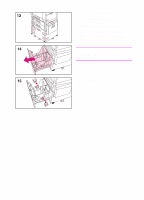
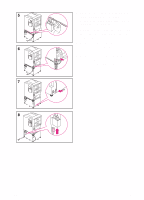
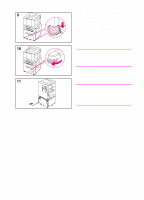
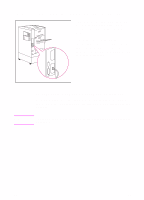
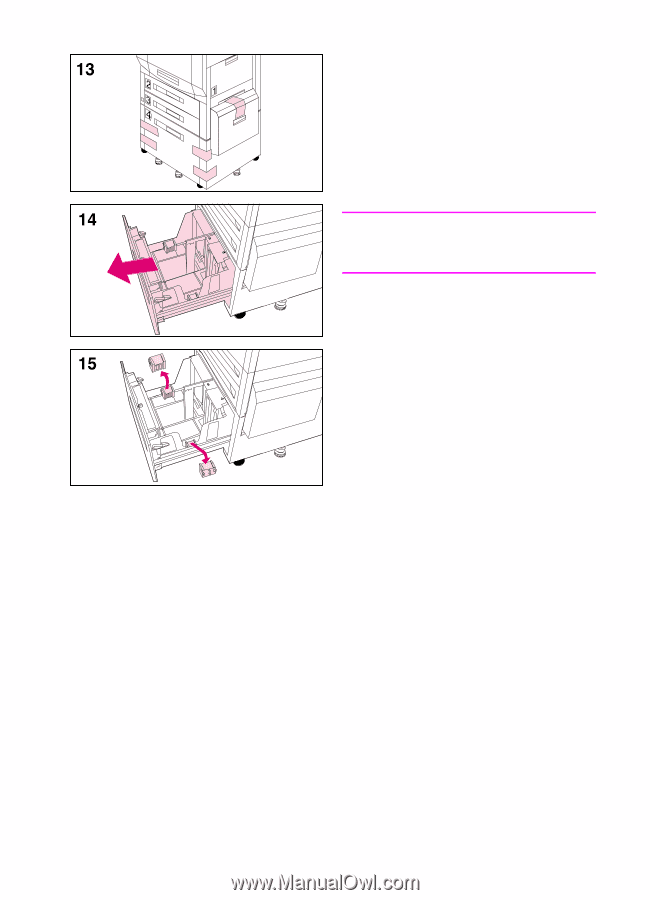
13 Remove the packing tape from tray 4. 14 Firmly grip the handle in the center of tray 4, squeeze the release lever, and pull the tray out until it stops. 15 Remove the two orange packing clips from inside tray 4 by squeezing the sides of the clips and pulling them out. CAUTION Leaving the orange clips in tray 4 can damage the tray. 16 Close all doors and input trays. By completing steps 1 through 16 above, all tape and spacers should be removed and unpacking of the printer should be complete. EN Step 2: Unpacking the Printer 9
-
 1
1 -
2
-
3
-
4
-
5
-
6
-
7
-
 8
8 -
 9
9 -
 10
10 -
 11
11 -
 12
12 -
 13
13 -
 14
14 -
 15
15 -
 16
16 -
 17
17 -
 18
18 -
19
-
20
-
21
-
22
-
23
-
24
-
25
-
26
-
27
-
28
-
29
-
30
-
31
-
32
-
33
-
34
-
35
-
36
-
37
-
38
-
39
-
40
-
41
-
42
-
43
-
44
-
45
-
46
-
47
-
48
-
49
-
50
-
51
-
52
-
53
-
54
-
55
-
56
-
57
-
58
-
59
-
60
-
61
-
62
-
63
-
64
 |
 |
EN
Step 2: Unpacking the Printer
9
13
Remove the packing tape from tray 4.
14
Firmly grip the handle in the center of
tray 4, squeeze the release lever, and
pull the tray out until it stops.
15
Remove the two orange packing clips
from inside tray 4 by squeezing the
sides of the clips and pulling them
out.
CAUTION
Leaving the orange clips in tray 4 can
damage the tray.
16
Close all doors and input trays.
By completing steps 1 through 16 above,
all tape and spacers should be removed
and unpacking of the printer should be
complete.