HP Pavilion d4000 PC Basics Guide - Page 25
Using a Diskette Floppy Drive, Using a Printer - drivers
 |
View all HP Pavilion d4000 manuals
Add to My Manuals
Save this manual to your list of manuals |
Page 25 highlights
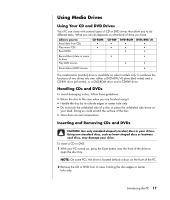
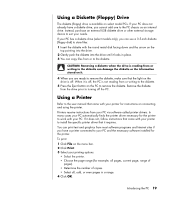
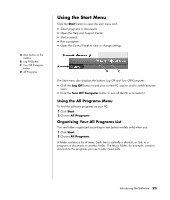
Using a Diskette (Floppy) Drive The diskette (floppy) drive is available on select model PCs. If your PC does not already have a diskette drive, you cannot add one to the PC chassis as an internal drive. Instead, purchase an external USB diskette drive or other external storage device to suit your needs. If your PC has a diskette drive (select models only), you can use a 3.5-inch diskette (floppy disk) to store files: 1 Insert the diskette with the round metal disk facing down and the arrow on the top pointing into the drive. 2 Gently push the diskette into the drive until it locks in place. 3 You can copy files from or to the diskette. CAUTION: Removing a diskette when the drive is reading from or writing to the diskette can damage the diskette or the information stored on it. 4 When you are ready to remove the diskette, make sure that the light on the drive is off. When it is off, the PC is not reading from or writing to the diskette. 5 Press the Eject button on the PC to remove the diskette. Remove the diskette from the drive prior to turning off the PC. Using a Printer Refer to the user manual that came with your printer for instructions on connecting and using the printer. Printers receive instructions from your PC via software called printer drivers. In many cases your PC automatically finds the printer driver necessary for the printer to work with your PC. If it does not, follow instructions that come with your printer to install the specific printer driver that it requires. You can print text and graphics from most software programs and Internet sites if you have a printer connected to your PC and the necessary software installed for the printer. To print: 1 Click File on the menu bar. 2 Click Print. 3 Select your printing options: • Select the printer. • Choose the page range (for example, all pages, current page, range of pages). • Determine the number of copies. • Select all, odd, or even pages in a range. 4 Click OK. Introducing the PC 19
-
 1
1 -
2
-
3
-
4
-
5
-
6
-
7
-
8
-
9
-
10
-
11
-
12
-
13
-
14
-
15
-
16
-
17
-
18
-
19
-
 20
20 -
 21
21 -
 22
22 -
 23
23 -
 24
24 -
 25
25 -
 26
26 -
 27
27 -
 28
28 -
 29
29 -
 30
30 -
31
-
32
-
33
-
34
-
35
-
36
-
37
-
38
-
39
-
40
-
41
-
42
-
43
-
44
-
45
-
46
-
47
-
48
-
49
-
50
 |
 |