HP iPAQ Legacy-free PC C800/815e Quick Setup and User's Guide - Page 46
Establishing a Setup Password Using Computer Setup, Before exiting
 |
View all HP iPAQ Legacy-free PC C800/815e manuals
Add to My Manuals
Save this manual to your list of manuals |
Page 46 highlights
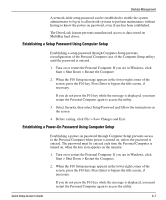
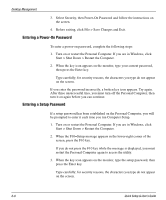
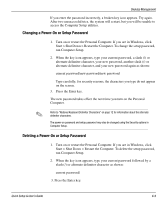
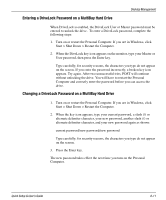
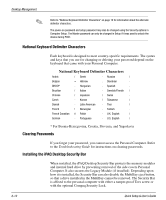
Desktop Management A network-wide setup password can be established to enable the system administrator to log in to all network systems to perform maintenance without having to know the power-on password, even if one has been established. The DriveLock feature prevents unauthorized access to data stored on MultiBay hard drives. Establishing a Setup Password Using Computer Setup Establishing a setup password through Computer Setup prevents reconfiguration of the Personal Computer (use of the Computer Setup utility) until the password is entered. 1. Turn on or restart the Personal Computer. If you are in Windows, click Start > Shut Down > Restart the Computer. 2. When the F10 Setup message appears in the lower-right corner of the screen, press the F10 key. Press Enter to bypass the title screen, if necessary. If you do not press the F10 key while the message is displayed, you must restart the Personal Computer again to access the utility. 3. Select Security, then select Setup Password and follow the instructions on the screen. 4. Before exiting, click File > Save Changes and Exit. Establishing a Power-On Password Using Computer Setup Establishing a power-on password through Computer Setup prevents access to the Personal Computer when power is turned on, unless the password is entered. The password must be entered each time the Personal Computer is turned on, when the key icon appears on the monitor. 1. Turn on or restart the Personal Computer. If you are in Windows, click Start > Shut Down > Restart the Computer. 2. When the F10 Setup message appears in the lower-right corner of the screen, press the F10 key. Press Enter to bypass the title screen, if necessary. If you do not press the F10 key while the message is displayed, you must restart the Personal Computer again to access the utility. Quick Setup & User's Guide 6-7
-
 1
1 -
2
-
3
-
4
-
5
-
6
-
7
-
8
-
9
-
10
-
11
-
12
-
13
-
14
-
15
-
16
-
17
-
18
-
19
-
20
-
21
-
22
-
23
-
24
-
25
-
26
-
27
-
28
-
29
-
30
-
31
-
32
-
33
-
34
-
35
-
36
-
37
-
38
-
39
-
40
-
 41
41 -
 42
42 -
 43
43 -
 44
44 -
 45
45 -
 46
46 -
 47
47 -
 48
48 -
 49
49 -
 50
50 -
 51
51 -
52
-
53
-
54
-
55
-
56
-
57
-
58
-
59
-
60
-
61
-
62
-
63
-
64
-
65
-
66
-
67
-
68
-
69
-
70
-
71
-
72
-
73
 |
 |