Lexmark Multifunction Laser C78x - Setup Guide
Lexmark Multifunction Laser Manual
 |
View all Lexmark Multifunction Laser manuals
Add to My Manuals
Save this manual to your list of manuals |
Lexmark Multifunction Laser manual content summary:
- Lexmark Multifunction Laser | C78x - Setup Guide - Page 1
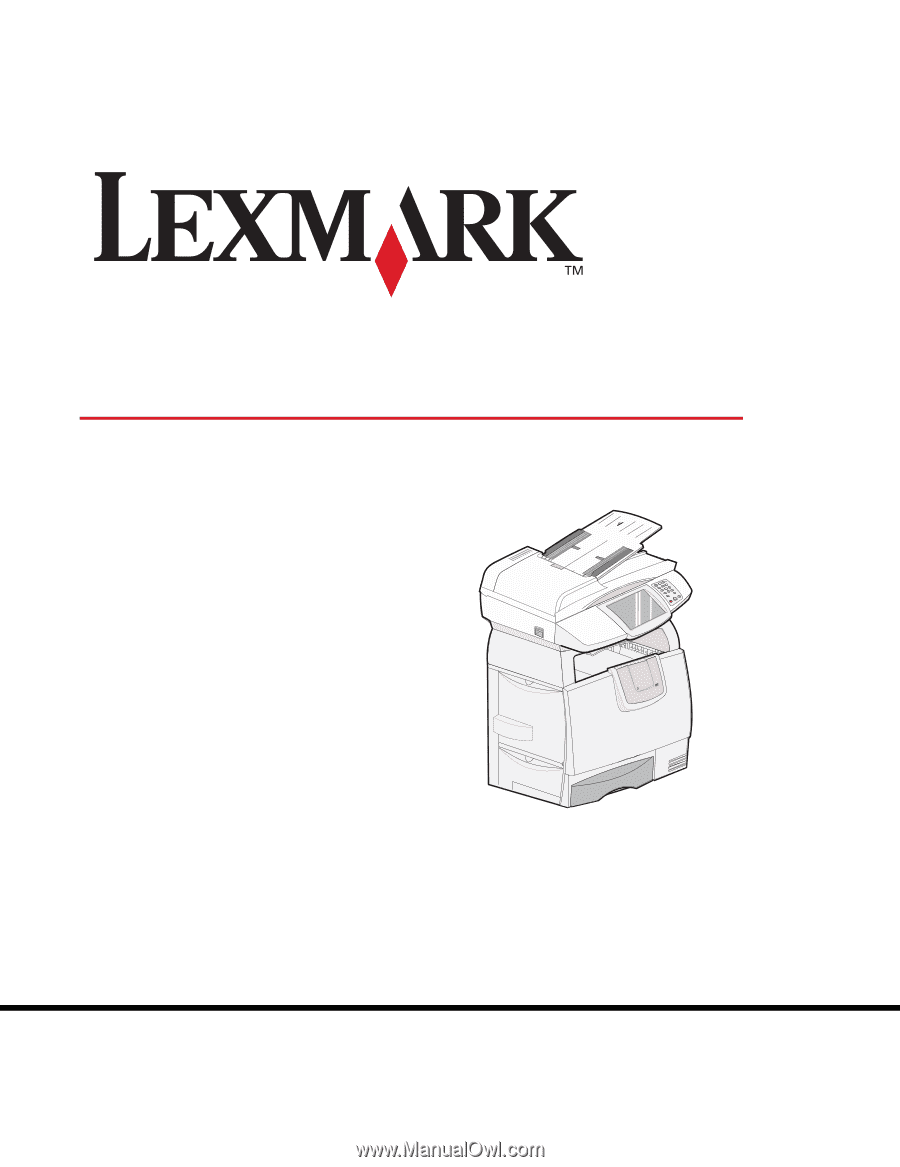
4600 MFP Option Printer and Scanner Setup Guide for the C782n printer February 2007 www.lexmark.com - Lexmark Multifunction Laser | C78x - Setup Guide - Page 2
Stability Information CAUTION: Certain floor-mounted configurations require additional furniture for stability. More information is available on our Lexmark Web site at www.lexmark.com/multifunctionprinters. 2 - Lexmark Multifunction Laser | C78x - Setup Guide - Page 3
3 - Lexmark Multifunction Laser | C78x - Setup Guide - Page 4
English - Lexmark Multifunction Laser | C78x - Setup Guide - Page 5
or repairs, other than those described in the operating instructions, to a professional service person. CAUTION: This product is designed, tested, and approved to meet strict global safety standards with the use of specific Lexmark components. The safety features of some parts may not always be - Lexmark Multifunction Laser | C78x - Setup Guide - Page 6
CAUTION: This product uses a laser. Use of controls or adjustments or performance printer off, and unplug the power cord from the wall outlet before continuing. CAUTION: Connect the power cord to a properly grounded electrical outlet that is near the product and easily accessible. Do not use the fax - Lexmark Multifunction Laser | C78x - Setup Guide - Page 7
Overview Overview MFP configurations Printer stand configuration Note: Do not use a printer stand with a configured stack containing a 2000-sheet, high-capacity drawer. Scanner Scanner shelf Printer Duplex unit Envelope drawer 500-sheet drawer Printer stand Scanner cabinet configuration Note: Do - Lexmark Multifunction Laser | C78x - Setup Guide - Page 8
options Duplex unit Scanner shelf Printer stand Scanner cabinet CAUTION Lexmark Web site at www.lexmark.com/multifunctionprinters. Note: Follow the steps in the order presented. If you do not have the option listed in a step, skip that step and continue with the next one. Unless other instructions - Lexmark Multifunction Laser | C78x - Setup Guide - Page 9
and/or drawers, set up your printer starting with the printer stand or scanner cabinet. Note: Place the furniture in the location you are assembling your printer and follow the instructions that came with the furniture. Printer stand assembly Scanner cabinet setup Step 1: Setting up furniture - Lexmark Multifunction Laser | C78x - Setup Guide - Page 10
not place a scanner shelf on top of a configured stack containing a 2000-sheet, high-capacity drawer. Note: Do not use a printer stand with a the installation setup instructions that came with each drawer, and then go to Step 3 to install the duplex unit. If you are using a printer stand refer to - Lexmark Multifunction Laser | C78x - Setup Guide - Page 11
Step 5: Preparing the printer Step 5: Preparing the printer Removing the print cartridge packaging Note: If you are installing a scanner after initial printer setup, the print cartridge packaging has already been removed. 1 Remove all exterior packing tape. 2 Open the front door. 3 Remove and - Lexmark Multifunction Laser | C78x - Setup Guide - Page 12
Step 5: Preparing the printer 4 Remove and discard the tabs from the cartridges. 5 Lift up, and then pull out to remove each toner cartridge. 6 Place all toner cartridges on a clean, - Lexmark Multifunction Laser | C78x - Setup Guide - Page 13
front to back and side to side. 9 Remove each toner cartridge cover. Warning: Do not touch the photoconductor. 10 Reinsert the toner cartridges into the printer. Each toner cartridge will drop down and snap into place. 11 Close the front cover. Removing the print cartridge packaging 13 - Lexmark Multifunction Laser | C78x - Setup Guide - Page 14
Step 5: Preparing the printer Loading paper Complete these instructions to load paper into any of the standard or optional trays. All trays are loaded in the same way. 1 Remove the tray. 2 Adjust the length and width guides to the correct position for the size of paper you are loading. 3 Flex the - Lexmark Multifunction Laser | C78x - Setup Guide - Page 15
Step 6: Installing an optional operator panel cover Step 6: Installing an optional operator panel cover An optional operator panel cover is provided with the MFP. To install the optional cover: 1 Locate the cover bracket packaged with your MFP. 2 Remove the backing from the tape on the rear of the - Lexmark Multifunction Laser | C78x - Setup Guide - Page 16
the top cover from the printer. You will not need the cover when the scanner shelf is attached. Store the cover; it will be needed if you remove the scanner shelf. 2 Remove the backing from the tape on the scanner shelf bottom. 3 Align and insert the scanner shelf mounting brackets into the slots - Lexmark Multifunction Laser | C78x - Setup Guide - Page 17
into the ends of the plastic brackets so that the bail curves downward. The wire bail came with the printer and rests in the standard output bin when installed. 1 2 Step 8: Installing the scanner on a scanner shelf 1 Place the scanner on the scanner shelf. Align the four pads on the bottom of the - Lexmark Multifunction Laser | C78x - Setup Guide - Page 18
Step 8: Installing the scanner on a scanner shelf 3 Align the hinges on the scanner top with the slots in the scanner, and then lower the scanner top onto the scanner. For information on removing the scanner top, see "Removing the scanner top" in the User's Guide located on the4600 MFP Software and - Lexmark Multifunction Laser | C78x - Setup Guide - Page 19
switch on the side of the scanner, and then slide the switch down. 2 Lift the scanner feed tray up until it locks into position. Step 10: Installing the scanner without a scanner shelf 1 Remove the scanner from the carton. 2 Place the scanner on a table, scanner cabinet, or other flat surface. Step - Lexmark Multifunction Laser | C78x - Setup Guide - Page 20
Step 10: Installing the scanner without a scanner shelf 3 Align the hinges on the scanner top with the slots in the scanner, and then lower the scanner top onto the scanner. For information on removing the scanner top, see "Removing the scanner top" in the User's Guide located on the4600 MFP - Lexmark Multifunction Laser | C78x - Setup Guide - Page 21
into the ends of the plastic bracket so that the bail curves downward. 1 2 The wire bail came with the printer and rests in the standard output bin when installed. 4 Follow the instructions that came with the option to attach the plastic bracket to the output expander, 5-bin mailbox, or StapleSmart - Lexmark Multifunction Laser | C78x - Setup Guide - Page 22
up the printer, turn the printer off, and unplug the power cord from the wall outlet before continuing. The instructions in this printer User's Guide. Accessing the printer system board You must access the printer system board to install the interface card, memory card, and firmware card. Note: Use - Lexmark Multifunction Laser | C78x - Setup Guide - Page 23
or interface cards Installing a memory card Note: Printer memory cards designed for other Lexmark printers may not work with the printer. 1 Remove the system board access cover from the back of the printer. (See Accessing the printer system board.) Warning: Printer memory cards are easily damaged by - Lexmark Multifunction Laser | C78x - Setup Guide - Page 24
option-added" firmware card Note: "Option-added" firmware cards designed for other Lexmark printers will not work with the printer. 1 Remove the system board access cover from the back of the printer. (See Accessing the printer system board.) Note: If an "option-added" firmware card has already been - Lexmark Multifunction Laser | C78x - Setup Guide - Page 25
: Installing memory, option, or interface cards Installing the interface card Warning: Interface cards are easily damaged by static electricity. Touch something metal such as the printer frame before you touch an interface card. 1 Remove the system board access cover from the back of the - Lexmark Multifunction Laser | C78x - Setup Guide - Page 26
Step 12: Installing memory, option, or interface cards 3 Unpack the scanner interface card and cable. Save the packaging materials. a Connect the USB interconnect cable to the card. Connector Interface card USB interconnect cable b Connect the USB - Lexmark Multifunction Laser | C78x - Setup Guide - Page 27
the system board connector. 5 Insert and tighten the screws to secure the card. Replacing the access cover plate After you have installed options on the printer system board, follow these steps to reattach the access cover plate. 1 Align the slots at the top of the access cover with the screws near - Lexmark Multifunction Laser | C78x - Setup Guide - Page 28
Step 13: Attaching cables to the printer and the scanner Step 13: Attaching cables to the printer and the scanner CAUTION: Do not use the fax feature during a lightning storm. Do not set up this product or make any electrical or cabling connections, such as the power cord or telephone, during a - Lexmark Multifunction Laser | C78x - Setup Guide - Page 29
telephone adapter to the telephone fax line cable, and plug the fax line cable into the phone line outlet. To connect a telephone to the MFP, plug the telephone into the right modem port on the back of the scanner. 5 Connect the power cord to the printer and scanner. Note: Use the power cord from - Lexmark Multifunction Laser | C78x - Setup Guide - Page 30
Connect the 2000-sheet drawer to the scanner using the cord from the scanner box. 2 Connect the 2000-sheet drawer to the printer using the cord from the 2000-sheet drawer box. 3 Connect the scanner into a properly grounded wall outlet using the cord from the printer box. Step 13: Attaching cables to - Lexmark Multifunction Laser | C78x - Setup Guide - Page 31
wizards and run the Installer on the CD. 2 To install the printer and MFP drivers: a First, install the printer drivers located on the CD that came with the printer, and follow the onscreen instructions to install the printer drivers. b Second, install the MFP drivers located on the Software and - Lexmark Multifunction Laser | C78x - Setup Guide - Page 32
and time fax is sent) • Station name (identification of the business, other Guide on the MFP Software and Documentation CD. There are two methods to enter your fax setup information: • Manually enter the information through the MFP control panel; see "Performing manual fax setup" on page 32. • Use - Lexmark Multifunction Laser | C78x - Setup Guide - Page 33
. c Touch Network Setup Page or Network Setup Page. 2 Go to Performing browser fax setup on page 34. If the network is not using DHCP, then manually assign an IP address to the printer. One of the easiest ways is to use the operator panel: 1 Touch the key icon on the operator panel. 2 Touch the - Lexmark Multifunction Laser | C78x - Setup Guide - Page 34
Step 15: Setting up fax and IP addresses Performing browser fax setup Note: Configuration is a task usually done by a system support person. If you are prompted for a password during the following instructions, see your system support person for help. 1 Type the IP address of the MFP in the URL - Lexmark Multifunction Laser | C78x - Setup Guide - Page 35
when using the ADF. 2 Press Go on the numeric pad. Note: If an LDSS profile has been installed, you may receive an error when attempting a quick copy. Contact your system support person for access. Sending a test fax Send a one-page test fax to someone, and ask for feedback. Note: If Send/Fax is - Lexmark Multifunction Laser | C78x - Setup Guide - Page 36
SCAN PROFILE list on the MFP control panel. 7 Click Submit. 8 Review the instructions on the Scan to PC screen. A shortcut number was automatically assigned when you clicked Submit. You can use Profiles on the home screen. c After you enter the shortcut number, the scanner will scan and send the - Lexmark Multifunction Laser | C78x - Setup Guide - Page 37
faxes Solution The scanner and the printer are not talking to each other. 1 Turn the printer off and then back on. 2 Turn the printer off, and unplug the scanner Use MFP Solving fax problems. Getting more help Launch the printer Software and Documentation CD, and then click Contact Lexmark
-
 1
1 -
 2
2 -
 3
3 -
 4
4 -
 5
5 -
 6
6 -
 7
7 -
8
-
9
-
10
-
11
-
12
-
13
-
14
-
15
-
16
-
17
-
18
-
19
-
20
-
21
-
22
-
23
-
24
-
25
-
26
-
27
-
28
-
29
-
30
-
31
-
32
-
33
-
34
-
35
-
36
-
37
 |
 |
www.lexmark.com
Printer and Scanner
Setup Guide for the
C782n printer
4600 MFP Option
February 2007