Lexmark Multifunction Laser C78x - Setup Guide - Page 33
Assigning a printer IP address, Verifying the IP settings, Network Setup - printer for windows 7
 |
View all Lexmark Multifunction Laser manuals
Add to My Manuals
Save this manual to your list of manuals |
Page 33 highlights
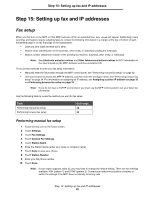
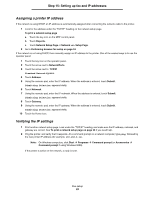
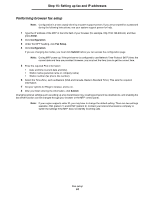
Step 15: Setting up fax and IP addresses Assigning a printer IP address If the network is using DHCP, an IP address is automatically assigned after connecting the network cable to the printer. 1 Look for the address under the "TCP/IP" heading on the network setup page. To print a network setup page a Touch the key icon on the MFP control panel. b Touch Reports. c Touch Network Setup Page or Network Setup Page. 2 Go to Performing browser fax setup on page 34. If the network is not using DHCP, then manually assign an IP address to the printer. One of the easiest ways is to use the operator panel: 1 Touch the key icon on the operator panel. 2 Touch the arrow next to Network/Ports. 3 Touch the arrow next to TCP/IP. Standard Network appears. 4 Touch Address. 5 Using the numeric pad, enter the IP address. When the address is entered, touch Submit. Submitting Selection appears briefly. 6 Touch Netmask. 7 Using the numeric pad, enter the IP netmask. When the address is entered, touch Submit. Submitting Selection appears briefly. 8 Touch Gateway. 9 Using the numeric pad, enter the IP gateway. When the address is entered, touch Submit. Submitting Selection appears briefly. 10 Touch the Home icon. Verifying the IP settings 1 Print another network setup page. Look under the "TCP/IP" heading, and make sure the IP address, netmask, and gateway are correct. See To print a network setup page on page 33 if you need help. 2 Ping the printer, and verify that it responds. At a command prompt on a network computer, type ping followed by the new printer IP address (for example, 192.168.0.11). Note: On Windows computers, click Start Æ Programs Æ Command prompt (or Accessories Æ Command prompt if using Windows 2000). If the printer is active on the network, a reply is sent. Fax setup 33
-
 1
1 -
2
-
3
-
4
-
5
-
6
-
7
-
8
-
9
-
10
-
11
-
12
-
13
-
14
-
15
-
16
-
17
-
18
-
19
-
20
-
21
-
22
-
23
-
24
-
25
-
26
-
27
-
 28
28 -
 29
29 -
 30
30 -
 31
31 -
 32
32 -
 33
33 -
 34
34 -
 35
35 -
 36
36 -
 37
37
 |
 |
