Memorex MVBD2535 User Guide - Page 33
Setup Menu
 |
View all Memorex MVBD2535 manuals
Add to My Manuals
Save this manual to your list of manuals |
Page 33 highlights
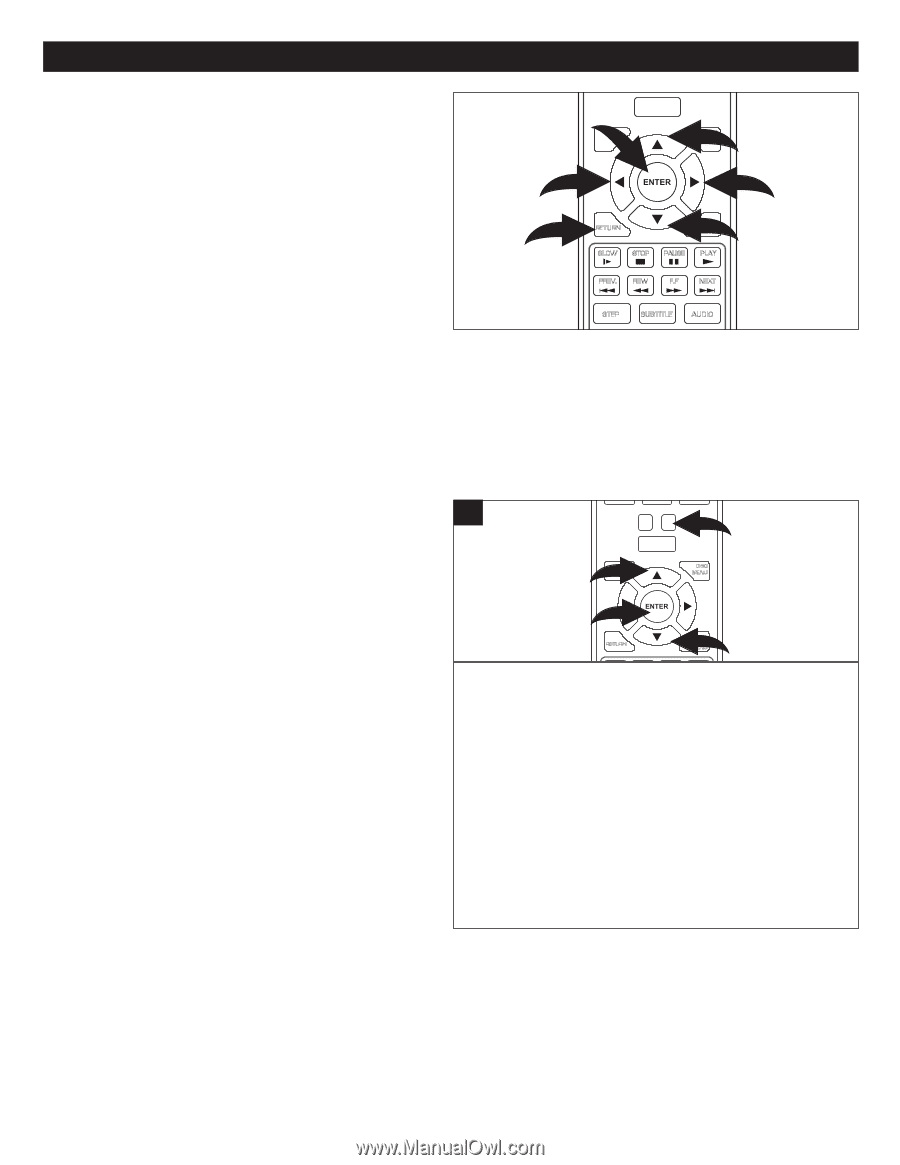
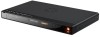
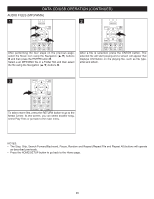
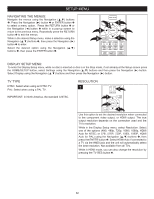
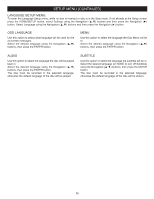
SETUP MENU CLEAR SEARCH ANGLE TV RES. NAVIGATING THE MENUS: Navigate the menus using the Navigation (π,†) buttons 1. Press the Navigation (®) button 2 or ENTER button 3 to select a menu option. Press the RETURN button 4 or the Navigation (√) button 5 while in a pop-up screen to return to the previous menu. Repeatedly press the RETURN button 4 to exit the menus. While in the desired Setup menu, make a selection using the Navigation (π,†) buttons 1, then press the Navigation (®) button 2 to enter. Select the desired option using the Navigation (π,†) buttons 1, then press the ENTER button 3. HOME/SETUP DISPLAY 3 5 1 DISC MENU 2 4 RETURN 1POP-UP MENU SLOW STOP PAUSE PLAY PREV. REW F.F NEXT STEP SUBTITLE AUDIO RANPDOWOMER A-B OPENR/ECPLOESAET DISPLAY SETUP MENU: To enter the Display Setup menu, while no disc is inserted or disc is in the Stop mode, if Anot aB lreaCdy aDt the Setup screen press the HOME/SETUP button, select Settings using the Navigation (π,†) buttons and then press the Navigation (®) button. Select Display using the Navigation (π,†) buttons and then press the Navigation (®) button. TV TYPE NTSC: Select when using an NTSC TV. PAL: Select when using a PAL TV. IMPORTANT: In North America, the standard is NTSC. RESOLUTION 1 CLEAR SEARCH ANGLE TV RES. 3 HOME/SETUP 1 DISPLAY DISC MENU 2 RETURN 1POP-UP MENU SLOW STOP PAUSE PLAY Use this option to set the desired resolution when connected to the component videPoREV. ouREtWputF,.F orNEXHT DMI output. The true output resolution depends on the connection used and the STEP SUBTITLE AUDIO TV's resolution. RANDOM A-B REPEAT While in the Display Setup menu, select Resolution. Select one of the options (480i, 480p, 720p, 1080i, 1080p, HDMI Auto for NTSC; or 576i, 576P, 720P, 1080i, 1080P, HDMI Auto for PAL) using the Navigation (π,†) buttons 1, then press the ENTER button 2. Select HDMI Auto if connected to a TV via the HMDI jack and the unit will automatically select the best resolution. Not available from all TVs. While in HDMI mode, you can also change the resolution by pressing the TV RES button 3. 32
-
 1
1 -
2
-
3
-
4
-
5
-
6
-
7
-
8
-
9
-
10
-
11
-
12
-
13
-
14
-
15
-
16
-
17
-
18
-
19
-
20
-
21
-
22
-
23
-
24
-
25
-
26
-
27
-
 28
28 -
 29
29 -
 30
30 -
 31
31 -
 32
32 -
 33
33 -
 34
34 -
 35
35 -
 36
36 -
 37
37 -
 38
38 -
39
-
40
-
41
-
42
-
43
-
44
-
45
-
46
-
47
-
48
-
49
-
50
-
51
-
52
-
53
-
54
-
55
-
56
-
57
-
58
-
59
-
60
-
61
-
62
-
63
-
64
-
65
-
66
-
67
-
68
-
69
-
70
-
71
-
72
-
73
-
74
-
75
-
76
-
77
-
78
-
79
-
80
-
81
-
82
-
83
-
84
-
85
-
86
-
87
-
88
-
89
-
90
-
91
-
92
-
93
-
94
-
95
-
96
-
97
-
98
-
99
-
100
-
101
-
102
-
103
-
104
-
105
-
106
-
107
-
108
-
109
-
110
-
111
-
112
-
113
-
114
-
115
-
116
-
117
-
118
-
119
-
120
-
121
-
122
-
123
-
124
-
125
-
126
-
127
-
128
-
129
-
130
-
131
-
132
-
133
-
134
-
135
-
136
-
137
-
138
-
139
-
140
-
141
-
142
-
143
-
144
-
145
-
146
-
147
-
148
-
149
-
150
-
151
-
152
-
153
-
154
-
155
-
156
-
157
-
158
-
159
-
160
-
161
-
162
-
163
-
164
-
165
-
166
-
167
-
168
-
169
-
170
-
171
-
172
-
173
-
174
-
175
-
176
-
177
-
178
-
179
-
180
-
181
-
182
-
183
-
184
-
185
-
186
-
187
-
188
-
189
-
190
-
191
-
192
-
193
-
194
 |
 |