Pioneer DEH-P5900IB Owner's Manual - Page 14
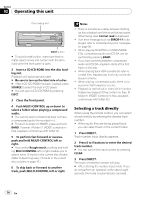
Selecting a track directly, Press DIRECT. - remote control
 |
UPC - 012562845814
View all Pioneer DEH-P5900IB manuals
Add to My Manuals
Save this manual to your list of manuals |
Page 14 highlights
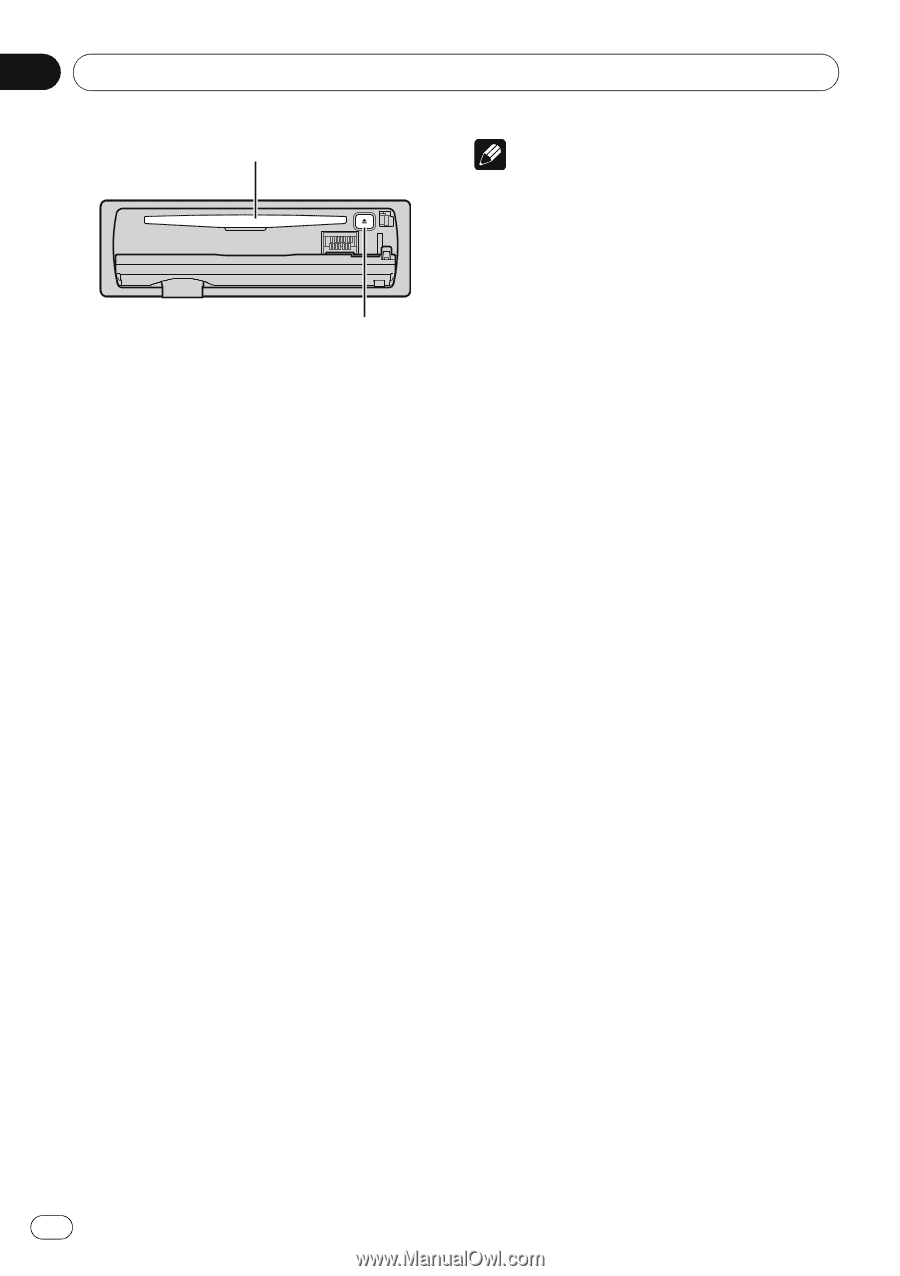
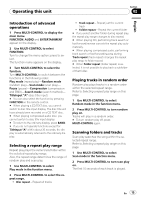
Section 02 Operating this unit Disc loading slot EJECT button # To avoid a malfunction, make sure that no metal object comes into contact with the terminals when the front panel is open. 2 Insert a CD (CD-ROM) into the disc loading slot. Playback will automatically start. # Be sure to turn up the label side of a disc. # After a CD (CD-ROM) has been inserted, press SOURCE to select the built-in CD player. # You can eject a CD (CD-ROM) by pressing EJECT. 3 Close the front panel. 4 Push MULTI-CONTROL up or down to select a folder when playing a compressed audio. # You cannot select a folder that does not have a compressed audio file recorded in it. # To return to folder 01 (ROOT), press and hold BAND. However, if folder 01 (ROOT) contains no files, playback commences with folder 02. 5 To perform fast forward or reverse, push and hold MULTI-CONTROL left or right. # If you select Rough search, pushing and holding MULTI-CONTROL left or right enables you to search every 10 tracks in the current disc (folder). (Refer to Searching every 10 tracks in the current disc or folder on page 16.) 6 To skip back or forward to another track, push MULTI-CONTROL left or right. Notes ! There is sometimes a delay between starting up disc playback and the sound being issued. When being read, Format read is displayed. ! If an error message such as ERROR-11 is displayed, refer to Understanding error messages on page 58. ! When playing CD-EXTRA or MIXED-MODE CDs, compressed audio and CD-DA can be switched by pressing BAND. ! If you have switched between compressed audio and CD-DA, playback starts at the first track on the disc. ! When playing back VBR (variable bit rate) recorded files, elapsed play time may not be displayed correctly. ! When playing compressed audio, there is no sound on fast forward or reverse. ! Playback is carried out in order of file number. Folders are skipped if they contain no files. (If folder 01 (ROOT) contains no files, playback commences with folder 02.) Selecting a track directly When using the remote control, you can select a track directly by entering the desired track number. ! When audio files are being played back, you can select track in the current folder. 1 Press DIRECT. Track number input display appears. 2 Press 0 to 9 buttons to enter the desired track number. # You can cancel the input number by pressing CLEAR. 3 Press DIRECT. The track of entered number will play. # After entering the number input mode, if you do not perform an operation within about eight seconds, the mode is automatically canceled. 14 En
-
 1
1 -
2
-
3
-
4
-
5
-
6
-
7
-
8
-
 9
9 -
 10
10 -
 11
11 -
 12
12 -
 13
13 -
 14
14 -
 15
15 -
 16
16 -
 17
17 -
 18
18 -
 19
19 -
20
-
21
-
22
-
23
-
24
-
25
-
26
-
27
-
28
-
29
-
30
-
31
-
32
-
33
-
34
-
35
-
36
-
37
-
38
-
39
-
40
-
41
-
42
-
43
-
44
-
45
-
46
-
47
-
48
-
49
-
50
-
51
-
52
-
53
-
54
-
55
-
56
-
57
-
58
-
59
-
60
-
61
-
62
-
63
-
64
-
65
-
66
-
67
-
68
-
69
-
70
-
71
-
72
-
73
-
74
-
75
-
76
-
77
-
78
-
79
-
80
-
81
-
82
-
83
-
84
-
85
-
86
-
87
-
88
-
89
-
90
-
91
-
92
-
93
-
94
-
95
-
96
-
97
-
98
-
99
-
100
-
101
-
102
-
103
-
104
-
105
-
106
-
107
-
108
-
109
-
110
-
111
-
112
-
113
-
114
-
115
-
116
-
117
-
118
-
119
-
120
-
121
-
122
-
123
-
124
-
125
-
126
-
127
-
128
-
129
-
130
-
131
 |
 |