Seagate OneTouch OneTouch Installation Guide Mac - Page 16
Maxtor OneTouch, Setup, Step 1, Just Documents, Applications and Documents, Finish
 |
View all Seagate OneTouch manuals
Add to My Manuals
Save this manual to your list of manuals |
Page 16 highlights
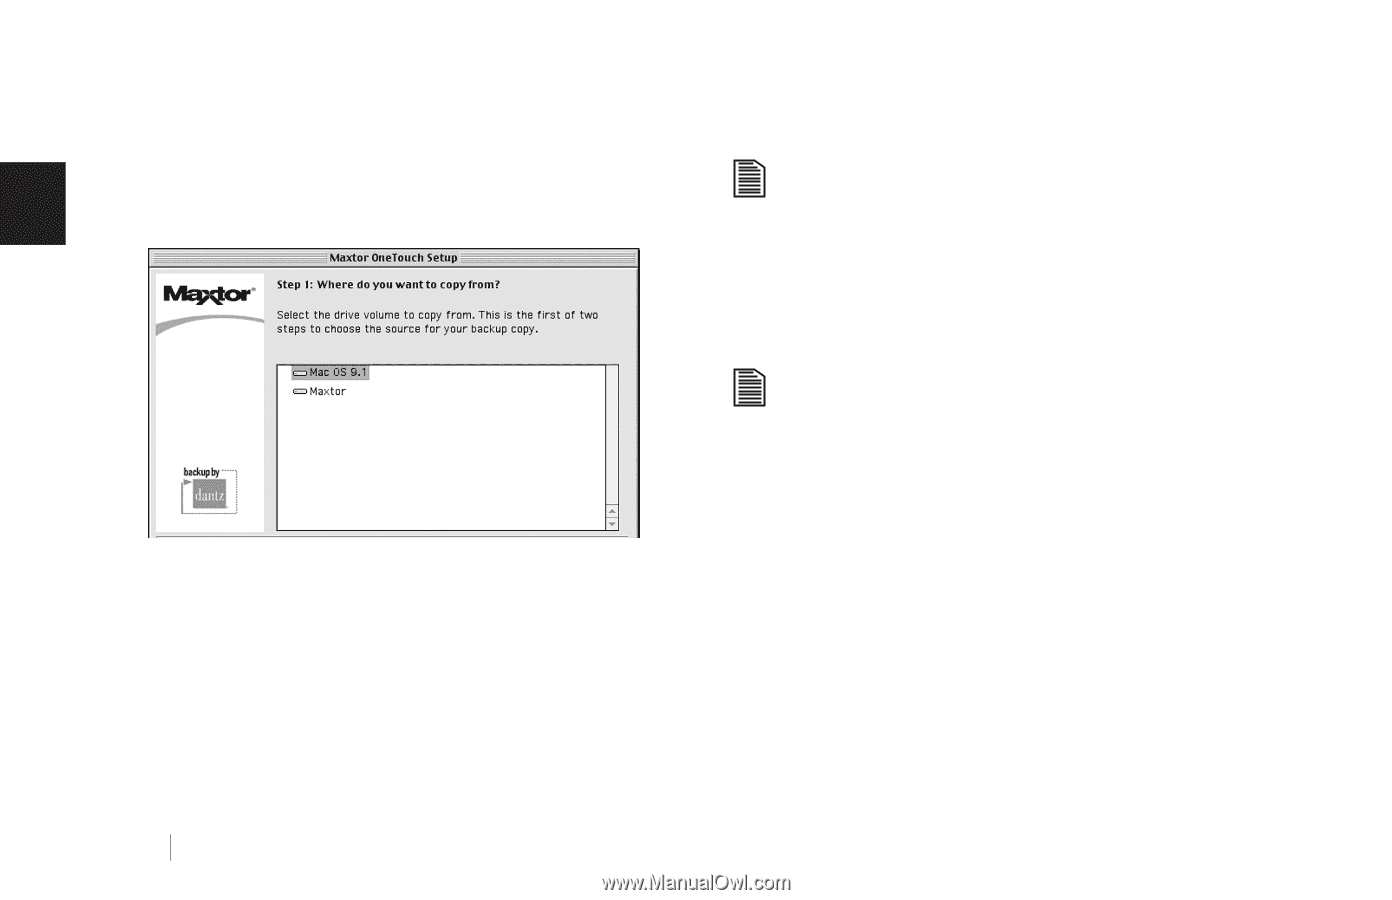
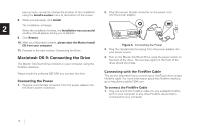
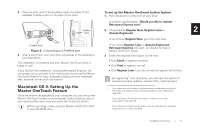
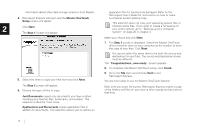
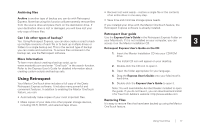
information about other data storage solutions from Maxtor. 4. Retrospect Express will open and the Maxtor OneTouch Setup screen will appear. 2 Click Next. The Step 1 Screen will appear. application file if it has become damaged. Refer to the Retrospect User's Guide for instructions on how to make a complete system backup copy. This selection does not copy your operating system files or Internet cache files. If you want to create a full backup of your entire system, go to "Backing up your complete system" on page 25 in chapter 4. Make your choice and click Next. 7. The Step 3 screen is displayed. Select the Maxtor OneTouch drive or another drive on your computer as the location to store the copy of your files. Click Next. You cannot select the same drive to be both the source and destination for your files. The source and destination drives must be different. The "Congratulations...now ready" screen appears. 8. To complete the Maxtor OneTouch setup, click Finish. 5. Select the drive to copy your files from and click Next. 9. Go to the File menu and choose Quit to exit Retrospect Express. You are now ready to use the Maxtor OneTouch feature! The Step 2 screen will appear. 6. Choose the type of files to copy: Just Documents copies only documents you have created including your favorite files, bookmarks, and cookies. This selection is ideal for most users. Each time you touch the button, Retrospect Express makes a copy of the folders and files on your source drive exactly as they exist at that time. Applications and Documents copies application files in addition to documents. This selection allows you to restore an 12
-
 1
1 -
2
-
3
-
4
-
5
-
6
-
7
-
8
-
9
-
10
-
 11
11 -
 12
12 -
 13
13 -
 14
14 -
 15
15 -
 16
16 -
 17
17 -
 18
18 -
 19
19 -
 20
20 -
 21
21 -
22
-
23
-
24
-
25
-
26
-
27
-
28
-
29
-
30
-
31
-
32
-
33
-
34
-
35
-
36
-
37
-
38
-
39
-
40
-
41
-
42
-
43
-
44
 |
 |