Turtle Beach Ear Force XP500 User's Guide - Page 13
Software Tutorial
 |
View all Turtle Beach Ear Force XP500 manuals
Add to My Manuals
Save this manual to your list of manuals |
Page 13 highlights
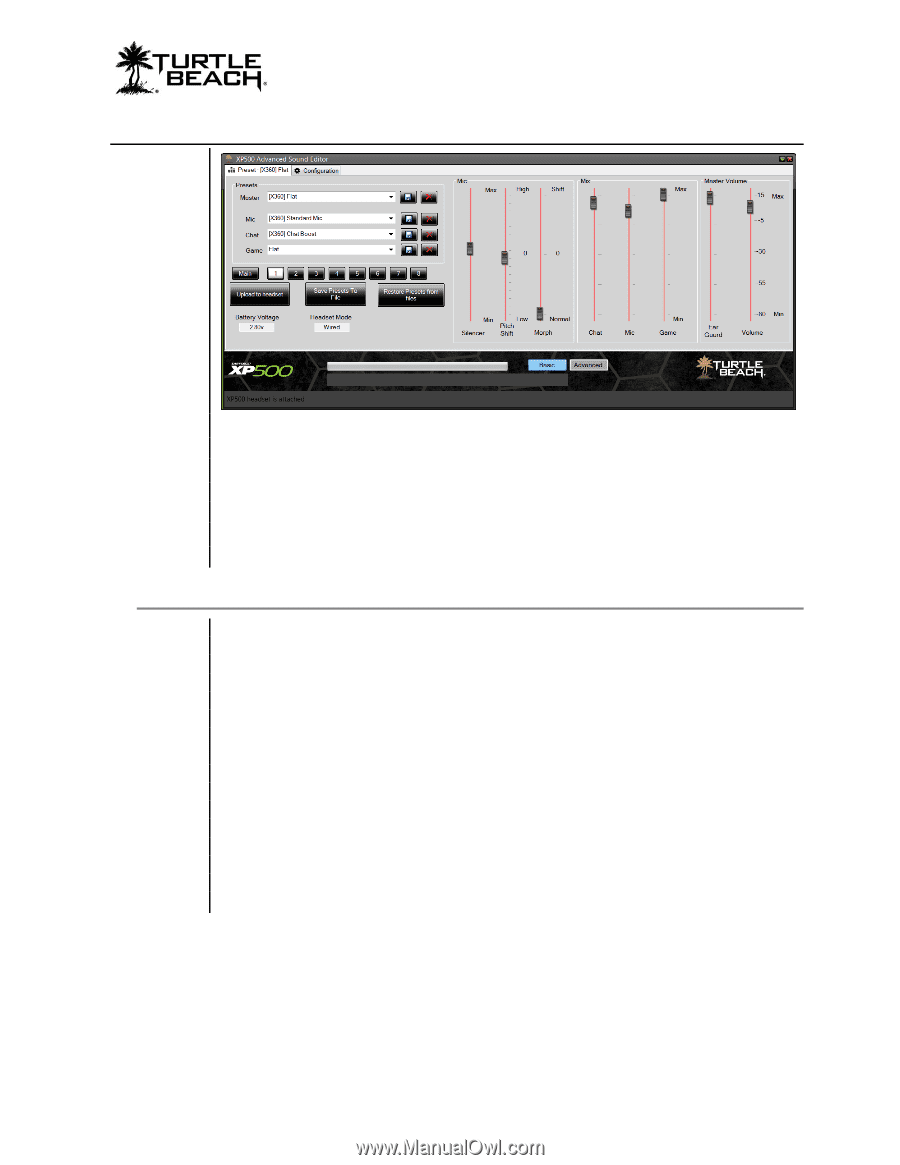
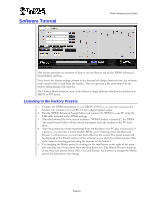
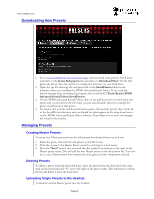
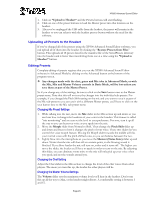
Software Tutorial XP500 Advanced Sound Editor This section provides an overview of how to use the Presets tab on the XP500 Advanced Sound Editor software. Note that if the battery voltage (shown in the bottom left) drops down too low, the software won't transfer files to and from the headset. This is to prevent a file error caused by the battery failing during a file transfer. The Headset Mode indicator, next to the battery voltage, indicates whether the headset is in XBOX or PS3 mode. Listening to the Factory Presets 1. Connect the XP500 transmitter to your XBOX or PS3 so you can hear sound on the headset. Or, connect it to your PC if it has a digital optical output. 2. Run the XP500 Advanced Sound Editor and connect the XP500 to your PC using the USB cable included in the XP500 package. 3. After the bottom left of the screen indicates "XP500 Headset is attached", the XP500 Advanced Sound Editor will download the presets from the headset to the PC hard drive. 4. After the presets have been transferred from the headset to the PC, play some music or a game so you can hear it in the headset. While you're listening, press the Main and Presets 1 - 8 buttons so you can hear their effect on the sound. The preset names will be displayed in the Presets section of the software as you click the presets buttons. This is the same as selecting presets using the buttons on the headset. 5. Try changing the Master preset by clicking on the small arrow to the right of the name and selecting one of the names from the drop down box. The Master Preset is made up of the three sub-presets below (Mic, Chat and Game). Each time you change the Master preset, the sub-presets also change. Page 13
-
 1
1 -
2
-
3
-
4
-
5
-
6
-
7
-
 8
8 -
 9
9 -
 10
10 -
 11
11 -
 12
12 -
 13
13 -
 14
14 -
 15
15 -
 16
16 -
 17
17 -
 18
18 -
19
-
20
-
21
-
22
-
23
-
24
-
25
-
26
-
27
-
28
 |
 |