Yamaha HTR-5935 Owners Manual - Page 11
Controlling the TUNER functions, Using the remote control, SLEEP, MULTI CH IN, STRAIGHT EFFECT, NIGHT - 6 1 channel
 |
View all Yamaha HTR-5935 manuals
Add to My Manuals
Save this manual to your list of manuals |
Page 11 highlights
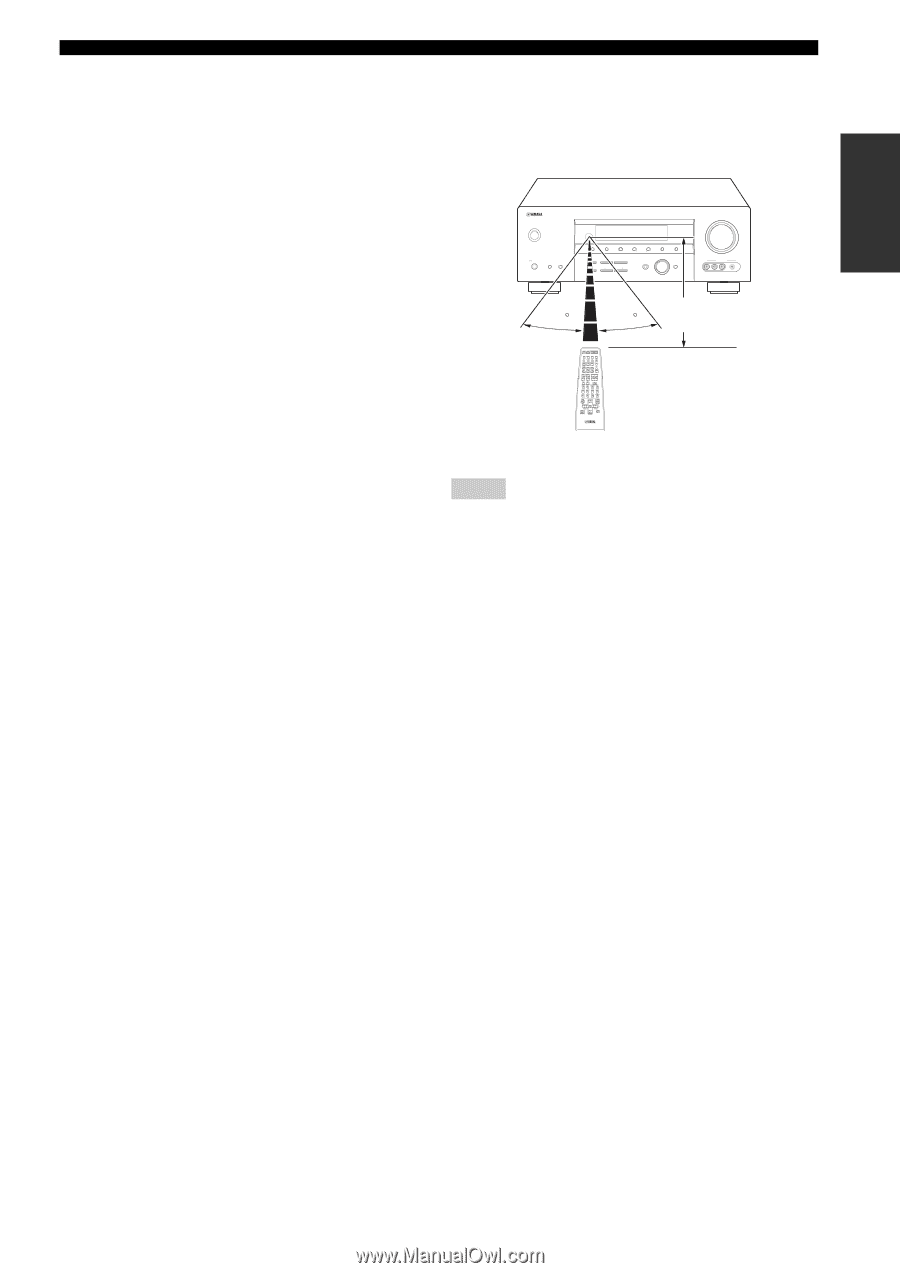
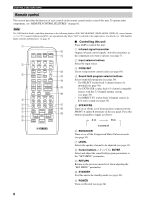
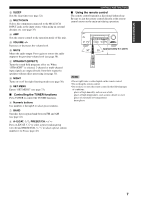
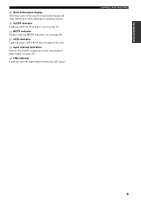
INTRODUCTION B SLEEP Sets the sleep timer (see page 32). C MULTI CH IN Selects the component connected to the MULTI CH INPUT jacks as the input source when using an external decoder, etc. (see page 35). D AMP Sets the remote control to the operation mode of this unit. E VOLUME +/- Increases or decreases the volume level. F MUTE Mutes the audio output. Press again to restore the audio output to the previous volume level (see page 30). G STRAIGHT (EFFECT) Turns the sound field programs off or on. When "STRAIGHT" is selected, 2-channel or multi-channel input signals are output directly from their respective speakers without effect processing (see page 35). H NIGHT Turns on or off the night listening modes (see page 30). I SET MENU Enters "SET MENU" (see page 73). ■ Controlling the TUNER functions Press TUNER to control the TUNER functions. 4 Numeric buttons Use numbers 1 through 8 to select preset stations. 7 BAND Switches the reception band between FM and AM (see page 41). 8 A-E/CAT. j / i, PRESET/CH u / d Press A-E/CAT. j / i to select a preset station group (A to E) and PRESET/CH u / d to select a preset station number (1 to 8) (see page 45). CONTROLS AND FUNCTIONS ■ Using the remote control The remote control transmits a directional infrared ray. Be sure to aim the remote control directly at the remote control sensor on the main unit during operation. STANDBY /ON PHONES SPEAKERS A B SILENT CINEMA PRESET/TUNING EDIT FM/AM A/B/C/D/E NEXT STRAIGHT EFFECT TONE CONTROL l PROGRAM h BASS/TREBLE l PRESET/TUNING/CH h LEVEL INPUT MODE MEMORY MAN'L/AUTO FM INPUT TUNING MODE AUTO/MAN'L MULTI CH INPUT VOLUME VIDEO AUX VIDEO L AUDIO R PORTABLE Approximately 6 m (20 ft) 30 30 Notes • Do not spill water or other liquids on the remote control. • Do not drop the remote control. • Do not leave or store the remote control in the following types of conditions: - places of high humidity, such as near a bath - places of high temperatures, such as near a heater or stove - places of extremely low temperatures - dusty places 7
-
 1
1 -
2
-
3
-
4
-
5
-
 6
6 -
 7
7 -
 8
8 -
 9
9 -
 10
10 -
 11
11 -
 12
12 -
 13
13 -
 14
14 -
 15
15 -
 16
16 -
17
-
18
-
19
-
20
-
21
-
22
-
23
-
24
-
25
-
26
-
27
-
28
-
29
-
30
-
31
-
32
-
33
-
34
-
35
-
36
-
37
-
38
-
39
-
40
-
41
-
42
-
43
-
44
-
45
-
46
-
47
-
48
-
49
-
50
-
51
-
52
-
53
-
54
-
55
-
56
-
57
-
58
-
59
-
60
-
61
-
62
-
63
-
64
-
65
-
66
-
67
-
68
-
69
-
70
-
71
-
72
-
73
-
74
-
75
-
76
-
77
-
78
-
79
-
80
-
81
-
82
-
83
-
84
-
85
-
86
-
87
-
88
-
89
-
90
-
91
-
92
-
93
-
94
-
95
-
96
-
97
-
98
-
99
 |
 |