1999 Nissan Pathfinder Owner's Manual - Page 140
1999 Nissan Pathfinder Manual
Page 140 highlights
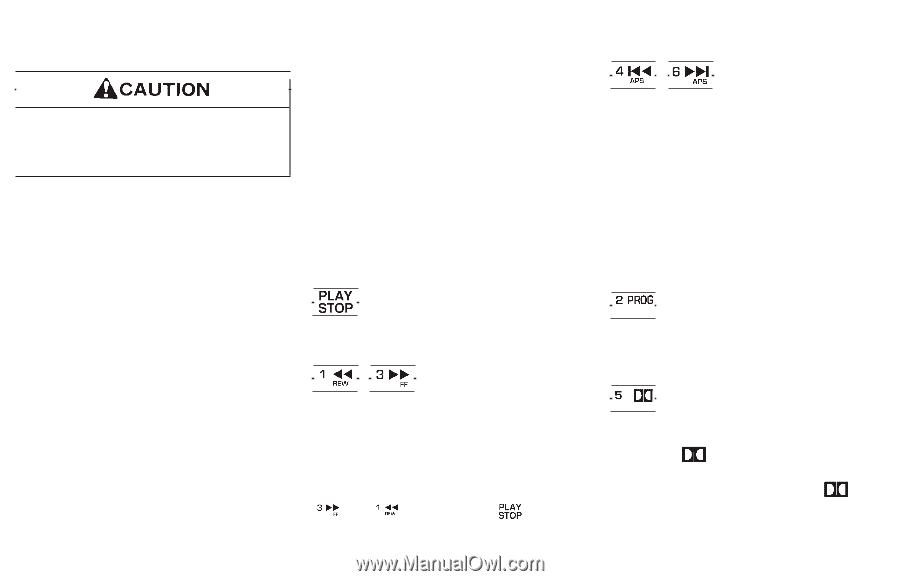
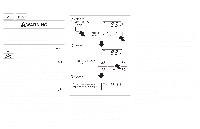
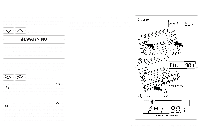
Do not force the cassette tape into the tape door. This could cause player damage. The cassette tape automatically changes directions to play the other side when the first side is complete. At this time, the moving digital squares illuminate on the left side of the display window. Precaution on cassette player operation: ¼ To maintain good quality sound, NISSAN recommends using cassette tapes of 60 minutes or shorter in length. ¼ Cassette tapes should be removed from the player when not in use. Store cassettes in their protective cases and away from direct sunlight, heat, moisture and magnetic sources. ¼ Direct sunlight can cause the cassette to become deformed. The use of deformed cassettes may cause the cassette to jam in the player. ¼ Do not use cassettes with labels which are peeling and loose. If used, the label could jam in the player. ¼ If a cassette has loose tape, insert a pencil through one of the cassette hubs and rewind the tape firmly around the hubs. Loose tape may cause tape jamming and wavering sound quality. ¼ Over a period of time, the playback head, capstan and pinch roller may collect a tape coating residue as the tape is played. This residue accumulation can cause weak or wavering sound, and should be removed periodically with a head cleaning tape. If the residue is not removed periodically, the player may need to be disassembled for cleaning. PLAY/STOP: Push the PLAY/STOP button while the cassette tape is playing to stop the tape. Push the button again to play the tape. FF (Fast Forward), REW (Rewind): Push either the FF or REW button for the desired direction. The FF or REW symbol illuminates in the display. To stop the FF or REW function, press the or again, or the button. APS (Automatic Program Search) FF, APS REW: Push either the APS FF or APS REW button while the cassette tape is playing. The tape runs quickly, stops, then plays the next selection. Either the FF or REW symbol flashes in the display while searching for the selection. This system searches at the blank intervals between selections. If there is a blank interval within one selection or there is no interval between selections, the system may not stop in the desired or expected location. PROG (Program): Push the PROG (program) select button. The moving digital squares illuminate on either the right or left side of the display window to indicate the side of program play. Dolby NR (Noise Reduction): Push the Dolby NR button for Dolby NR encoded tapes to reduce high frequency tape noise. The indicator light comes on. If in the clock display is in priority mode when the Dolby NR button is pressed, and TAPE illuminate in the display window for about 10 seconds. The clock mode then returns to the display window. Heater, air conditioner and audio systems 4-17
-
 1
1 -
2
-
3
-
4
-
5
-
6
-
7
-
8
-
9
-
10
-
11
-
12
-
13
-
14
-
15
-
16
-
17
-
18
-
19
-
20
-
21
-
22
-
23
-
24
-
25
-
26
-
27
-
28
-
29
-
30
-
31
-
32
-
33
-
34
-
35
-
36
-
37
-
38
-
39
-
40
-
41
-
42
-
43
-
44
-
45
-
46
-
47
-
48
-
49
-
50
-
51
-
52
-
53
-
54
-
55
-
56
-
57
-
58
-
59
-
60
-
61
-
62
-
63
-
64
-
65
-
66
-
67
-
68
-
69
-
70
-
71
-
72
-
73
-
74
-
75
-
76
-
77
-
78
-
79
-
80
-
81
-
82
-
83
-
84
-
85
-
86
-
87
-
88
-
89
-
90
-
91
-
92
-
93
-
94
-
95
-
96
-
97
-
98
-
99
-
100
-
101
-
102
-
103
-
104
-
105
-
106
-
107
-
108
-
109
-
110
-
111
-
112
-
113
-
114
-
115
-
116
-
117
-
118
-
119
-
120
-
121
-
122
-
123
-
124
-
125
-
126
-
127
-
128
-
129
-
130
-
131
-
132
-
133
-
134
-
 135
135 -
 136
136 -
 137
137 -
 138
138 -
 139
139 -
 140
140 -
 141
141 -
 142
142 -
 143
143 -
 144
144 -
 145
145 -
146
-
147
-
148
-
149
-
150
-
151
-
152
-
153
-
154
-
155
-
156
-
157
-
158
-
159
-
160
-
161
-
162
-
163
-
164
-
165
-
166
-
167
-
168
-
169
-
170
-
171
-
172
-
173
-
174
-
175
-
176
-
177
-
178
-
179
-
180
-
181
-
182
-
183
-
184
-
185
-
186
-
187
-
188
-
189
-
190
-
191
-
192
-
193
-
194
-
195
-
196
-
197
-
198
-
199
-
200
-
201
-
202
-
203
-
204
-
205
-
206
-
207
-
208
-
209
-
210
-
211
-
212
-
213
-
214
-
215
-
216
-
217
-
218
-
219
-
220
-
221
-
222
-
223
-
224
-
225
-
226
-
227
-
228
-
229
-
230
-
231
-
232
-
233
-
234
-
235
-
236
-
237
-
238
-
239
-
240
-
241
-
242
-
243
-
244
-
245
-
246
-
247
-
248
-
249
-
250
-
251
-
252
-
253
-
254
-
255
-
256
-
257
-
258
-
259
-
260
-
261
-
262
-
263
-
264
-
265
-
266
-
267
-
268
-
269
-
270
-
271
-
272
-
273
-
274
 |
 |