2003 Pontiac Bonneville Owner's Manual - Page 109
2003 Pontiac Bonneville Manual

Page 109 highlights
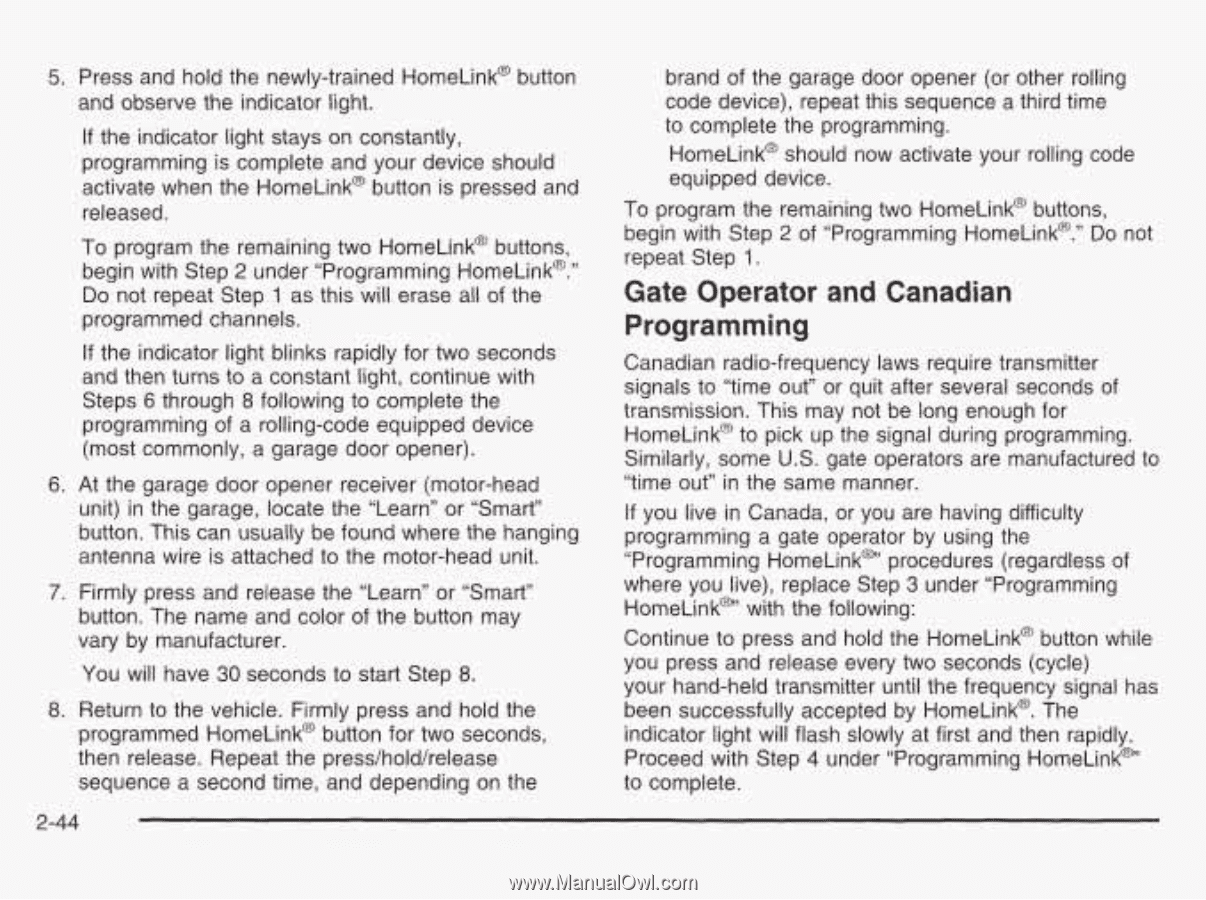
5. Press and hold the newly-trained HomeLink@button and observe the indicator light. If the indicator light stays on constantly, programming is complete and your device should activate when the HomeLink@ button is pressed and released. To program the remaining two HomeLink@ buttons, begin with Step 2 under "Programming HomeLink@." Do not repeat Step 1 as this will erase all of the programmed channels. If the indicator light blinks rapidly for two seconds and then turns to a constant light, continue with Steps 6 through 8 following to complete the programming of a rolling-code equipped device (most commonly, a garage door opener). 6. At the garage door opener receiver (motor-head unit) in the garage, locate the "Learn" or "Smart" button. This can usually be found where the hanging antenna wire is attached to the motor-head unit. 7. Firmly press and release the "Learn" or "Smart" button. The name and color of the button may vary by manufacturer. brand of the garage door opener (or other rolling code device), repeat this sequencea third time to complete the programming. HomeLink@ should now activate your rolling code equipped device. To program the remaining two HomeLink@ buttons, begin with Step 2 of "Programming HomeLink@."Do not repeat Step 1. Gate Operator and Canadian Programming Canadian radio-frequency laws require transmitter signals to "time out" or quit after several seconds of transmission. This may not be long enough for HomeLink@ pick up the signal during programming. to Similarly, some U.S. gate operators are manufactured to "time out" in the same manner. If you live in Canada, or you are having difficulty programming a gate operator by using the "Programming HomeLink@' procedures (regardless of where you live), replace Step 3 under "Programming HomeLink@' withthe following: Continue to press and hold the HomeLink@ button while you press and release every two seconds (cycle) your hand-held transmitter until the frequency signal has been successfully accepted by HomeLink@. The indicator light will flash slowly at first and then rapidly. Proceed with Step 4 under "Programming HomeLink@" to complete. You will have 30 seconds to start Step 8. 8. Return to the vehicle. Firmly press and hold the programmed HomeLink@button for two seconds, then release. Repeat the press/hold/release sequence a second time, and depending on the 2-44
-
 1
1 -
2
-
3
-
4
-
5
-
6
-
7
-
8
-
9
-
10
-
11
-
12
-
13
-
14
-
15
-
16
-
17
-
18
-
19
-
20
-
21
-
22
-
23
-
24
-
25
-
26
-
27
-
28
-
29
-
30
-
31
-
32
-
33
-
34
-
35
-
36
-
37
-
38
-
39
-
40
-
41
-
42
-
43
-
44
-
45
-
46
-
47
-
48
-
49
-
50
-
51
-
52
-
53
-
54
-
55
-
56
-
57
-
58
-
59
-
60
-
61
-
62
-
63
-
64
-
65
-
66
-
67
-
68
-
69
-
70
-
71
-
72
-
73
-
74
-
75
-
76
-
77
-
78
-
79
-
80
-
81
-
82
-
83
-
84
-
85
-
86
-
87
-
88
-
89
-
90
-
91
-
92
-
93
-
94
-
95
-
96
-
97
-
98
-
99
-
100
-
101
-
102
-
103
-
 104
104 -
 105
105 -
 106
106 -
 107
107 -
 108
108 -
 109
109 -
 110
110 -
 111
111 -
 112
112 -
 113
113 -
 114
114 -
115
-
116
-
117
-
118
-
119
-
120
-
121
-
122
-
123
-
124
-
125
-
126
-
127
-
128
-
129
-
130
-
131
-
132
-
133
-
134
-
135
-
136
-
137
-
138
-
139
-
140
-
141
-
142
-
143
-
144
-
145
-
146
-
147
-
148
-
149
-
150
-
151
-
152
-
153
-
154
-
155
-
156
-
157
-
158
-
159
-
160
-
161
-
162
-
163
-
164
-
165
-
166
-
167
-
168
-
169
-
170
-
171
-
172
-
173
-
174
-
175
-
176
-
177
-
178
-
179
-
180
-
181
-
182
-
183
-
184
-
185
-
186
-
187
-
188
-
189
-
190
-
191
-
192
-
193
-
194
-
195
-
196
-
197
-
198
-
199
-
200
-
201
-
202
-
203
-
204
-
205
-
206
-
207
-
208
-
209
-
210
-
211
-
212
-
213
-
214
-
215
-
216
-
217
-
218
-
219
-
220
-
221
-
222
-
223
-
224
-
225
-
226
-
227
-
228
-
229
-
230
-
231
-
232
-
233
-
234
-
235
-
236
-
237
-
238
-
239
-
240
-
241
-
242
-
243
-
244
-
245
-
246
-
247
-
248
-
249
-
250
-
251
-
252
-
253
-
254
-
255
-
256
-
257
-
258
-
259
-
260
-
261
-
262
-
263
-
264
-
265
-
266
-
267
-
268
-
269
-
270
-
271
-
272
-
273
-
274
-
275
-
276
-
277
-
278
-
279
-
280
-
281
-
282
-
283
-
284
-
285
-
286
-
287
-
288
-
289
-
290
-
291
-
292
-
293
-
294
-
295
-
296
-
297
-
298
-
299
-
300
-
301
-
302
-
303
-
304
-
305
-
306
-
307
-
308
-
309
-
310
-
311
-
312
-
313
-
314
-
315
-
316
-
317
-
318
-
319
-
320
-
321
-
322
-
323
-
324
-
325
-
326
-
327
-
328
-
329
-
330
-
331
-
332
-
333
-
334
-
335
-
336
-
337
-
338
-
339
-
340
-
341
-
342
-
343
-
344
-
345
-
346
-
347
-
348
-
349
-
350
-
351
-
352
-
353
-
354
-
355
-
356
-
357
-
358
-
359
-
360
-
361
-
362
-
363
-
364
-
365
-
366
-
367
-
368
-
369
-
370
-
371
-
372
-
373
-
374
-
375
-
376
-
377
-
378
-
379
-
380
-
381
-
382
-
383
-
384
-
385
-
386
-
387
-
388
-
389
-
390
-
391
-
392
-
393
-
394
-
395
-
396
-
397
-
398
-
399
-
400
-
401
-
402
-
403
-
404
-
405
-
406
-
407
-
408
-
409
-
410
-
411
-
412
-
413
-
414
-
415
-
416
-
417
-
418
 |
 |