Adobe 65024500 User Guide - Page 15
Place, Pointer Tool, Text Tool, File > Place, Free Transform Tool, Shift
 |
UPC - 883919166476
View all Adobe 65024500 manuals
Add to My Manuals
Save this manual to your list of manuals |
Page 15 highlights
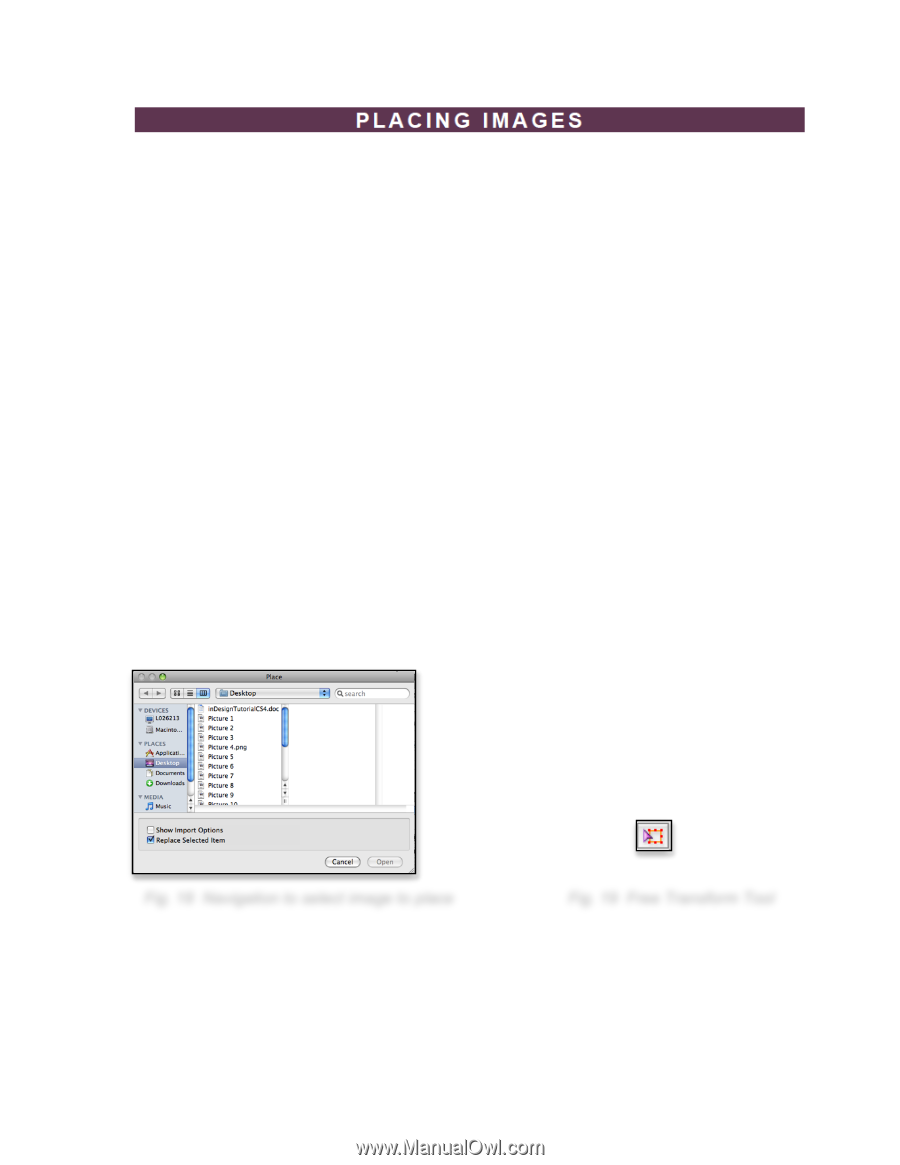
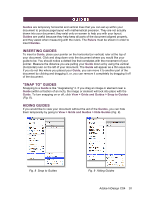
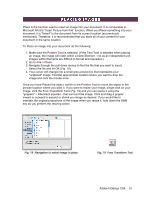
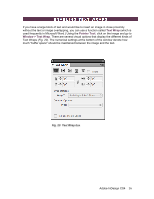
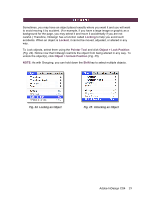
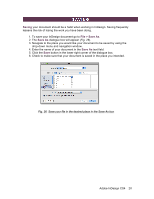
Place is the function used to insert an image into your document. It is comparable to Microsoft Word's "Insert Picture from File" function. When you Place something into your document, it is "linked" to the document from its current location (as previously mentioned). Therefore, it is recommended that you store all of your content for your document in the same location. To Place an image into your document do the following: 1. Make sure the Pointer Tool is selected. (If the Text Tool is selected when placing an image, the image will insert within a blank Element - not as an independent unit. images within Elements are difficult to format and reposition.) 2. Go to File > Place. 3. Navigate through the pull down menus to find the file that you want to insert. Select the file and hit OK (Fig. 18). 4. Your cursor will change into a small grey picture box that represents your "unplaced" image. Find the approximate location where you want to drop the image and click the mouse once. Once you have Placed the object, switch to the Pointer Tool to move the object to the precise location where you want it. If you want to resize your image, single-click on your image, click the Free Transform Tool (Fig. 19) and you can resize it using the "grippers" - little black squares - that surround the image. Click and drag a gripper inward or outward to expand or shrink you image as desired. If you would like to maintain the original proportions of the image when you resize it, hold down the Shift key as you perform the resizing action. Fig. 18 Navigation to select image to place Fig. 19 Free Transform Tool Adobe InDesign CS4 15
-
 1
1 -
2
-
3
-
4
-
5
-
6
-
7
-
8
-
9
-
 10
10 -
 11
11 -
 12
12 -
 13
13 -
 14
14 -
 15
15 -
 16
16 -
 17
17 -
 18
18 -
 19
19 -
 20
20 -
21
 |
 |