Bernina Bernette 56 Instruction Manual - Page 49
Straight Stitching
 |
View all Bernina Bernette 56 manuals
Add to My Manuals
Save this manual to your list of manuals |
Page 49 highlights
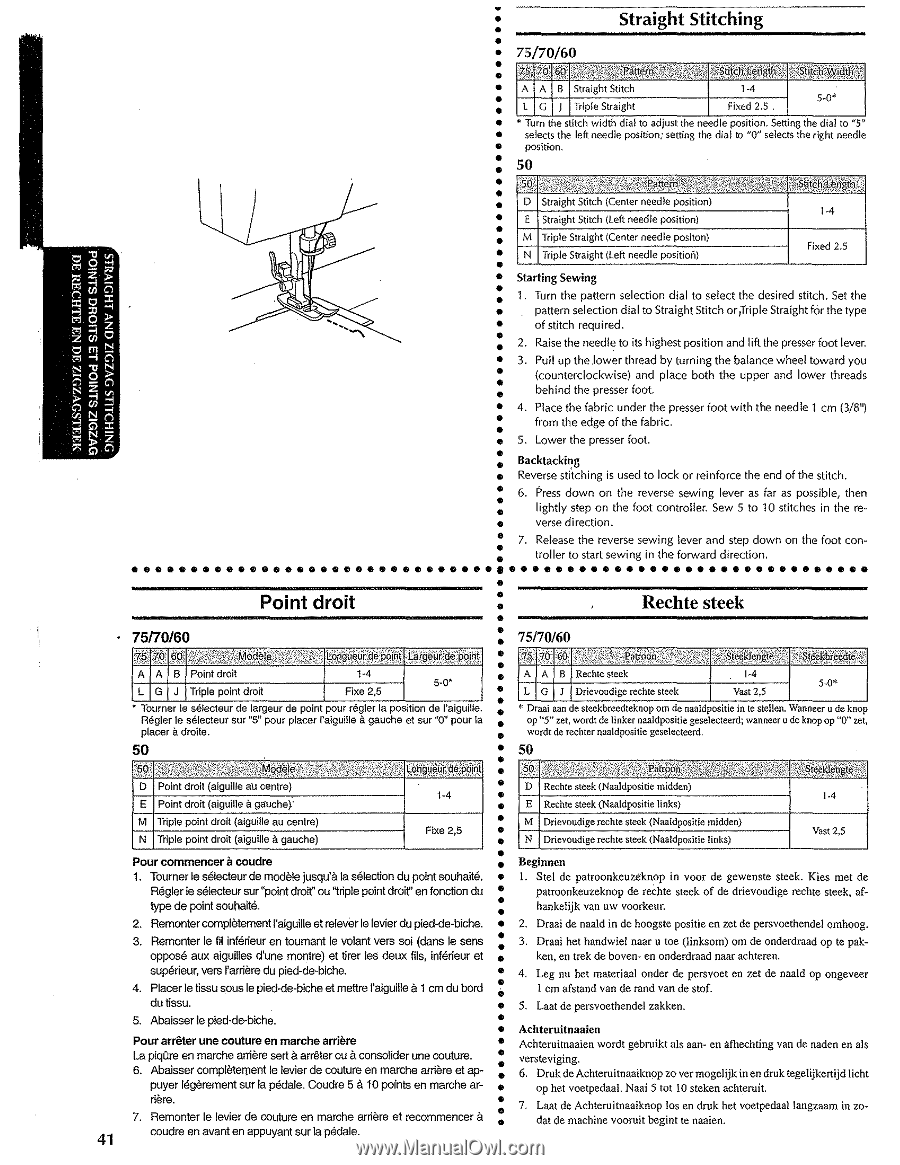
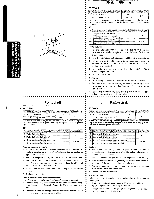
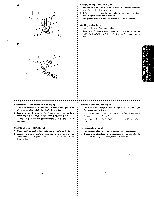
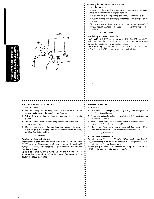
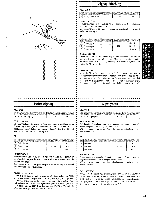
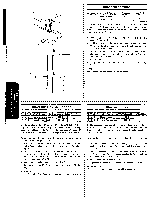
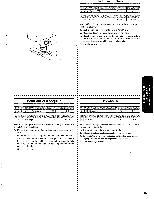
e• Straight Stitching position . 50 Starting Sewing 1. Turn the pattern selection dial to select the desired stitch. Set the pattern selection dial to Straight Stitch or ,Triple Straight for the type of stitch required . 2. Raise the need!~ to its highest position and lift the presser foot lever. 3. Pull up the .lower thread by turning the balance wheel toward you (counterclockwise) and place both the upper and lower threads behind the presser foot. 4. Place the fabric under the presser foot with the needle 1 em (3/8") from the edge of the fabric. 5. Lower the presser foot. 75170/60 Point droit a placer droite. Backtacking Reverse sti'tching is used to Jock or reinforce the end of the stitch . 6. Press down on the reverse sewing lever as far as possible, then lightly step on the foot controller. Sew 5 to 10 stitches in thereverse direction . 7. Release the reverse sewing !ever and step down on the foot controller to start sewing in the forward direction. 75/70/60 Rechte steek ; op "5" zet, wordt de linker naaldpositie wordt de rechter naaldpositie geselecteerd. 41 a Pour commencer coudre 1. Tourner !e s€!ecteur de modele jusqu'a Ia selection du point souhait€ . Regier !e selecteur sur "point droit" ou ''triple point droif' en fonction du type de point souhaite. 2. Remonter comph3tement !'aiguille et re!ev€r !e levier du pied-de-biche. 3. Remonter le fil inf€rieur en toumant le volant vers soi (dans le sens oppose aux aigui!!es d'une montre) et tirer les deux fils, interieur et superieur, vers l'arriSre du pied-de-biche. a 4. Placer le tissu sous le pied·de·biche et mettre l'aiguille 1 em du bard dutissu. 5. Abaisser le pied-de·biche. Pour arreter une couture en marche arribre a a La piqOre en marche arriere sert arreter au consolider une couture. 6. Abaisser compl9teroent le levier de couture en marche arri9re et ap~ a puyer tegerement sur Ia pedale. Coudre 5 10 points en marche ar- nere. a 7. Remonter le levier de couture en marche arriSre et recommencer coudre en avant en appuyant sur Ia pSdale. • 50 Beginnen • I. Stel de patroonkeuze·knop in voor de gewenste steek. Kies met de •• patroonkeuzeknop de reChte steek of de drievoudige rechte steek, af¥ • hankelijk van uw voorkeur. • 2. Draai de naald in de hoogste positie en zet de persvoethendel omhoog. •• 3. Draai het handwie! naar u toe (linksom) om de onderdraad op te pak• ken, en trek de boven~ en onderdraad naar achteren. •• 4. Leg nu het materiaal onder de persvoet en zet de naald op ongeveer • I em afstand van de rand van de stof. • 5. Laat de persvoethendel zakken. •• Achteruitnaaien •• Achteruitnaaien wordt gebruikt als aan· en afbechting van de naden en als • versteviging. • 6. Druk de Achteruitnaaikn()p zo ver mogelijk in en druk tegelijkertijd Iicht • op bet voetpedaal. Naai 5 tot 10 steken achteruit. •• 7. Laat de Achteruitnaaiknop los en druk het voetpedaal !angzaam in zo~ •• dat de machine vooruit begint te naaien.
-
 1
1 -
2
-
3
-
4
-
5
-
6
-
7
-
8
-
9
-
10
-
11
-
12
-
13
-
14
-
15
-
16
-
17
-
18
-
19
-
20
-
21
-
22
-
23
-
24
-
25
-
26
-
27
-
28
-
29
-
30
-
31
-
32
-
33
-
34
-
35
-
36
-
37
-
38
-
39
-
40
-
41
-
42
-
43
-
 44
44 -
 45
45 -
 46
46 -
 47
47 -
 48
48 -
 49
49 -
 50
50 -
 51
51 -
 52
52 -
 53
53 -
 54
54 -
55
-
56
-
57
-
58
-
59
-
60
-
61
-
62
-
63
-
64
-
65
-
66
-
67
-
68
-
69
-
70
-
71
-
72
-
73
-
74
-
75
-
76
-
77
-
78
-
79
-
80
-
81
-
82
-
83
-
84
-
85
-
86
 |
 |