Bernina Bernette 56 Instruction Manual - Page 56
Point universe, Point feston
 |
View all Bernina Bernette 56 manuals
Add to My Manuals
Save this manual to your list of manuals |
Page 56 highlights
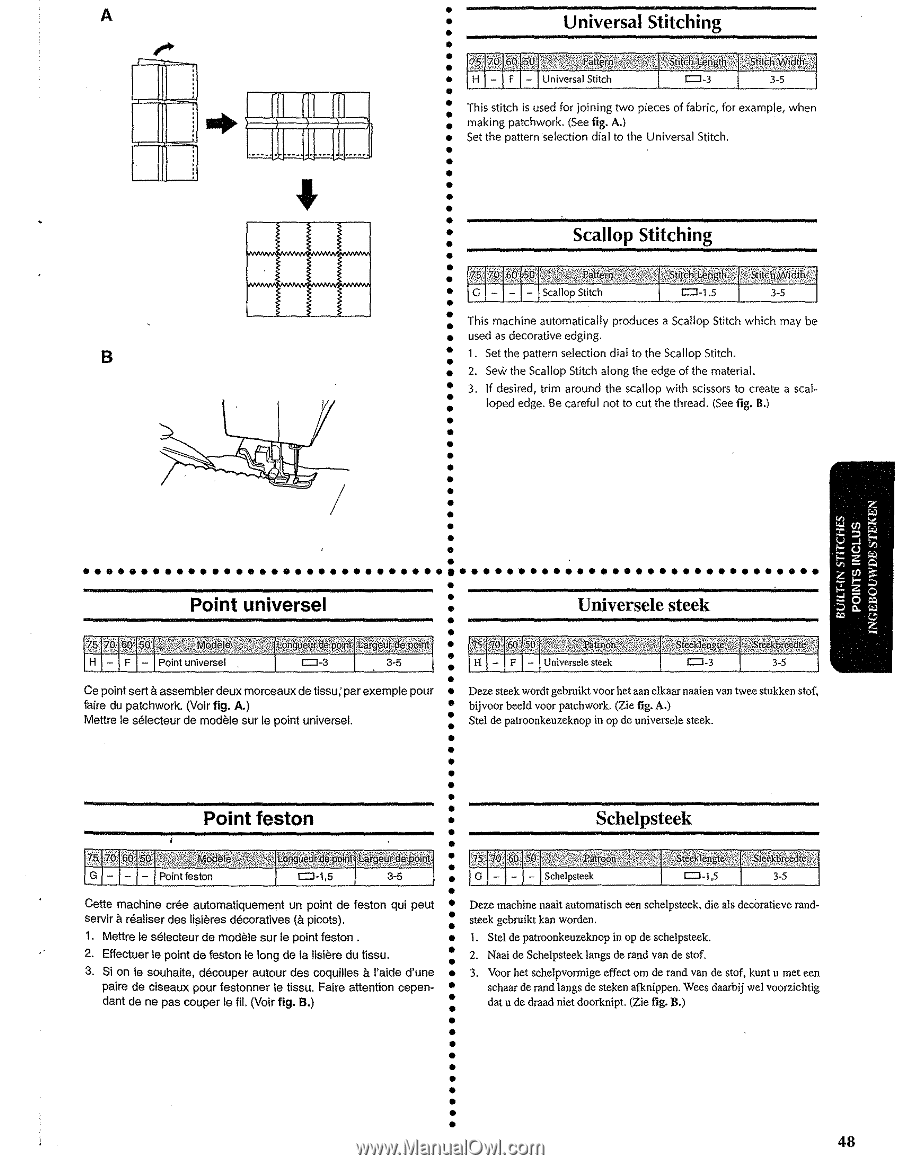
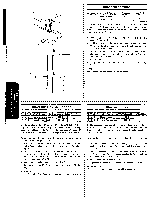
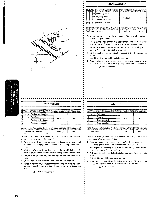
A HII... .IIIL. IIIL w""- B • • This stitch is used for joining two pieces of fabric, for example, when making patchwork. {See fig. A.) Set the pattern selection dial to the Universal Stitch. • • • • • This machine automatically produces a Scallop Stitch which may be used as decorative edging . 1. Set the pattern selection dial to the Scallop Stitch. •• 2. SeW the Scallop Stitch along the edge of the material. 3. lf desired, trim around the scallop with scissors to create a seal~ loped edge. Be careful not to cut the thread. (See fig. 8.) • • • • • Point universe! a Ce point sert assembler deux morceaux de tissu,' par exemp!e pour faire du patchwork. (Voir fig. A.) Mettre !e sSiecteur de mod91e sur le point universaL Point feston Cette machine cree automatiquement un point de feston qui peut servir a n3a!iser des li$i€res d6coratives (a picots). 1. Mettre le s8lecteur de mod81e sur le point feston . 2. Effectuer le point de feston !e long de Ia !isi9re du tissu. a 3. Si on le souhaite, d9couper autour des coquilles !'aide d'une paire de ciseaux pour festonner le tissu. Faire attention cependant de ne pas couper le fil. {Voir fig. 8.) Universele steek Deze steek wordt gebruikt voor het aan elkaar naaien van twee stukken stof, bijvoor beeld voor patchwork. (Zie fig. A.) Stel de patroonkeuzeknop in op de universele steek. Deze machine naait automatisch een schelpsteek, die als decOratieve randsteek gebruikt kan worden . I. Stel de patroonkeuzeknop in op de schelpsteek. 2. Naai de Schelpsteek langs de rand van de stof. 3. Voor het schelpvormige effect om de rand van de stof, kunt u met een schaar de rand 'tangs de steken afknippen. Wees daarbij wei voorzichtig datu de draad niet doorknipt. (Zie fig. B.) 48
-
 1
1 -
2
-
3
-
4
-
5
-
6
-
7
-
8
-
9
-
10
-
11
-
12
-
13
-
14
-
15
-
16
-
17
-
18
-
19
-
20
-
21
-
22
-
23
-
24
-
25
-
26
-
27
-
28
-
29
-
30
-
31
-
32
-
33
-
34
-
35
-
36
-
37
-
38
-
39
-
40
-
41
-
42
-
43
-
44
-
45
-
46
-
47
-
48
-
49
-
50
-
 51
51 -
 52
52 -
 53
53 -
 54
54 -
 55
55 -
 56
56 -
 57
57 -
 58
58 -
 59
59 -
 60
60 -
 61
61 -
62
-
63
-
64
-
65
-
66
-
67
-
68
-
69
-
70
-
71
-
72
-
73
-
74
-
75
-
76
-
77
-
78
-
79
-
80
-
81
-
82
-
83
-
84
-
85
-
86
 |
 |