Bosch WTVC6330US User Manual - Page 17
Exhaust, connection - 10
 |
UPC - 825225882800
View all Bosch WTVC6330US manuals
Add to My Manuals
Save this manual to your list of manuals |
Page 17 highlights
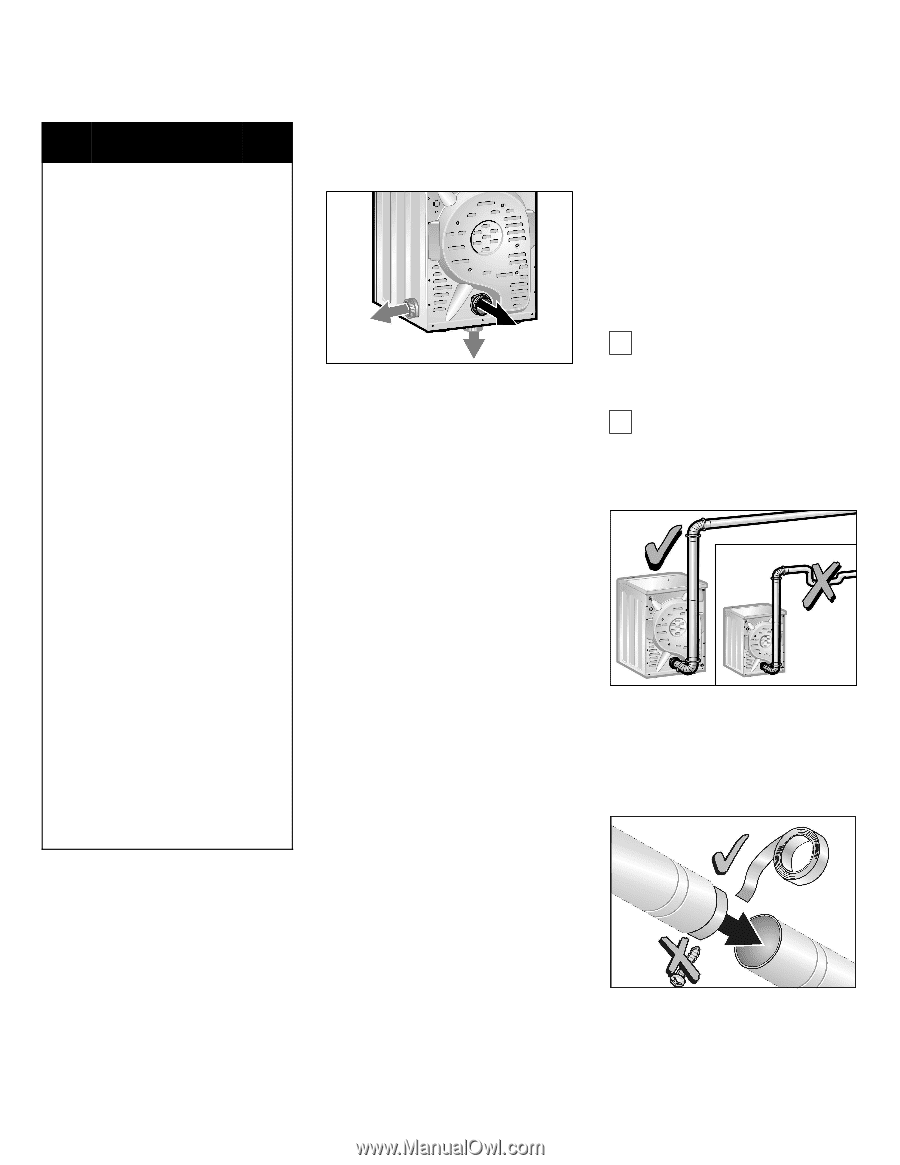
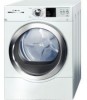
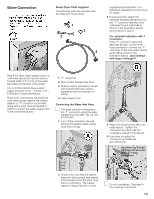
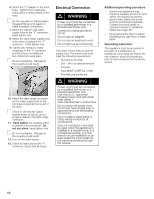
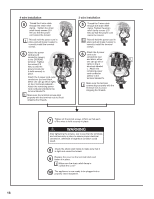
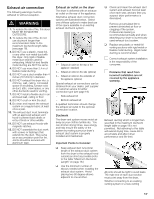
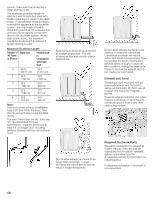
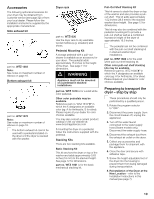
Exhaust air connection The following warnings must be adhered to without exception. d WARNING 1. To reduce the risk of fire, this dryer MUST BE EXHAUSTED OUTDOORS. 2. To reduce the risk of fire, do not use ductwork longer than recommended. Refer to the maximum ductwork length table (see page 18). 3. DO NOT use a plastic, metal foil, or any other nonĆmetal duct with this dryer. Only rigid or flexible metal duct shall be used for exhausting. Metal foil and flexible metal ducting are NOT the same. 4. DO NOT use more than 2.4 m of flexible metal ducting. 5. DO NOT use a duct smaller than 4 inches (101.6mm) in diameter. 6. DO NOT exhaust the dryer into: a chimney, wall, ceiling, concealed space of a building, furnace cold air duct, attic, crawl space, or any other ductwork used for venting. 7. DO NOT install a flexible duct in an enclosed wall, ceiling or floor. 8. DO NOT crush or kink the duct. 9. Do clean and inspect the exhaust system on a regular basis; at least once a year. 10. The exhaust duct must terminate with an approved exhaust vent hood to prevent back drafts or entry of birds or other wildlife. 11. DO NOT use exhaust hoods with magnetic latches. 12. DO NOT assemble the duct work with screws or fasteners that extend into the duct. They serve as an accumulation point for lint. Joints should be secured with aluminum tape. Exhaust air outlet on the dryer The dryer is delivered with an exhaust air outlet on the rear of the appliance. Alternative exhaust duct connection options are illustrated below. Select one of these options to make best use of the space available or an existing exhaust ductwork system. 2 1 3 1 ć Exhaust air outlet on the rear of the appliance (standard) 2 ć Exhaust air outlet on the side (optional) 3 ć Exhaust air outlet on the underside of the appliance (optional) Special exhaust air connections can be obtained from your dealer, part supplier or customer service for either connection type (see page 19). - Side exhaust kit - Bottom exhaust kit A qualified technician should change the exhaust air outlet to the optional connection location. Ductwork The dryer vent system moves moist air away as your clothes tumble dry. You can shorten drying times, save energy and help ensure the safety of the system by making sure your dryer's exhaust duct system is properly installed and maintained. Important Points to Consider: q Keep exhaust duct runs (total length of the exhaust duct system from the dryer to the exhaust hood outside) as short as possible (refer to the table Maximum Ductwork Length" on page 18.) q Use the minimum number of elbows needed when installing the exhaust duct system. Avoid placing two 90 degree elbows adjacent to one another. q Check and clean the exhaust duct system and exhaust hood at least once each year, and any time you suspect dryer performance is decreased. Remove accumulated lint to prevent diminished air flow or clogging of the system. Professional cleaning is recommended annually and when attaching your dryer to a previously used exhaust duct system. q Replace any plastic or metal foil venting sections with rigid metal or flexible metal ducting. Rigid metal ducting is recommended. i Correct exhaust system installation is the responsibility of the consumer. i Problems that result from incorrect installation are not covered by the appliance warranty. Exhaust ducting which is longer than specified in the maximum ductwork length table on page 18 is not permitted. Not adhering to this table will extend drying time, cause lint to accumulate and affect dryer performance and lifeĆtime. All joints should be tight to avoid leaks. The male end of each duct section must point away from the dryer. Whether connecting to an existing venting system or a new venting 17
-
 1
1 -
2
-
3
-
4
-
5
-
6
-
7
-
8
-
9
-
10
-
11
-
 12
12 -
 13
13 -
 14
14 -
 15
15 -
 16
16 -
 17
17 -
 18
18 -
 19
19 -
 20
20 -
 21
21 -
 22
22 -
23
-
24
-
25
-
26
-
27
-
28
-
29
-
30
-
31
-
32
-
33
-
34
-
35
-
36
-
37
-
38
-
39
-
40
-
41
-
42
-
43
-
44
-
45
-
46
-
47
-
48
-
49
-
50
-
51
-
52
-
53
-
54
-
55
-
56
-
57
-
58
-
59
-
60
-
61
-
62
-
63
-
64
-
65
-
66
-
67
-
68
 |
 |