Brother International MFC-9125CN Quick Setup Guide - English - Page 19
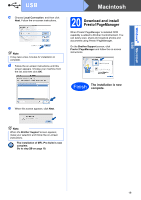
Download and install Presto! Manager, The installation is now, complete.
 |
View all Brother International MFC-9125CN manuals
Add to My Manuals
Save this manual to your list of manuals |
Page 19 highlights
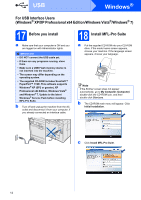
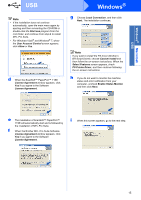
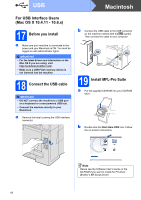
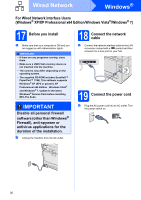
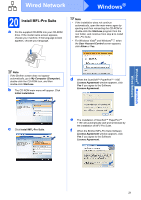
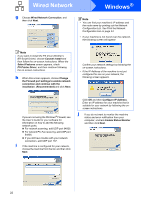
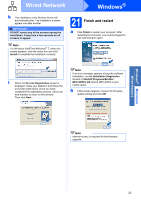
Windows® Macintosh USB USB c Choose Local Connection, and then click Next. Follow the on-screen instructions. Note It may take a few minutes for installation to complete. d Follow the on-screen instructions until this screen appears. Choose your machine from the list, and then click OK. Macintosh 20 Download and install Presto! PageManager When Presto! PageManager is installed OCR capability is added to Brother ControlCenter2. You can easily scan, share and organize photos and documents using Presto! PageManager. On the Brother Support screen, click Presto! PageManager and follow the on-screen instructions. Finish The installation is now complete. e When this screen appears, click Next. Note When the Brother Support screen appears, make your selection and follow the on-screen instructions. The installation of MFL-Pro Suite is now complete. Go to step 20 on page 19. 19
-
 1
1 -
2
-
3
-
4
-
5
-
6
-
7
-
8
-
9
-
10
-
11
-
12
-
13
-
 14
14 -
 15
15 -
 16
16 -
 17
17 -
 18
18 -
 19
19 -
 20
20 -
 21
21 -
 22
22 -
 23
23 -
 24
24 -
25
-
26
-
27
-
28
-
29
-
30
-
31
-
32
-
33
-
34
-
35
-
36
-
37
-
38
-
39
-
40
-
41
-
42
-
43
-
44
-
45
-
46
-
47
 |
 |
