Canon EOS 7D Mark II Instruction Manual - Page 105
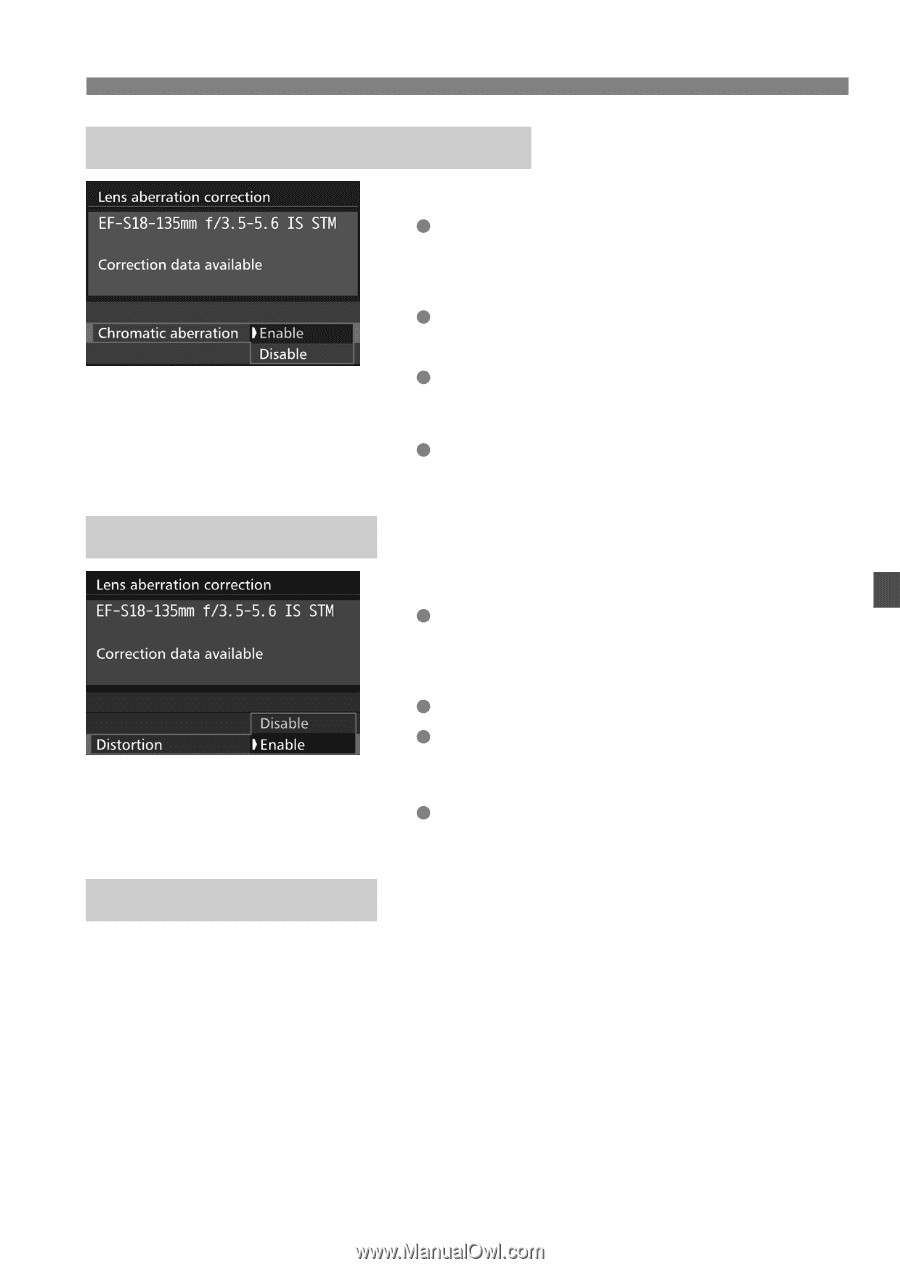
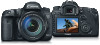
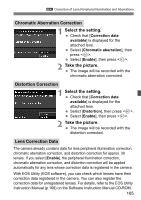
Select the setting., Take the picture., Chromatic Aberration Correction, Distortion Correction, Lens
 |
View all Canon EOS 7D Mark II manuals
Add to My Manuals
Save this manual to your list of manuals |
Page 105 highlights
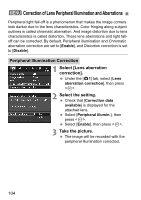
3 Correction of Lens Peripheral Illumination and Aberrations Chromatic Aberration Correction 1 Select the setting. Check that [Correction data available] is displayed for the attached lens. Select [Chromatic aberration], then press . Select [Enable], then press . 2 Take the picture. The image will be recorded with the chromatic aberration corrected. Distortion Correction 1 Select the setting. Check that [Correction data available] is displayed for the attached lens. Select [Distortion], then press . Select [Enable], then press . 2 Take the picture. The image will be recorded with the distortion corrected. Lens Correction Data The camera already contains data for lens peripheral illumination correction, chromatic aberration correction, and distortion correction for approx. 30 lenses. If you select [Enable], the peripheral illumination correction, chromatic aberration correction, and distortion correction will be applied automatically for any lens whose correction data is registered in the camera. With EOS Utility (EOS software), you can check which lenses have their correction data registered in the camera. You can also register the correction data for unregistered lenses. For details, refer to the EOS Utility Instruction Manual (p.168) on the Software Instruction Manual CD-ROM. 105
-
 1
1 -
2
-
3
-
4
-
5
-
6
-
7
-
8
-
9
-
10
-
11
-
12
-
13
-
14
-
15
-
16
-
17
-
18
-
19
-
20
-
21
-
22
-
23
-
24
-
25
-
26
-
27
-
28
-
29
-
30
-
31
-
32
-
33
-
34
-
35
-
36
-
37
-
38
-
39
-
40
-
41
-
42
-
43
-
44
-
45
-
46
-
47
-
48
-
49
-
50
-
51
-
52
-
53
-
54
-
55
-
56
-
57
-
58
-
59
-
60
-
61
-
62
-
63
-
64
-
65
-
66
-
67
-
68
-
69
-
70
-
71
-
72
-
73
-
74
-
75
-
76
-
77
-
78
-
79
-
80
-
81
-
82
-
83
-
84
-
85
-
86
-
87
-
88
-
89
-
90
-
91
-
92
-
93
-
94
-
95
-
96
-
97
-
98
-
99
-
 100
100 -
 101
101 -
 102
102 -
 103
103 -
 104
104 -
 105
105 -
 106
106 -
 107
107 -
 108
108 -
 109
109 -
 110
110 -
111
-
112
-
113
-
114
-
115
-
116
-
117
-
118
-
119
-
120
-
121
-
122
-
123
-
124
-
125
-
126
-
127
-
128
-
129
-
130
-
131
-
132
-
133
-
134
-
135
-
136
-
137
-
138
-
139
-
140
-
141
-
142
-
143
-
144
-
145
-
146
-
147
-
148
-
149
-
150
-
151
-
152
-
153
-
154
-
155
-
156
-
157
-
158
-
159
-
160
-
161
-
162
-
163
-
164
-
165
-
166
-
167
-
168
-
169
-
170
-
171
-
172
-
173
-
174
-
175
-
176
-
177
-
178
-
179
-
180
 |
 |