Canon MX850 Quick Start Guide - Page 112
With the Ink Lamps, one. See Replacing Ink Tanks - printer head
 |
UPC - 013803087871
View all Canon MX850 manuals
Add to My Manuals
Save this manual to your list of manuals |
Page 112 highlights
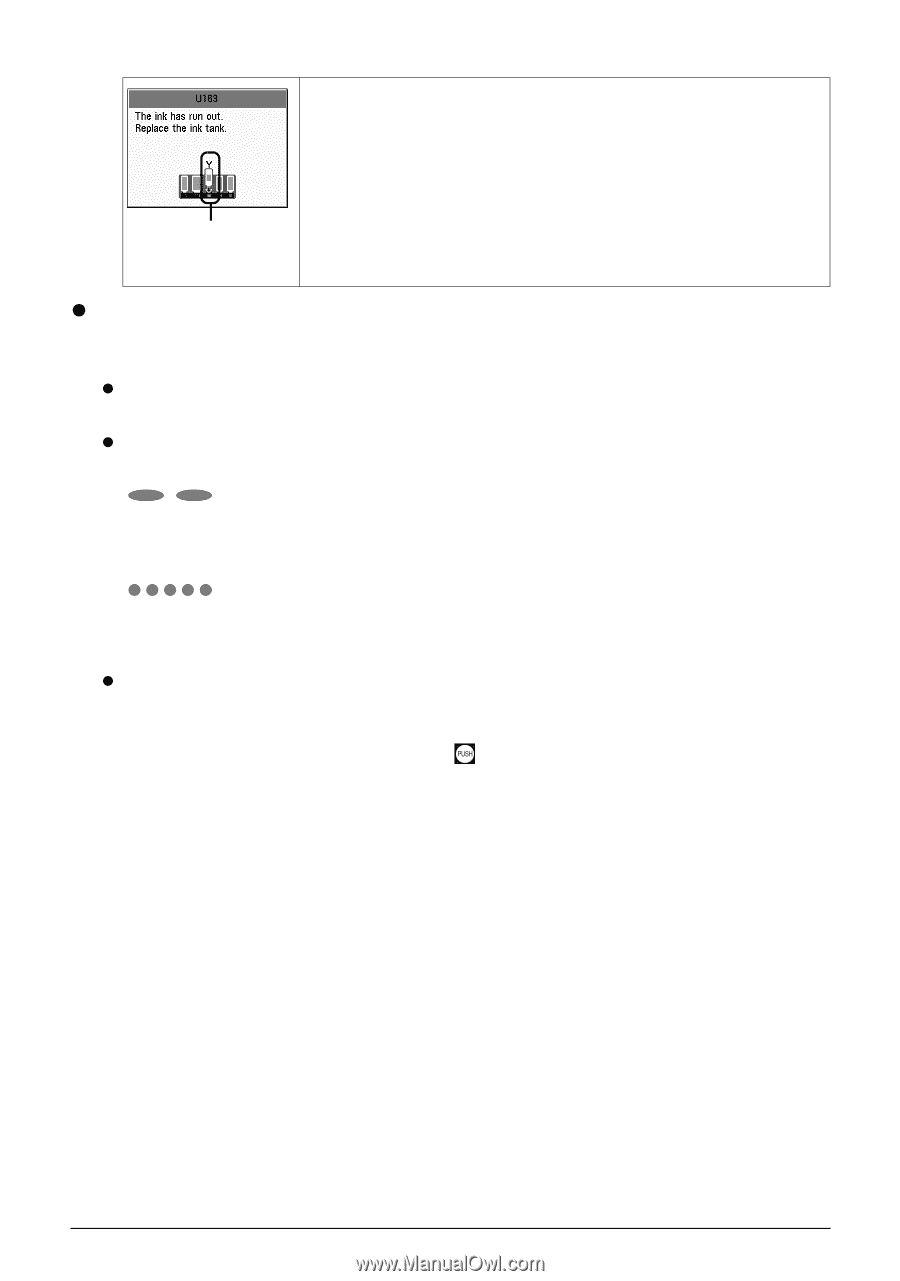
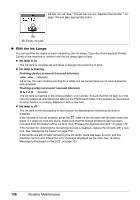
Ink has run out. See ""The ink has run out. Replace the ink tank."" on page 134 and take appropriate action. (B) (B) Empty ink tank. z With the Ink Lamps You can confirm the status of each ink tank by the ink lamps. Open the Scanning Unit (Printer Cover) of the machine to confirm how the ink lamps light or flash. z Ink lamp is on The ink tank is correctly set and there is enough ink remaining to print. z Ink lamp is flashing Flashing slowly (at around 3-second intervals) ......Repeats Ink is low. You can continue printing for a while, but we recommend you to have a new ink tank available. Flashing quickly (at around 1-second intervals) ......Repeats The ink tank is inserted in the wrong position or it is empty. Ensure that the ink tank is in the correct position as directed by the label on the Print Head Holder. If the position is correct and its lamp flashes, it is empty. Replace it with a new one. z Ink lamp is off The ink tank is not set properly or the function for detecting the remaining ink level is disabled. If the ink tank is not set properly, press the mark on the ink tank until the tank clicks into place. If it does not click into place, make sure that the orange protective cap has been removed from the bottom of the ink tank. See "Prepare the replacement tank." on page 110. If the function for detecting the remaining ink level is disabled, replace the ink tank with a new one. See "Replacing Ink Tanks" on page 109. If the lamps are still off after reinserting the ink tanks, there has been an error and the machine cannot print. Check the error message displayed on the LCD. See "An Error Message Is Displayed on the LCD" on page 133. 108 Routine Maintenance
-
 1
1 -
2
-
3
-
4
-
5
-
6
-
7
-
8
-
9
-
10
-
11
-
12
-
13
-
14
-
15
-
16
-
17
-
18
-
19
-
20
-
21
-
22
-
23
-
24
-
25
-
26
-
27
-
28
-
29
-
30
-
31
-
32
-
33
-
34
-
35
-
36
-
37
-
38
-
39
-
40
-
41
-
42
-
43
-
44
-
45
-
46
-
47
-
48
-
49
-
50
-
51
-
52
-
53
-
54
-
55
-
56
-
57
-
58
-
59
-
60
-
61
-
62
-
63
-
64
-
65
-
66
-
67
-
68
-
69
-
70
-
71
-
72
-
73
-
74
-
75
-
76
-
77
-
78
-
79
-
80
-
81
-
82
-
83
-
84
-
85
-
86
-
87
-
88
-
89
-
90
-
91
-
92
-
93
-
94
-
95
-
96
-
97
-
98
-
99
-
100
-
101
-
102
-
103
-
104
-
105
-
106
-
 107
107 -
 108
108 -
 109
109 -
 110
110 -
 111
111 -
 112
112 -
 113
113 -
 114
114 -
 115
115 -
 116
116 -
 117
117 -
118
-
119
-
120
-
121
-
122
-
123
-
124
-
125
-
126
-
127
-
128
-
129
-
130
-
131
-
132
-
133
-
134
-
135
-
136
-
137
-
138
-
139
-
140
-
141
-
142
-
143
-
144
-
145
-
146
-
147
-
148
-
149
-
150
-
151
-
152
-
153
-
154
-
155
-
156
-
157
-
158
-
159
-
160
-
161
-
162
-
163
-
164
-
165
-
166
-
167
-
168
-
169
-
170
-
171
-
172
-
173
-
174
-
175
-
176
-
177
-
178
-
179
-
180
-
181
-
182
-
183
-
184
-
185
-
186
-
187
-
188
 |
 |