Cisco WRV200 User Guide - Page 26
VPN > VPN Passthrough, Add/Save, Save Settings, Active, Remove, Export for Admin, Export for, Client - factory reset
 |
UPC - 745883570577
View all Cisco WRV200 manuals
Add to My Manuals
Save this manual to your list of manuals |
Page 26 highlights
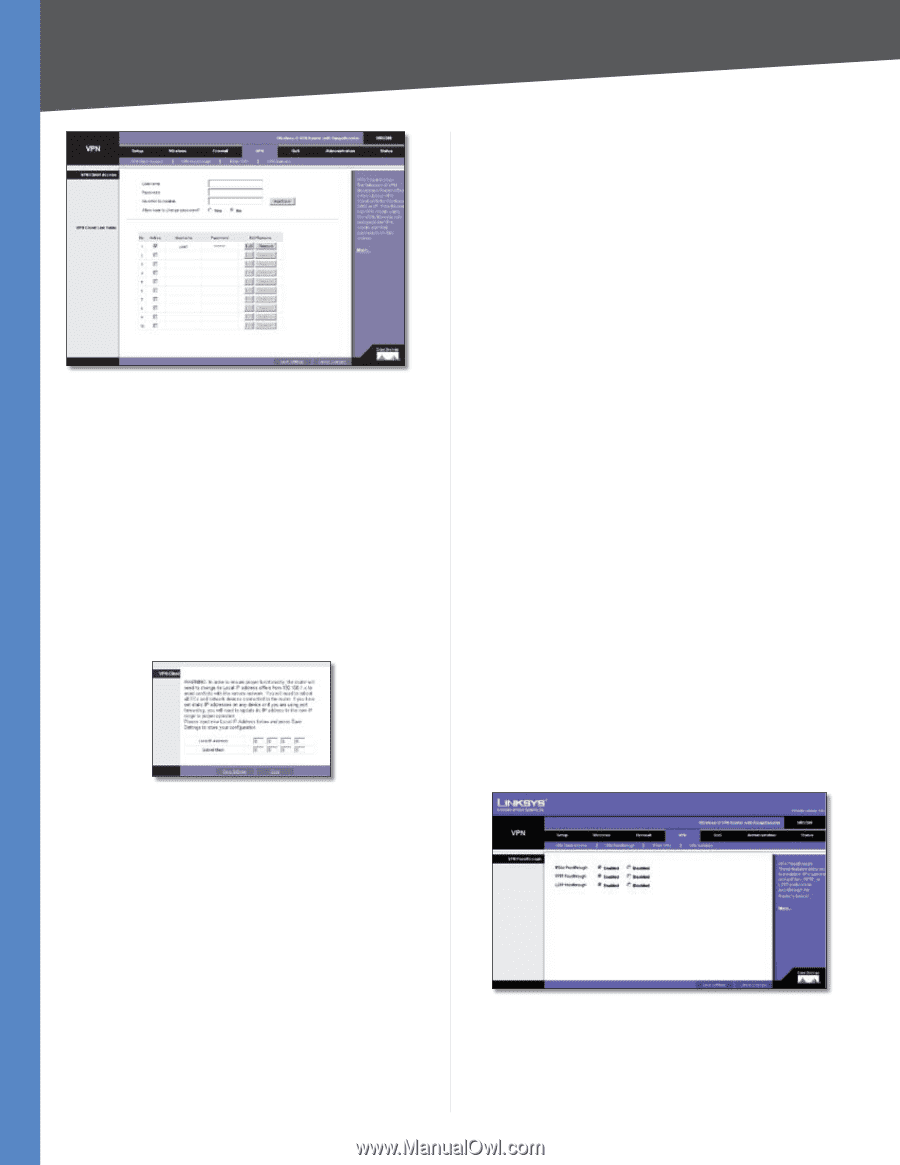
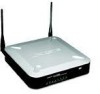
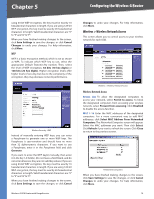
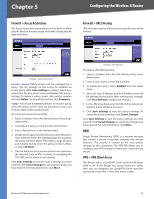
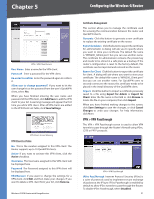
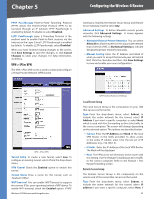
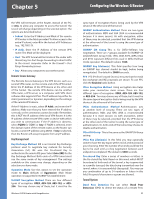
Chapter 5 Configuring the Wireless-G Router VPN > VPN Client Access User Name Enter a name for the VPN client. Password Enter a password for the VPN client. Re-enter to confirm Enter the password again to confirm it. Allow user to change password? If you want to let the user change his or her password from the user's QuickVPN client, select Yes. When you have finished entering the user name and password of the VPN client, click Add/Save to add the VPN client to your list. A warning message will appear the first time you add a VPN client. After all VPN clients are added to the VPN Client List Table, click Save Settings. VPN C;lient Access Warning VPN Client List Table No. This is the number assigned to this VPN client. The Router supports up to 10 QuickVPN clients. Active If you want to activate this VPN client, click the Active checkbox. Username The Username assigned to this VPN client will be displayed here. Password The Password assigned to this VPN client will be displayed here. Edit/Remove If you want to change the settings for a VPN client, click Edit and then make your changes. If you want to delete a VPN client from your list, click Remove. Wireless-G VPN Router with RangeBooster Certificate Management This section allows you to manage the certificate used for securing the communication between the router and QuickVPN clients. Generate Click this button to generate a new certificate to replace the existing certificate on the router. ExportforAdmin Clickthisbuttontoexportthecertificate for administrator. A dialog will ask you to specify where you want to store your certificate. The default file name is "WRV200_Admin.pem" but you can use another name. The certificate for administrator contains the private key and needs to be stored in a safe place as a backup. If the router's configuration is reset to the factory default, this certificate can be imported and restored on the router. Export for Client Click this button to export the certificate for client. A dialog will ask where you want to store your certificate. The default file name is "WRV200_Client.pem" but you can use another name. For QuickVPN users to securely connect to the router, this certificate needs to be placed in the install directory of the QuickVPN client. Import Click this button to import a certificate previously saved to a file using Export for Admin or Export for Client. Enter the file name in the field or click Browse to locate the file on your computer, then click Import. When you have finished making changes to the screen, click Save Settings to save the changes, or click Cancel Changes to undo your changes. For help information, click More. VPN > VPN Passthrough The VPN > VPN Passthrough screen is used to allow VPN tunnels to pass through the Router's firewall using IPSec, L2TP, or PPTP protocols. VPN > VPN Passthrough IPSec PassThrough Internet Protocol Security (IPSec) is a suite of protocols used to implement secure exchange of packets at the IP layer. IPSec Passthrough is enabled by default to allow IPSec tunnels to pass through the Router. To disable IPSec Passthrough, select Disabled. 21
-
 1
1 -
2
-
3
-
4
-
5
-
6
-
7
-
8
-
9
-
10
-
11
-
12
-
13
-
14
-
15
-
16
-
17
-
18
-
19
-
20
-
 21
21 -
 22
22 -
 23
23 -
 24
24 -
 25
25 -
 26
26 -
 27
27 -
 28
28 -
 29
29 -
 30
30 -
 31
31 -
32
-
33
-
34
-
35
-
36
-
37
-
38
-
39
-
40
-
41
-
42
-
43
-
44
-
45
-
46
-
47
-
48
-
49
-
50
-
51
-
52
-
53
-
54
-
55
-
56
-
57
-
58
-
59
-
60
-
61
-
62
-
63
-
64
-
65
-
66
-
67
-
68
-
69
-
70
-
71
-
72
 |
 |