Cisco WVC80N User Guide - Page 18
Setup > Users, Setup > Options, Editing the Database - ddns service
 |
View all Cisco WVC80N manuals
Add to My Manuals
Save this manual to your list of manuals |
Page 18 highlights
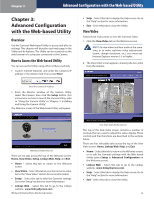
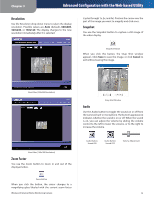
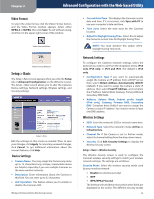
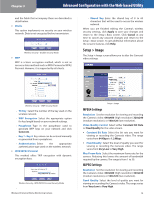
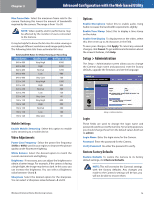
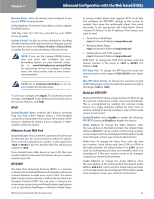
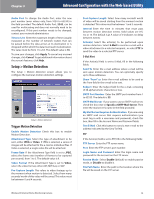
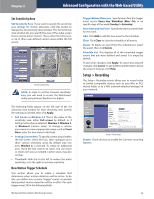
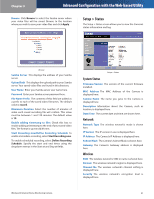
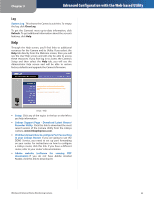
Chapter 3 Advanced Configuration with the Web-based Utility Firmware Upgrade Upgrade Firmware New firmware versions are posted at www.linksysbycisco.com and can be downloaded for free. If the Camera is functioning satisfactorily, there is no need to download a newer firmware version, unless that version has a new feature that you want to use. Loading new firmware onto the Camera does not always enhance its performance. Linksys recommends that you upgrade the Camera's firmware within your network; in other words, use a computer within the Camera's local network. If you attempt to upgrade the Camera's firmware from a remote location-using a computer outside of the Camera's local network-the upgrade will fail. To upgrade the firmware: 1. Go to the Linksys website, www.linksysbycisco.com, and download the firmware upgrade file for the Camera. Then extract the file. 2. From the Setup > Administration screen, click Upgrade Firmware. 3. You will see the Upgrade Firmware screen. Click Browse to find the extracted file, and then double-click it. 4. Click Start Upgrade, and follow the on-screen instructions. To cancel the upgrade, click Cancel. Setup > Users The Setup > Users screen lets you designate access rights for the Camera's users. Editing the Database To add a user to the database: 1. Enter the user's name in the User Name field. 2. Enter the password in the Password and Confirm Password fields. 3. Click Add User to save the user in the database. To edit a user's record in the database: 1. Select the user from the Users list, then click Edit. 2. Edit the User Name and/or Password as needed. 3. Click Add User to save the updated information. Other operations: •• Clear While editing a user's information, click Clear to clear the User Name, Password, and Confirm Password fields and start over. •• Delete To delete a user's record from the database, select the user from the list, then click Delete. •• Delete All To clear the database, click Delete All, then click OK to confirm. To save your changes, click Apply. To cancel any unsaved changes, click Cancel. To get additional information about the screen's features, click Help. Setup > Options The Setup > Options screen allows you to set up and configure DDNS Service, UPnP configuration, and Alternate Port settings. DDNS (Dynamic Domain Name System) lets you assign a fixed host and domain name to a dynamic Internet IP address. Setup > Users Users Settings Use this to assign access rights to the Camera's users. Allow access by Select how access is to be granted, either All users or Only users in database. If you select Only users in database, edit the user database as needed, as described below. Users This lists the user database (the users who have access to the Camera). Wireless-N Internet Home Monitoring Camera Setup > Options DDNS Enable DDNS Select this option to enable DDNS service with the Camera. Service Provider This is the DDNS service provider, which is preset to TZO. 17
-
 1
1 -
2
-
3
-
4
-
5
-
6
-
7
-
8
-
9
-
10
-
11
-
12
-
 13
13 -
 14
14 -
 15
15 -
 16
16 -
 17
17 -
 18
18 -
 19
19 -
 20
20 -
 21
21 -
 22
22 -
 23
23 -
24
-
25
-
26
-
27
-
28
-
29
-
30
-
31
-
32
-
33
-
34
-
35
-
36
-
37
-
38
-
39
-
40
-
41
-
42
-
43
-
44
-
45
-
46
-
47
-
48
-
49
-
50
-
51
-
52
-
53
-
54
-
55
-
56
-
57
-
58
-
59
-
60
-
61
-
62
-
63
-
64
-
65
-
66
 |
 |